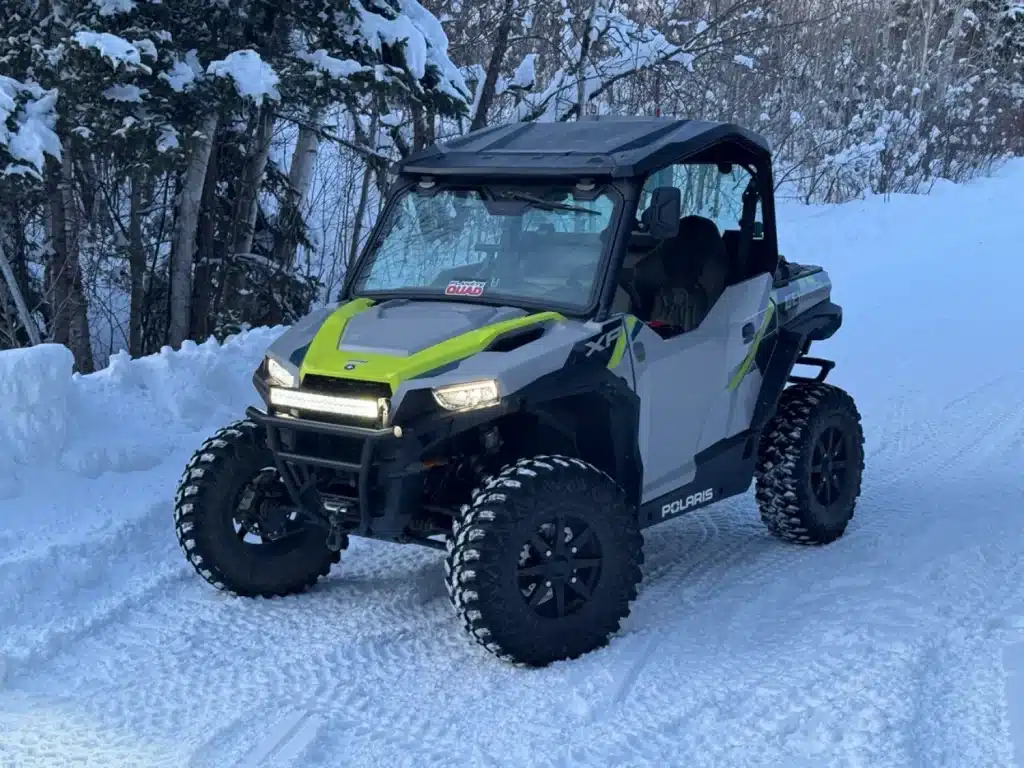
When customizing an ATV, one of the first modifications that comes to mind is adding additional LED lighting. Whether for style or functionality, choosing a quality part ensures increased durability, optimal reliability, and bright lighting.
Why install an LED bar on an ATV
Whether on a ATV or a UTV, the advantages of installing an LED bar are very similar, namely:
Improved visibility
A properly installed bar significantly improves visibility during night rides and in low-light conditions:
- Nighttime visibility: Powerful LED beams provide a wider and brighter field of view, allowing you to see obstacles and terrain more clearly.
- Peripheral visibility: Improved lighting helps you spot hazards on the sides of trails, improving overall safety during rides.
Increased safety
Safety is paramount when riding an ATV, especially at night. A properly installed light bar reduces the risk of accidents by:
- Illuminating obstacles: Clearly highlighting potential hazards such as rocks, branches, and uneven terrain.
- Improving reaction time: Giving you more time to react to unexpected obstacles or changes in the trail, reducing the likelihood of accidents.
- Being seen in low visibility conditions: When ATVing, the dust kicked up by passing quads makes it very difficult to be seen by others. The powerful light from LED bars helps cut through dust clouds.
Improved aesthetics
In addition to the functional benefits, a light bar can enhance the aesthetics of your ATV:
- Modern appearance: Adds a sleek, modern look to your vehicle, making it stand out on the trails.
- Customizable options: With different light bar sizes and mounting options, you can customize the look to match your style and preferences.
How to choose a quality LED bar
To determine whether LED lights for an ATV are of good quality, several technical and practical criteria can be evaluated. Here are the key elements to consider to inform your choice:
Light intensity (actual lumens)
Be wary of exaggerated values (e.g., “12,000 lumens” for a small bulb). A good H4 or H7 LED bulb produces between 1,500 and 3,000 real lumens per bulb. Also, some brands display the theoretical flux, not the measured flux. The theoretical flux is the calculation of the light intensity produced at the LED source, without taking into account losses caused by heat, which reduces the efficiency of the diode, optics (lenses, reflectors, housing, electronic driver, etc.). An LED bar that is advertised as having a theoretical 30,000 lumens may only produce 12,000 lumens in real conditions.
Color temperature (Kelvin)
It should be between 5000 K and 6500 K, which is a slightly bluish white light, ideal for visibility. It reproduces natural sunlight. Above 7000 K, it is too blue and dazzling and will be less effective in rain or fog. Below 4000 K, the light is too yellow and often less effective with LEDs.
Light beam quality
The beam must be well defined without dazzling other road users. LEDs can be designed to provide long-range light with a narrow beam, wide-beam light for close-range illumination, or a combination of the two.
Cooling system
Contrary to popular belief, an LED diode produces a lot of heat at its base. This is why effective cooling is essential to ensure its efficiency. Cooling is provided by a fan in the case of passive aluminum heat sink bulbs that have cooling fins.
Durability and build quality
Obviously, solid construction is an excellent indicator of good quality. Look for a machined aluminum or solid metalhousing, not cheap plastic. Also, a water and dust protection rating of IP65 or higher is highly desirable.
Selection of the 20-inch Kimpex LED bar.
Based on this information, we chose the Kimpex bar for the following reasons. The housing meets the IP68 standard, which means it can even be submerged, ensuring excellent resistance to trail conditions. The LEDs are arranged in two rows and have a combination of spot type for long-range lighting and flood type for closer and wider lighting. The CREE technology used for the LEDs is known for its energy efficiency. In addition, the 6000 K temperature will provide daylight-like light to illuminate the trail. Finally, the lens glass is made of PMMA, which provides better resistance to impacts and scratches.
Interestingly, Kimpex offers light switches in its parts catalog that match perfectly with those already installed in the General’s dashboard! These toggle switches are waterproof (IP66 certified) and available with blue or red backlighting.
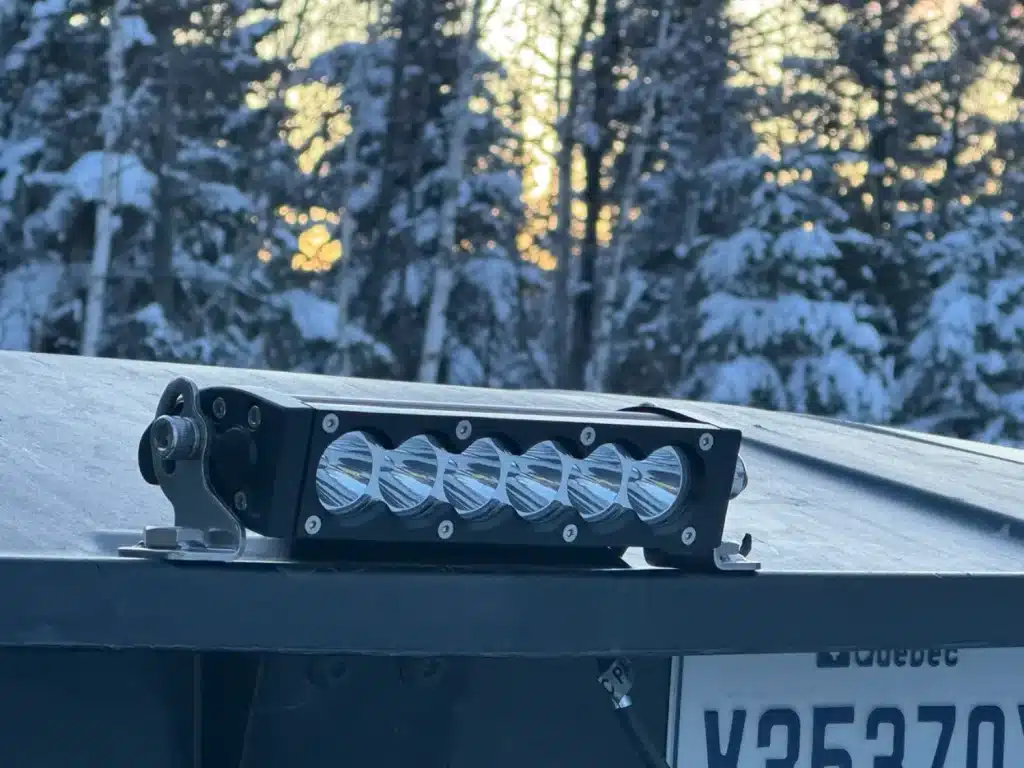
Location of the LED bar on the front of the vehicle
On a side-by-side vehicle, everyone thinks of putting an LED bar on top of the roof. Although this is the obvious choice in the popular image, we decided to put it on the bumper for two reasons.
The first is the prohibition in Quebec’s Off-Road Vehicle Act: it is prohibited to turn on an LED bar installed on the roof or roll bar when driving on a trail or public road. Period. So it’s ridiculous to install an accessory that could get us into trouble or draw the wrath of other trail users. What’s more, I’ve already been blinded by the LED bar of a “Trail Warrior” who was driving his RZR down a row with all his lights on. It’s unpleasant, and I don’t want to inflict it on others.
The second reason is the vulnerability of the LED bar to branches that bend under heavy snow on the trails. Even when driving slowly, a heavy branch caught on the bar can damage it and even tear it from its mounting.
Location of the LED bar at the rear of the vehicle
Generally, LED blocks designed for work are installed at the rear. The light beam is very wide in order to illuminate as large an area as possible. The range of the lighting is not very great. Instead, we installed a small, more powerful bar to act as a rear “fog” position light. I saw a friend who had installed one on his UTV, and in the thick dust of summer, it was this light that could be seen behind him.
However, caution is required in Quebec, as the law prohibiting the use of LED bars or additional headlights mounted on the roof or roll cage also applies to this small LED bar. However, since the intention is to use it when stationary or in daylight, hopefully this will not pose a problem.
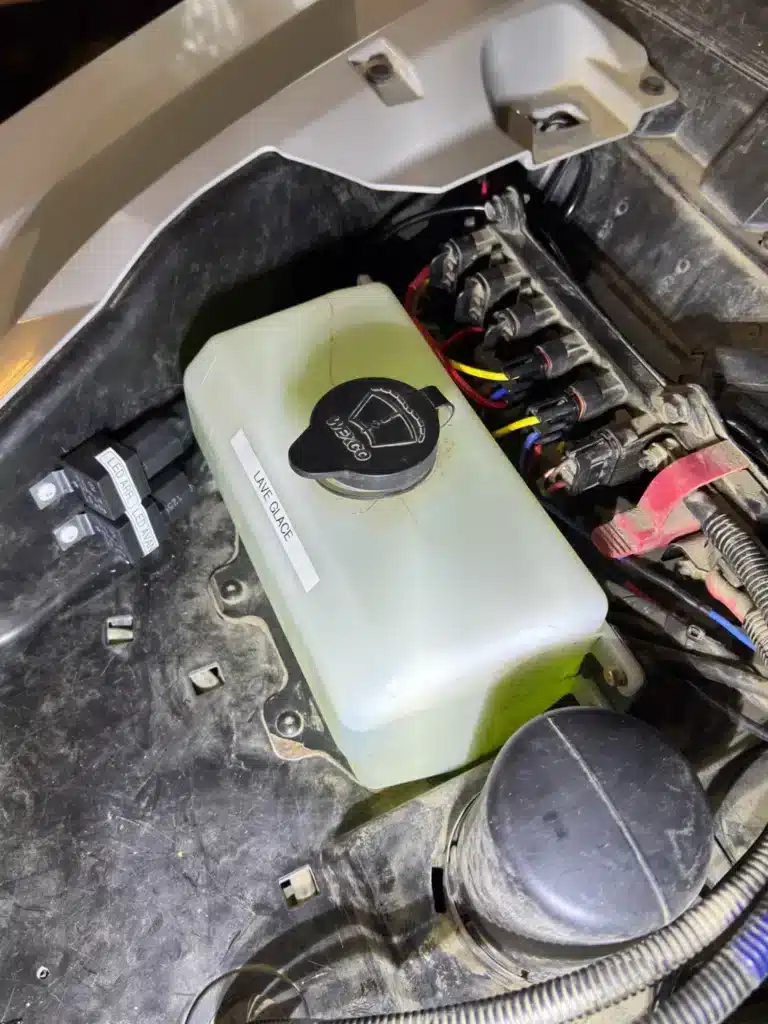
Electrical connection of the LED bar.
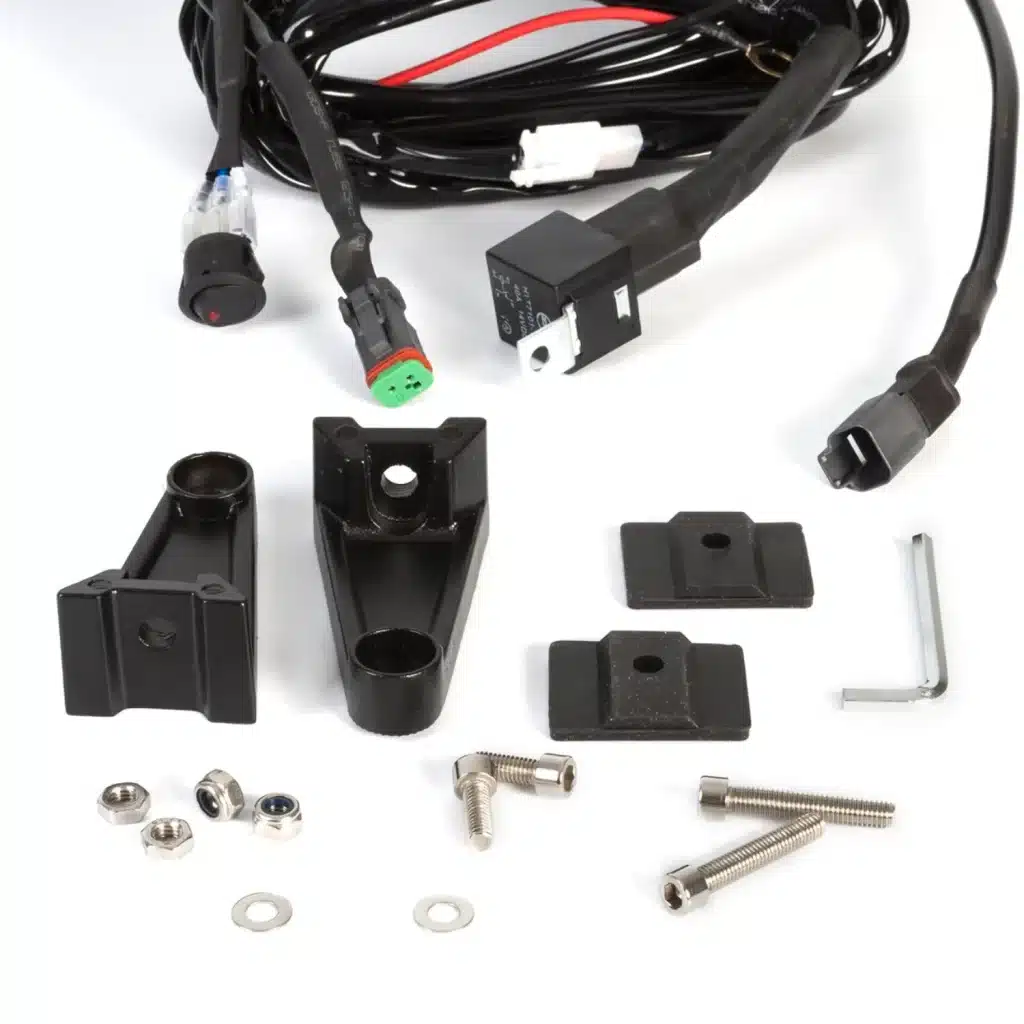
In the case of Kimpex kits, the LED bar is supplied with the pre-assembled wiring necessary for its installation: wires, waterproof connectors, relays, in-line fuse, and a small illuminated switch.
Although theoretically everything is very simple, we still had to make a few connections and splices to connect to the vehicle’s bus bar and install the Kimpex backlit toggle switches.

Without going into detail about how to do it, here are a few reminders of the basic principles to follow during installation:
- Always solder the splices and joints of the wires and cover the joint with heat-shrink tubing. This will prevent electrical problems in the future. Also, use appropriate terminals to connect the parts.
- Choose a suitable location for the relay installation that is away from excessive heat sources and water.
- Be sure to install an in-line fuse (20 A or 30 A fuse) between the relay and the battery to protect the system from electrical surges.
- Do not leave any loose wires. Secure them along existing wiring paths wherever possible. This not only makes for a cleaner installation, but also protects the wires from snagging or damage.
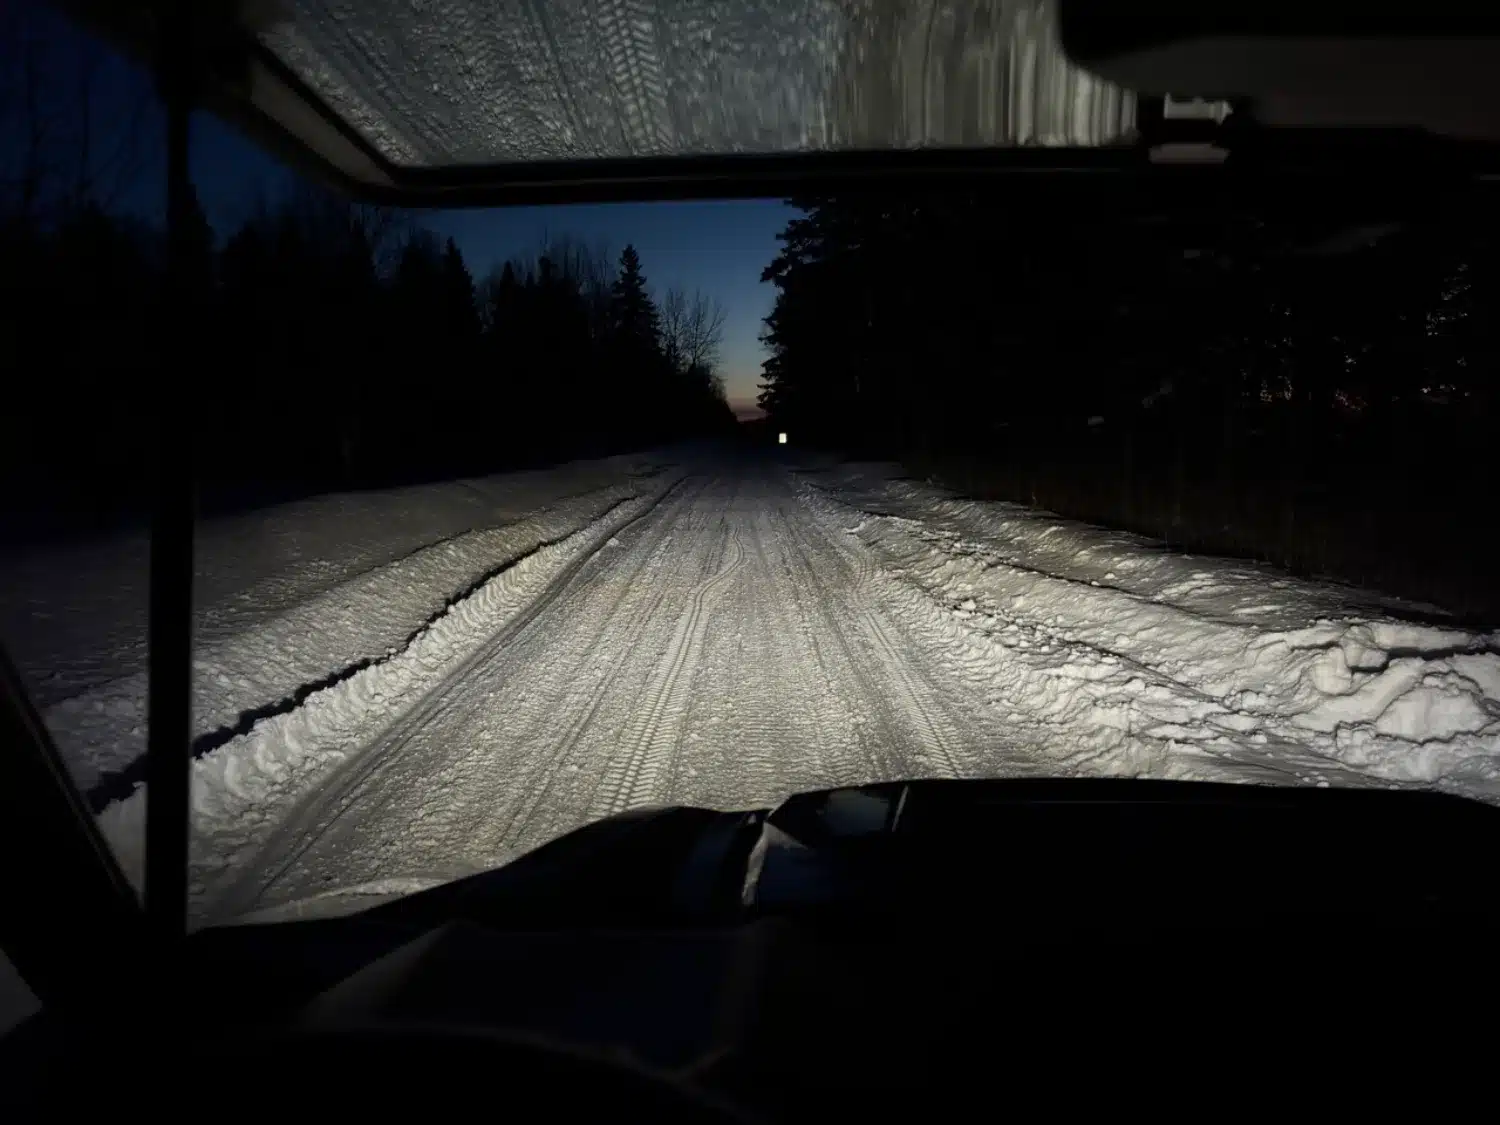
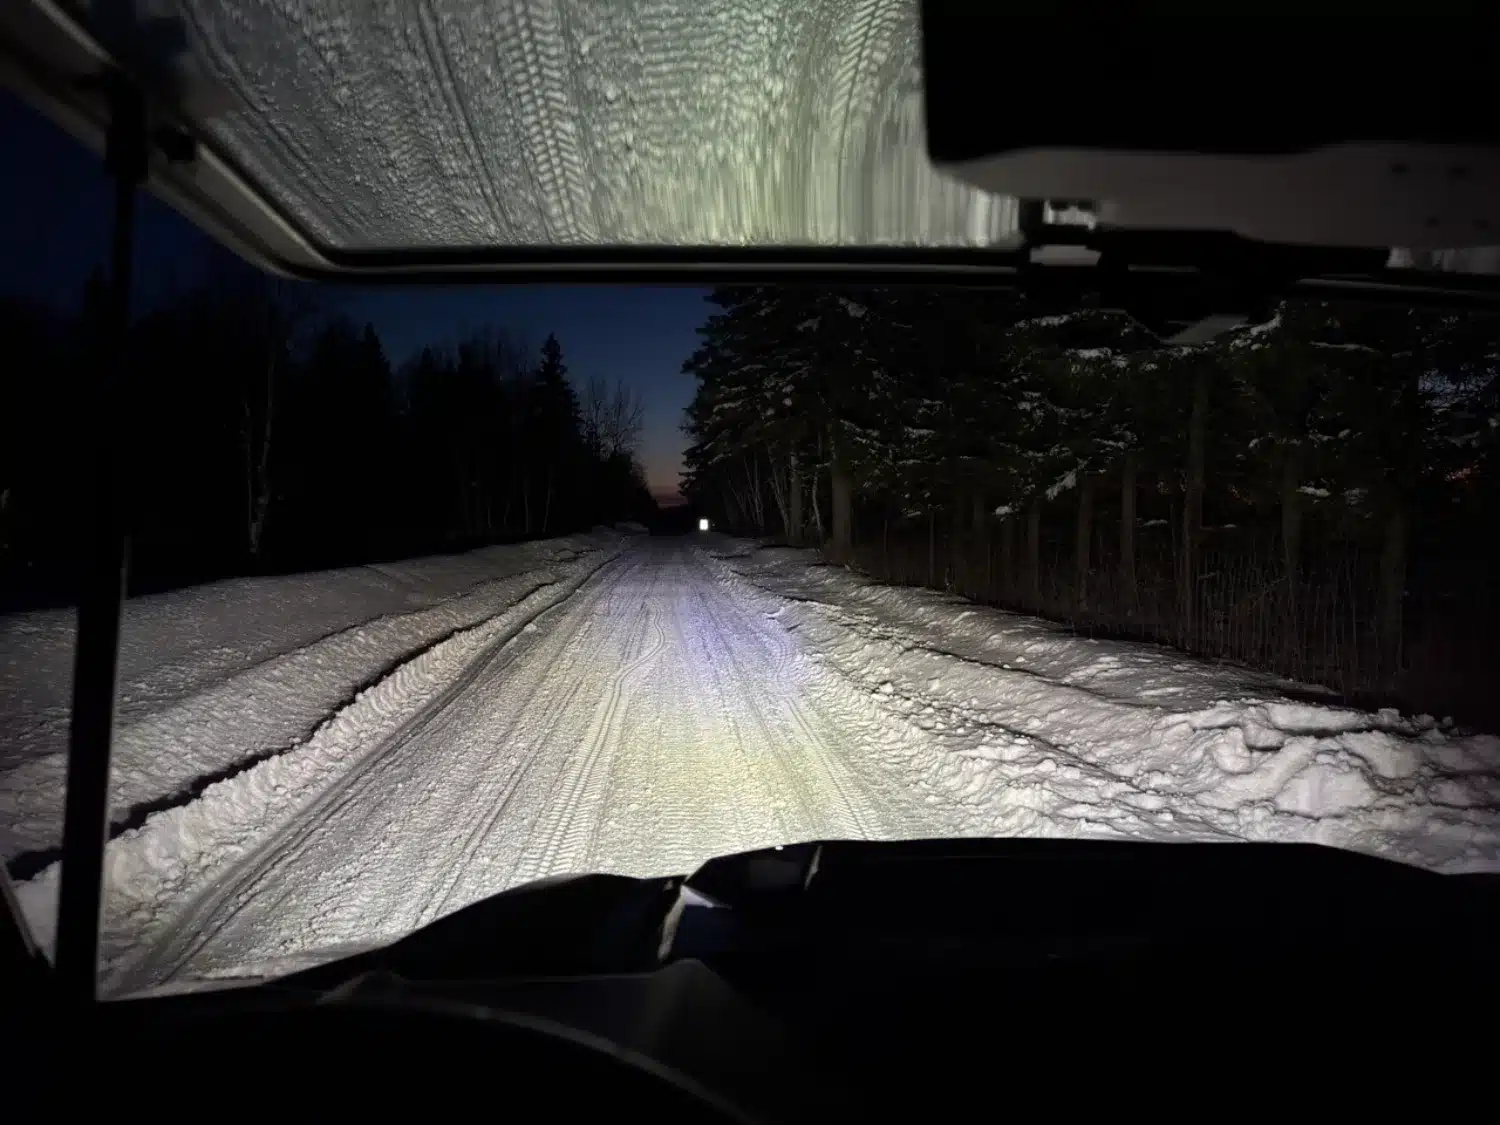
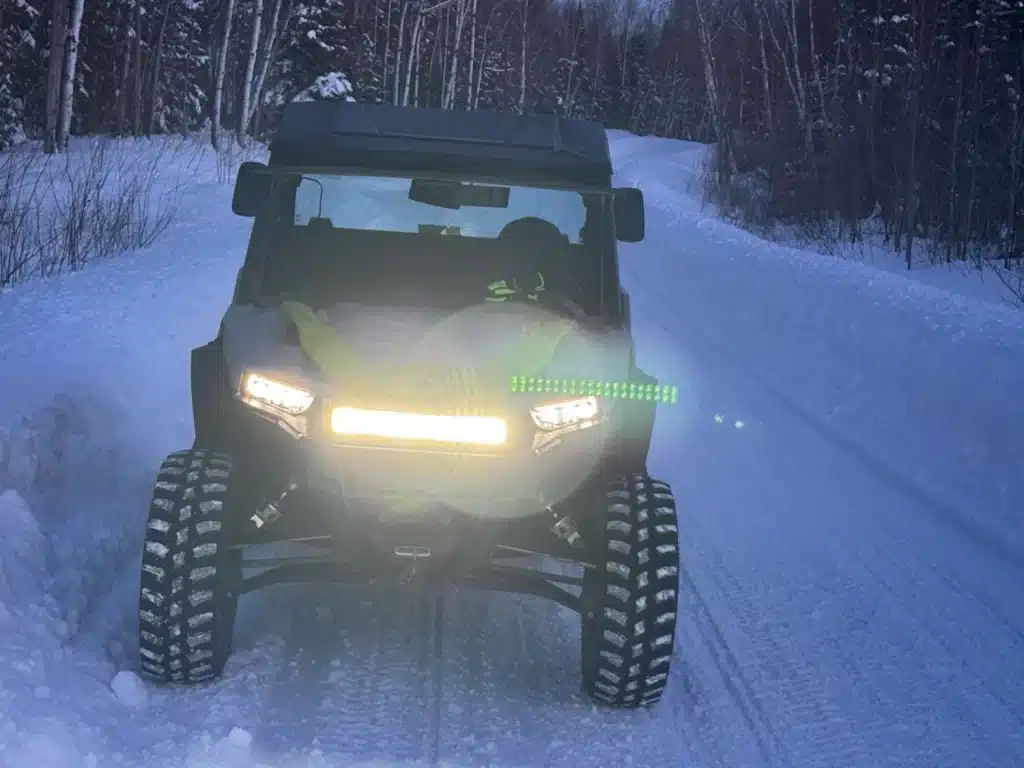
On-the-ground results
The stock LED headlights on a Polaris General XP 1000 are already very effective. We wondered if a 20-inch LED bar would have a noticeable effect on the lighting. Definitely yes. Although the photos below don’t really do justice to the improvement, the lighting is much more powerful. The beam doesn’t actually reach any further, but the trail surface is much more visible and well lit. The lighting is also wider and more uniform across its width. It’s when you turn off the bar to meet another ATV that you realize how much lighting power you’ve gained. In short, it’s a very worthwhile installation.