If we ask you a very quick question: name a winch brand which comes quickly to your mind? The vast majority of you will answer ”WARN” and with good reason. Warn Industries has built a remarkable reputation and created the winch segment for off-road vehicles 30 years ago by patenting the industry’s first ATV winch. Three decades later, Warn comes back again with the introduction of new ATV and side-by-side winch lines.
Warn pushes the limits once again and introduces the new AXON and VRX series. They will bring us new levels of technology, durability and performance in the off-road winch market.
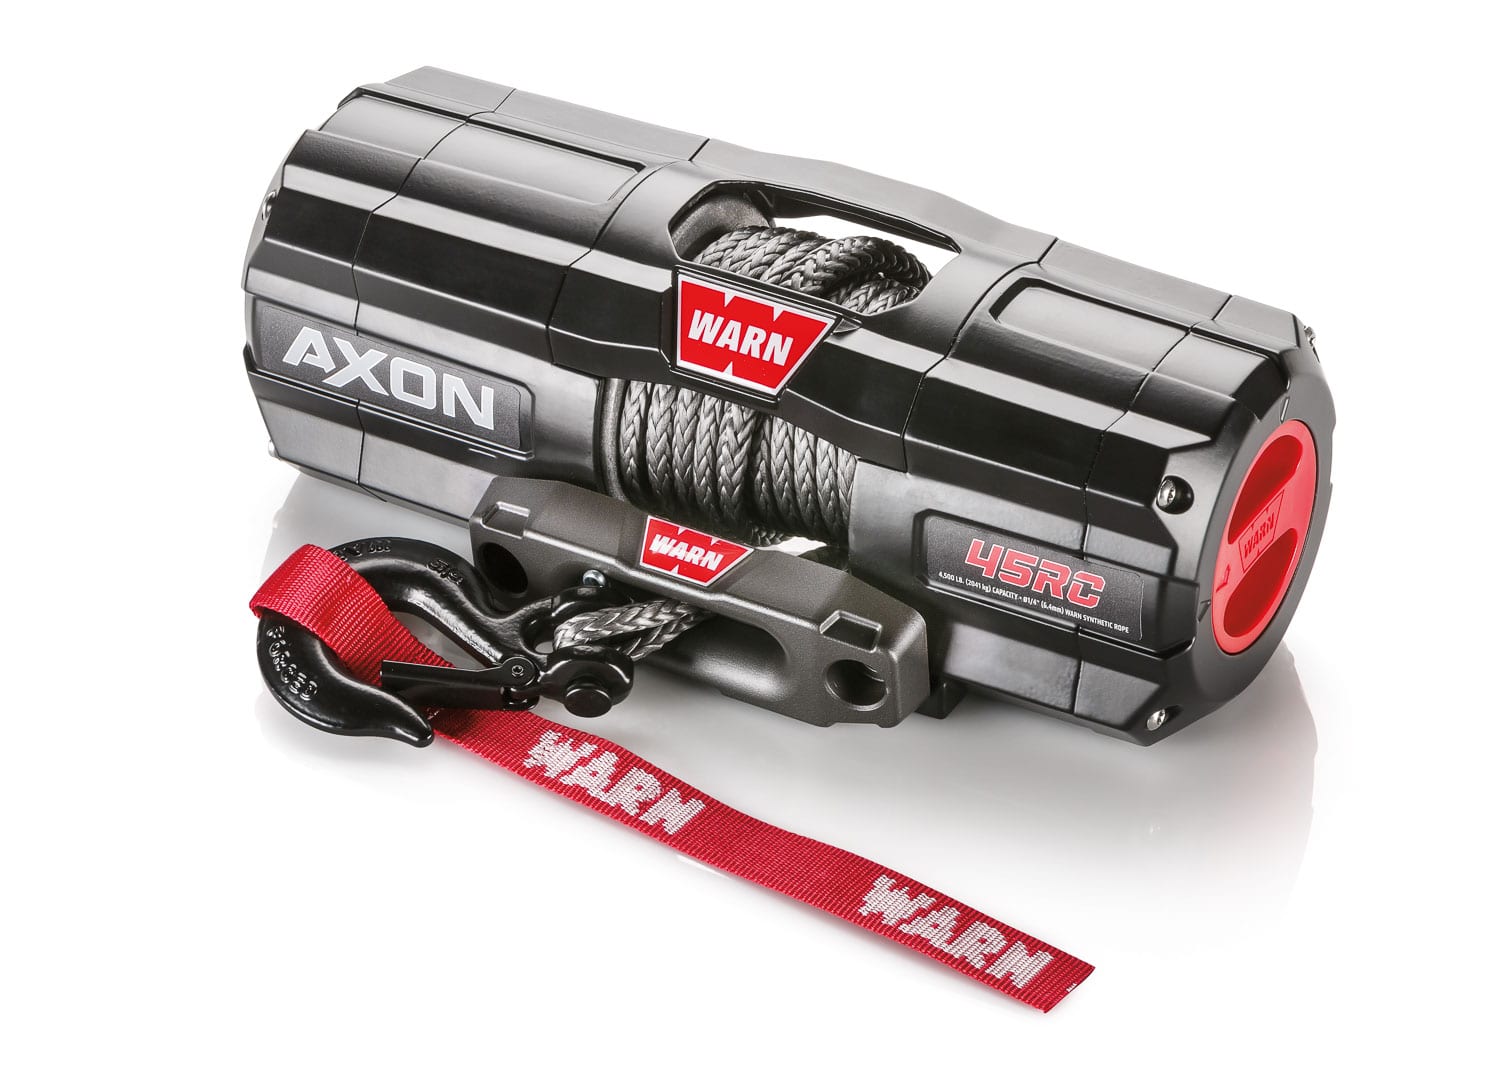
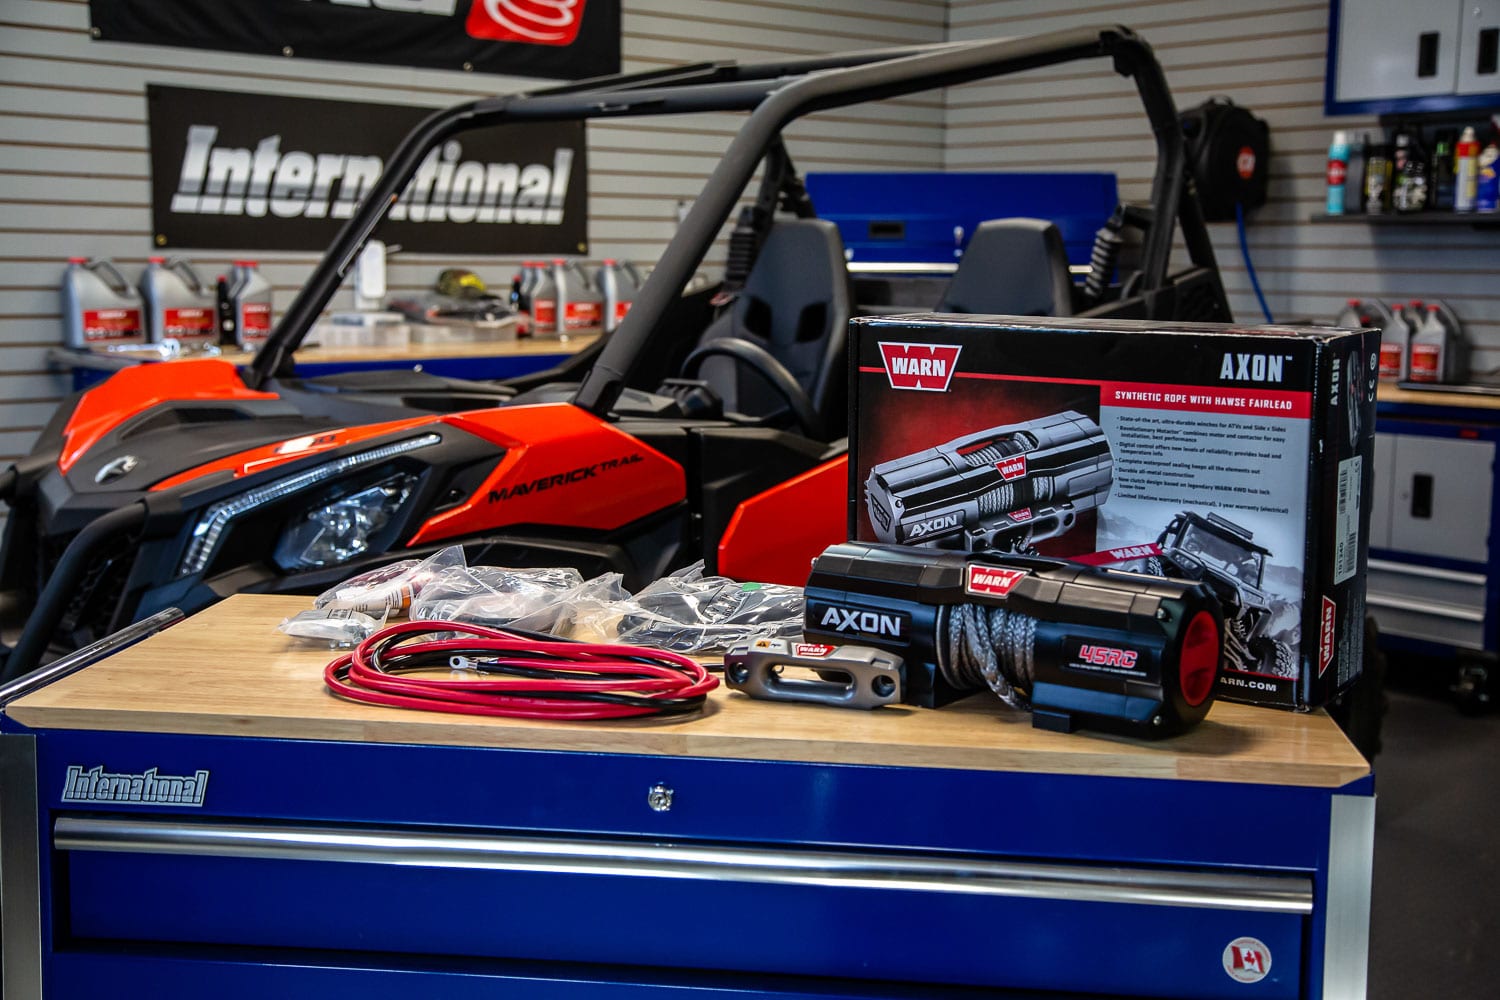
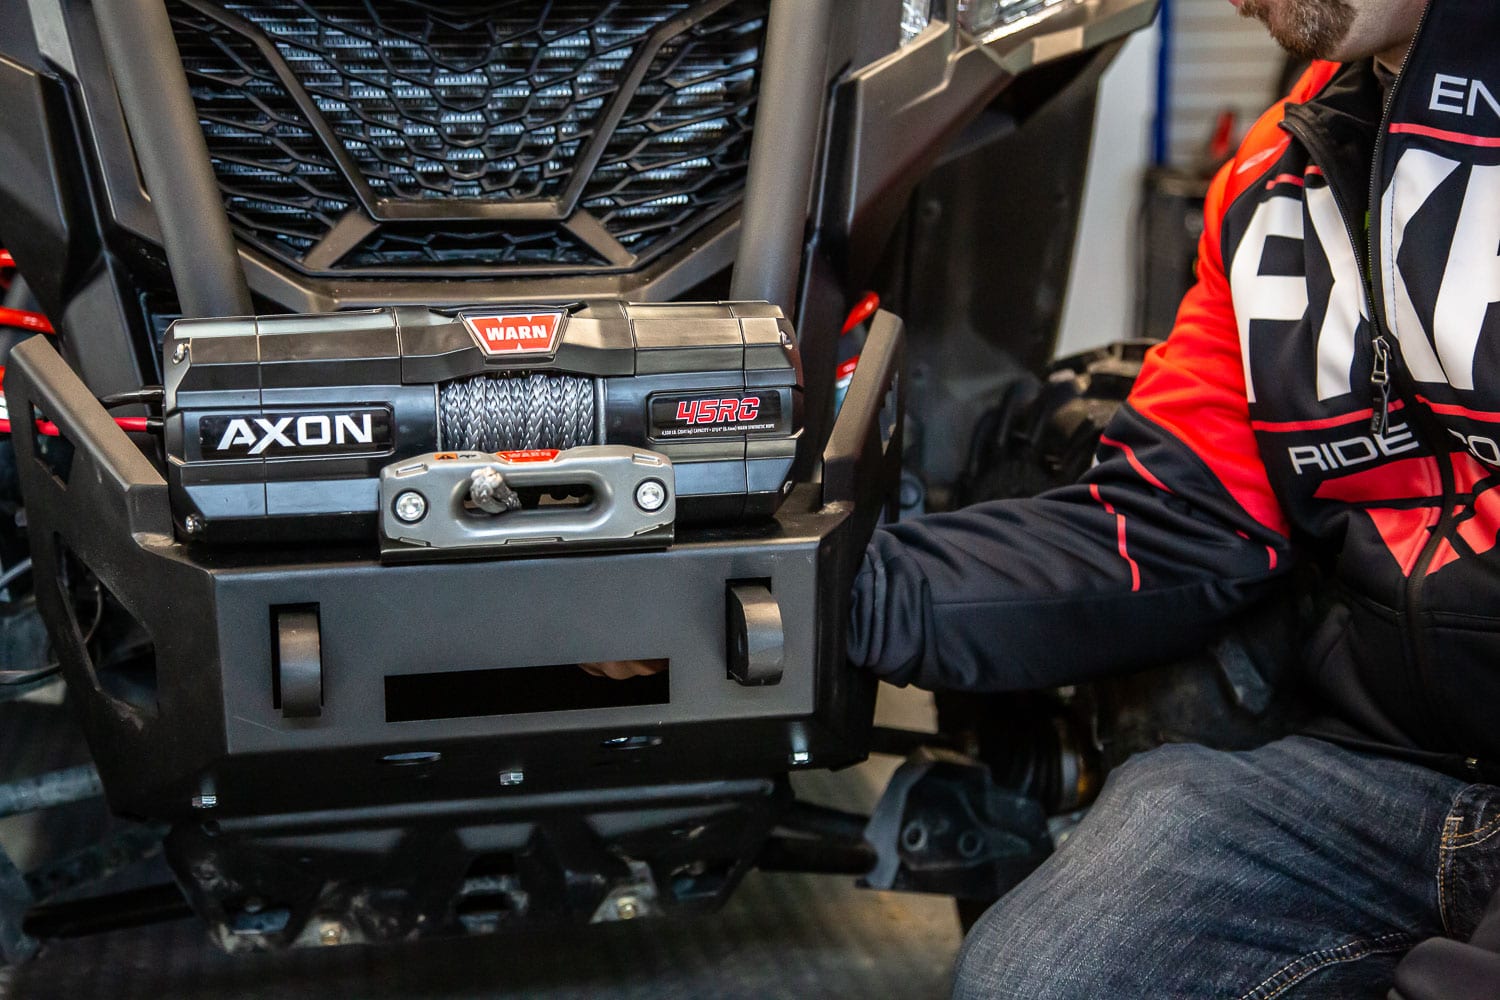
We have the AXON 45 RC on hand to show you all the work that has been done to make installation easier and to ensure an unmatched service life of this new winch. It features a 4,500-lb capacity, a short, narrow drum configuration for space constraints, and a 1/4”Spydura synthetic rope. It is also equipped with an ”Epic Hawse” cable guide and a digital tilt-bar control switch. If you have already installed a winch, you will be happy to equip your vehicle with it.
Its new design is very successful and what we notice at first glance is that it is very compact and its steel case is designed to stay solid and rigid and it will keep its original finish for a long time with his powder coat paint. Compared to other brands, it is equipped with a mounting plate directly integrated into the housing, which greatly facilitates the installation. Another interesting feature: the supplied hardware is made of stainless steel so nothing will rust or deteriorate (especially since it is usually used in mud, snow and wet areas).
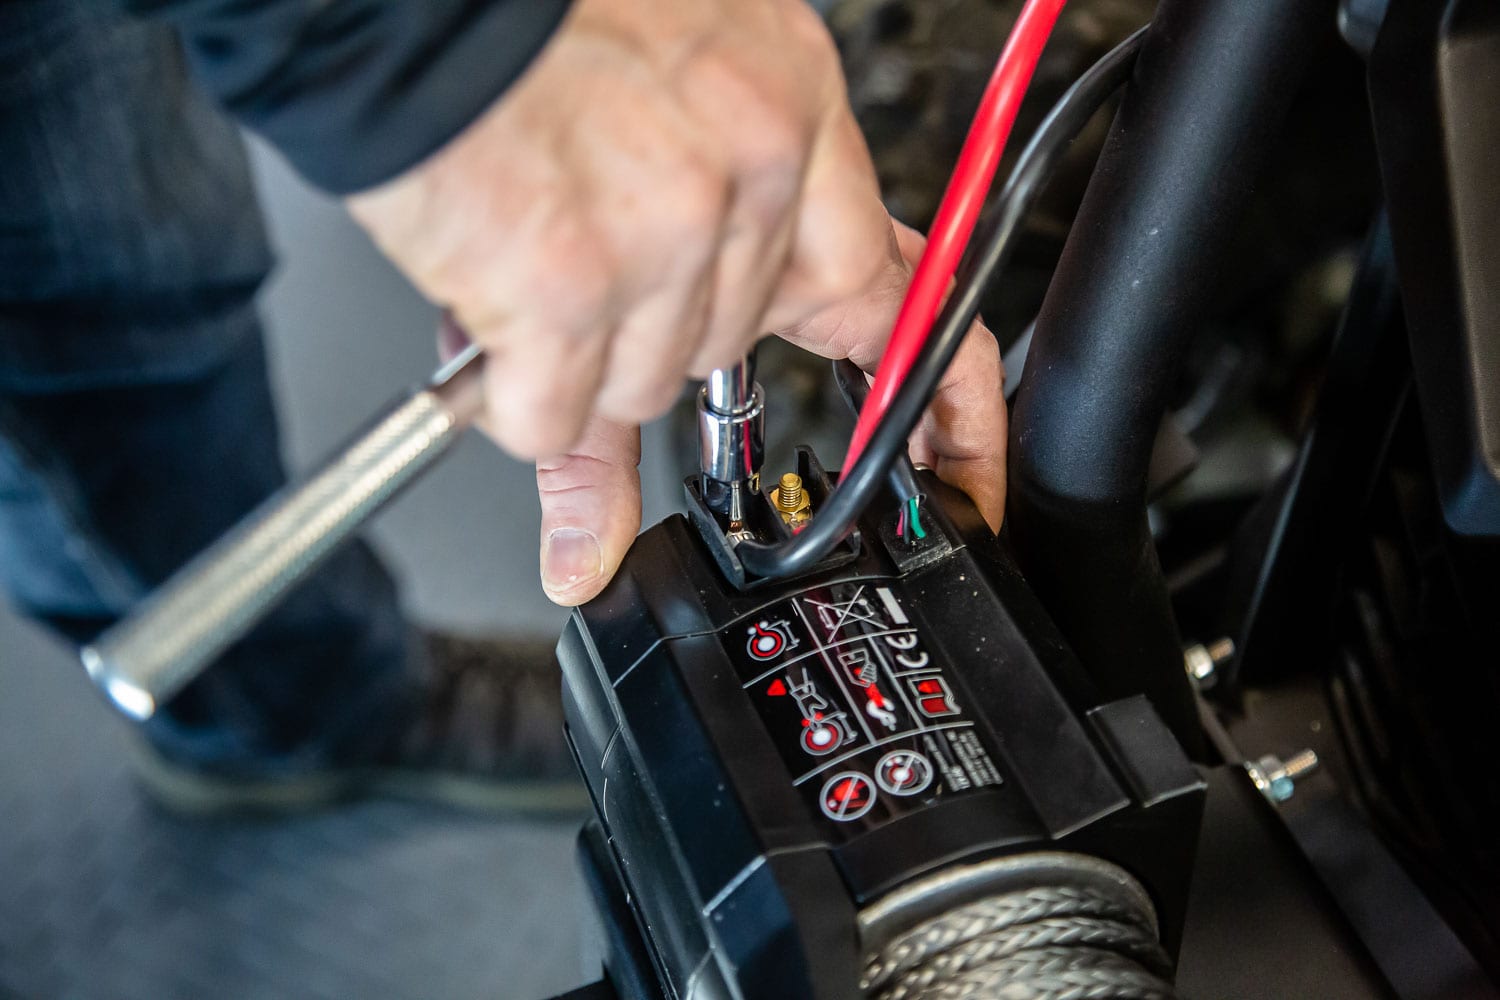
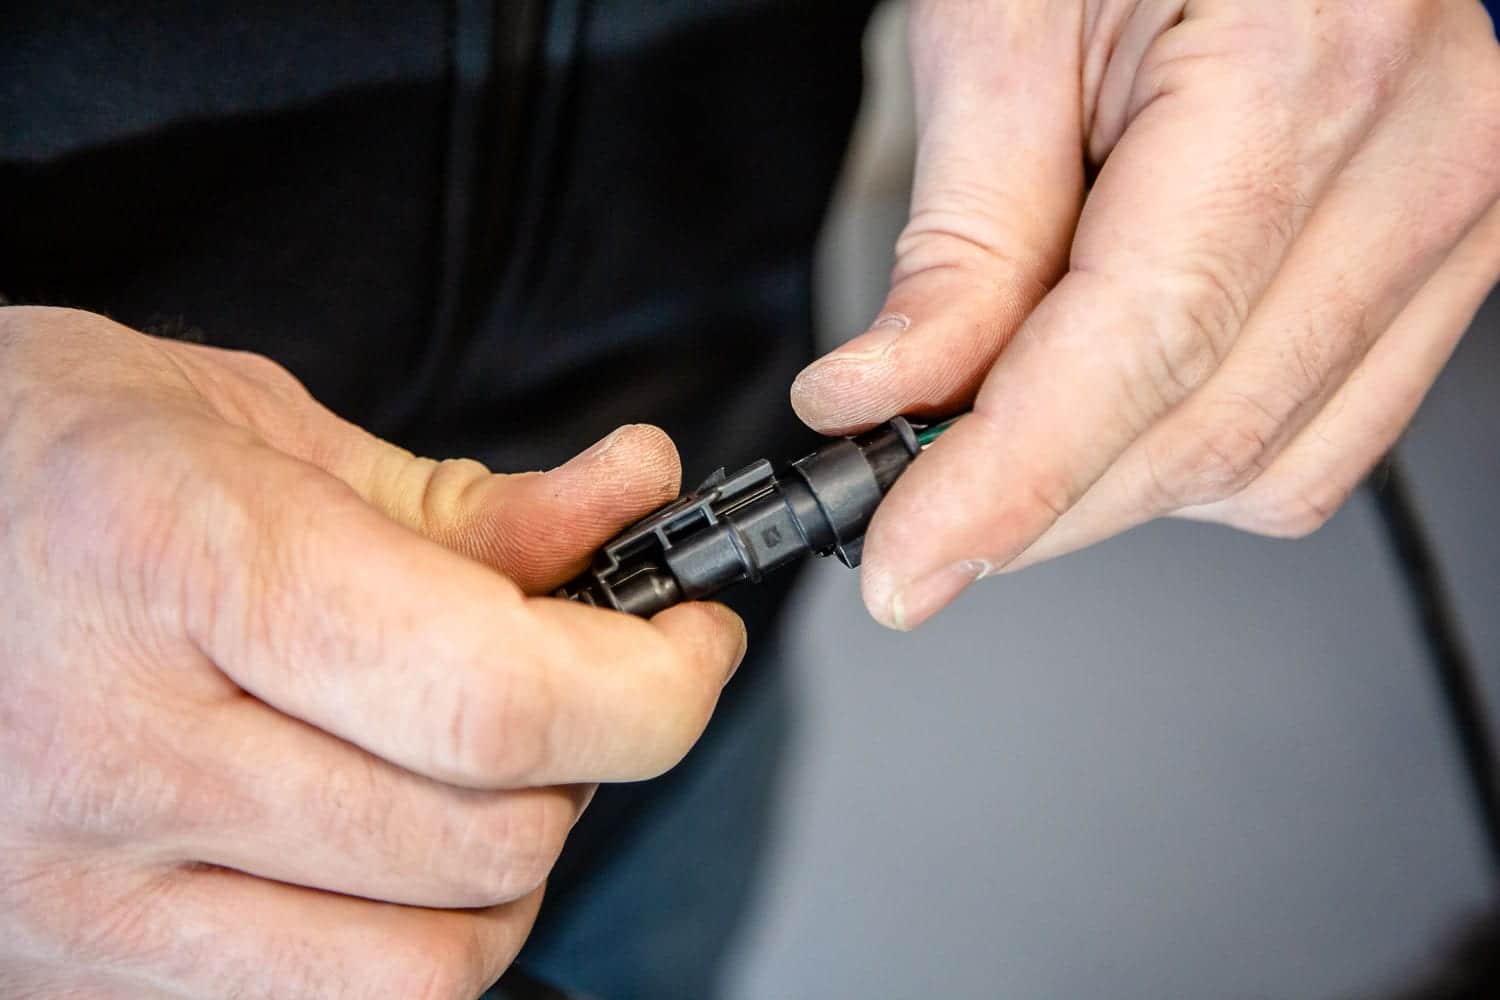
With regard to its internal components, this new Axon winch is equipped with a Motactor (motor + contactor). The Motactor is a combination of the winch motor and a contactor. With conventional types of winch, we had to connect the motor to an external contactor which distributed the required electrical charge. By inserting the contactor in the motor housing, the wirings are protected from the elements. This gives a sealed winch with IP68 seal certification. By eliminating a step in the power distribution chain, the Motactor allows a much simpler and faster installation of about 50%. In summary, the design of Warn’s new winches provides faster and easier installation than conventional winches.
It is equipped with a new clutch system that makes it easy to switch to the disengaged mode for unwinding the cable to the engaged mode to wind it up. It is also equipped with a high performance integrated brake to hold the load.
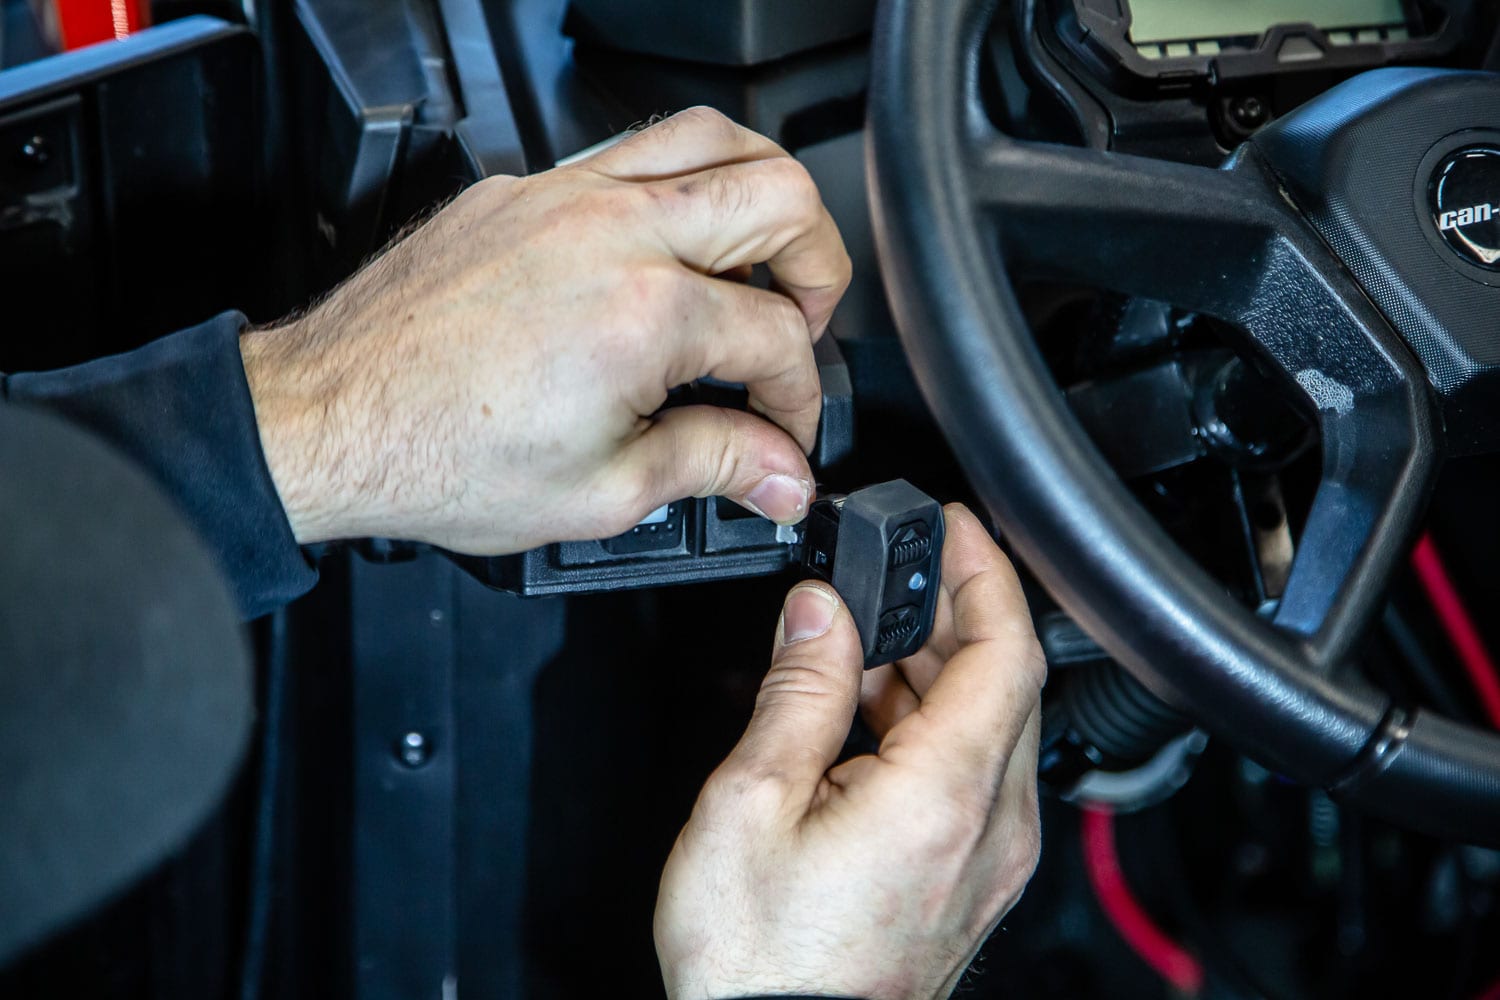
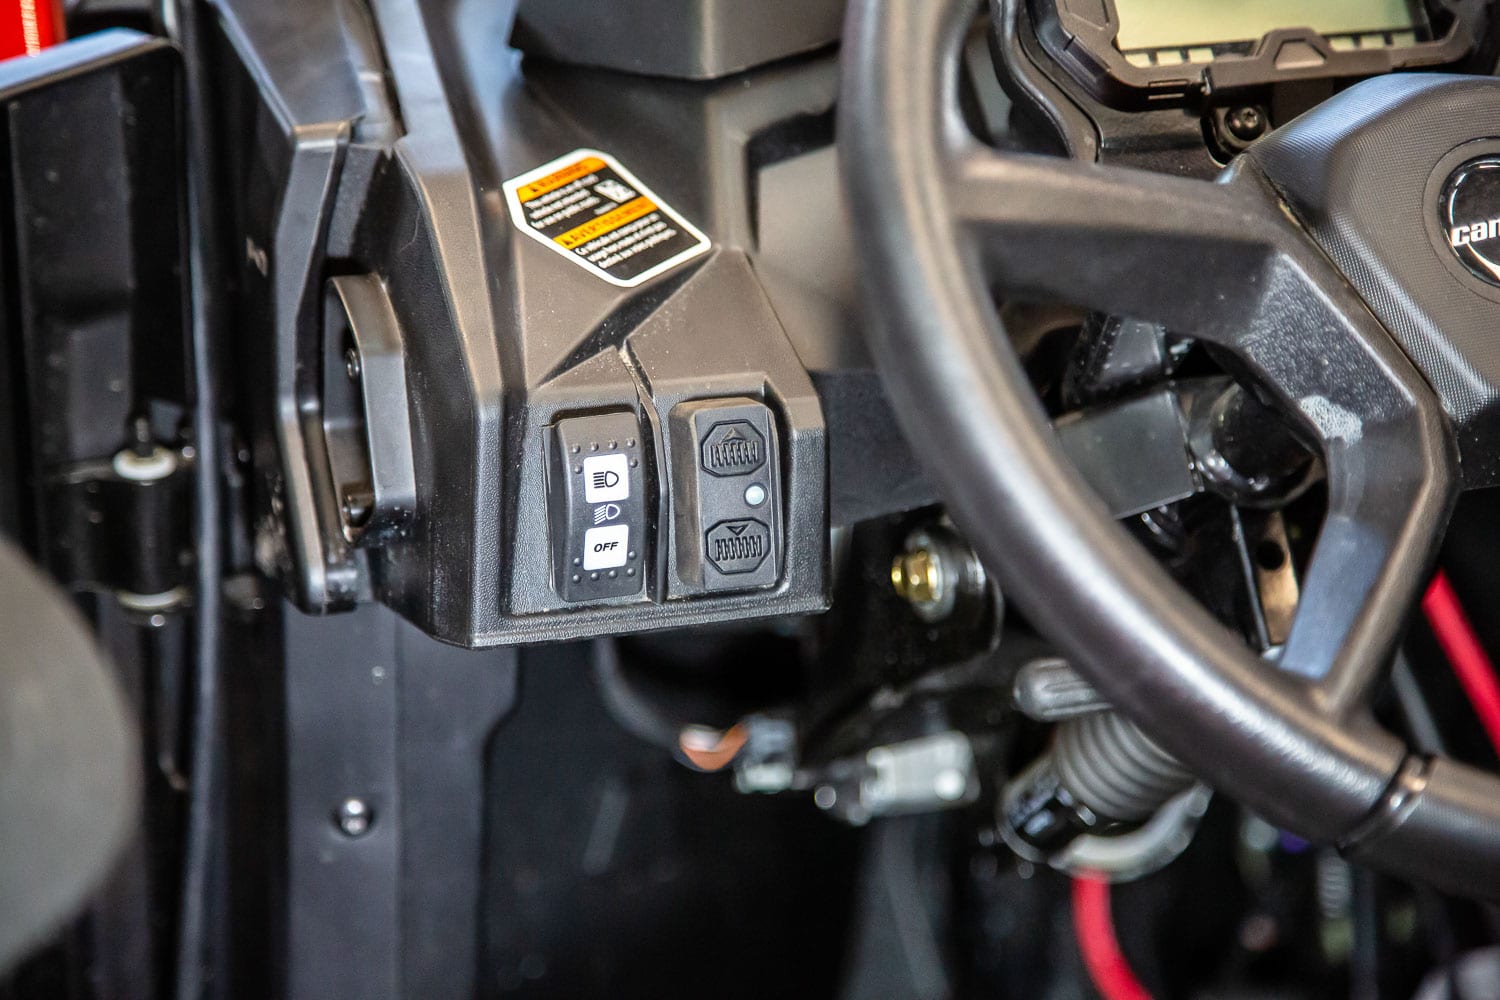
Another novelty, the Axon is equipped with a dashboard switch for the output and entry of the cable. One of the interesting features is the indicator light. When reaching 50% of the winch’s capacity, the indicator lights a yellow light. At 75%, it becomes orange. At 90%, it lights red. When it exceeds its maximum capacity, the red light will flash and the winch will stop working to avoid damaging its components by use beyond its limits. The AXON Winch offers a unique digital control that provides users with unprecedented levels of feedback, including information on load, engine temperature and battery level. As a result, you get the most advanced and powerful sports winch ever built. A remote control is also provided with this winch to facilitate its remote use.
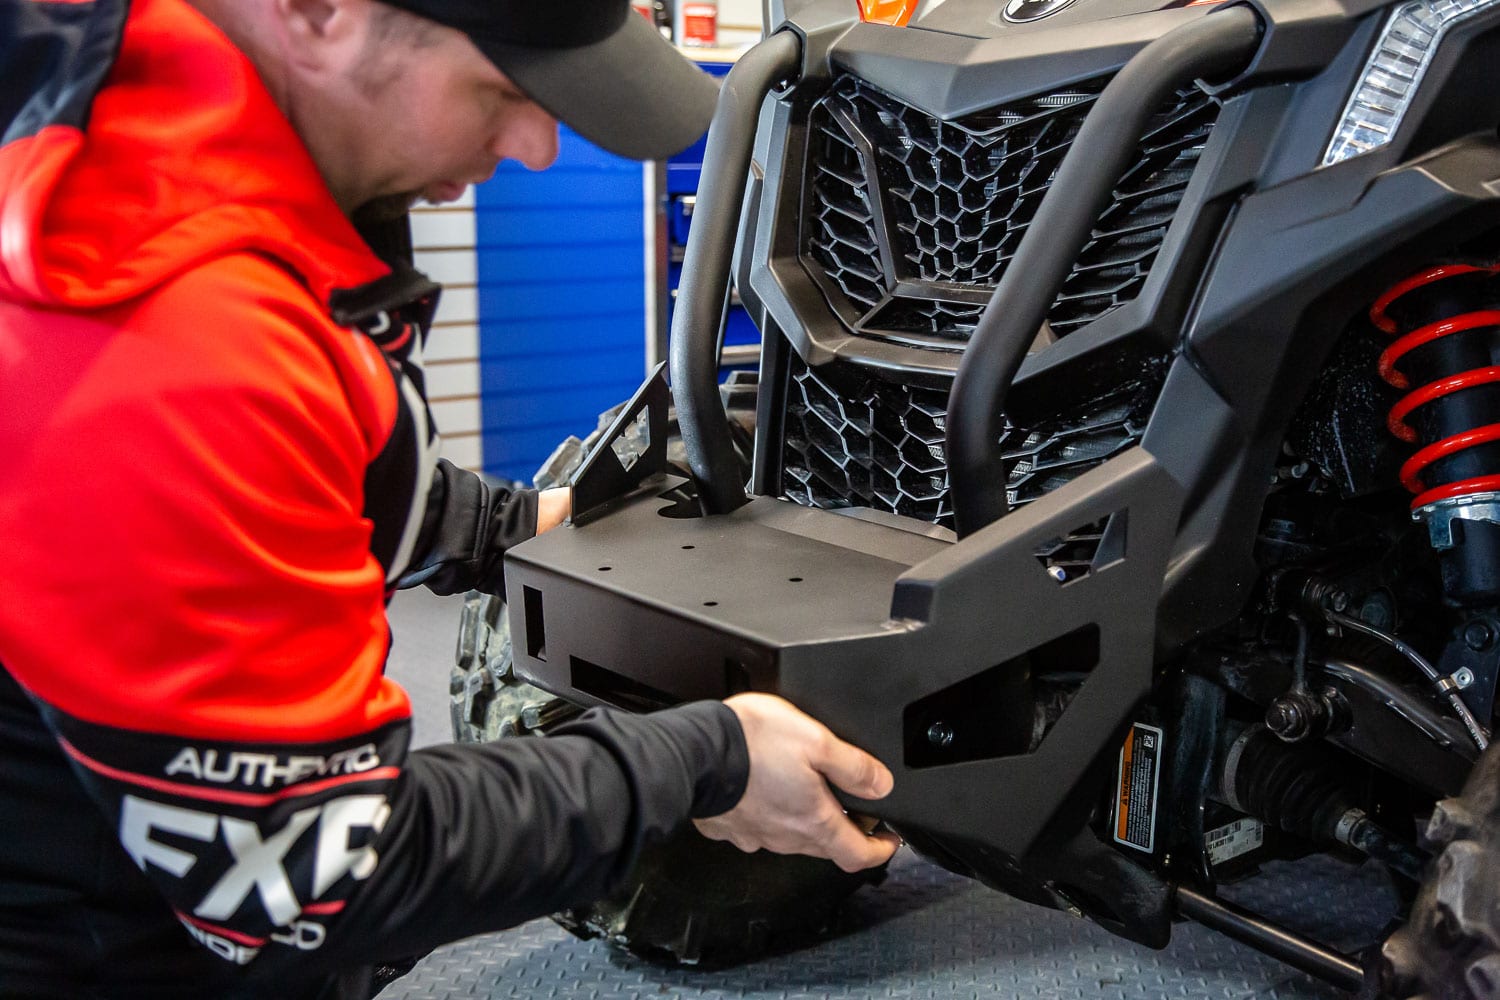
Can-am has put a Maverick Trail at our disposal to demonstrate the installation of the AXON winch. We also have at our disposal a Warn bumper specially designed for this vehicle. We have selected this equipment because the sloped design of this bumper is high to maintain maximum ground clearance. It allows attaching WARN AXON winches, VRX winches, and older 4,500-lb type winches. It has built-in light ports for mounting auxiliary projectors. It has soldered recovery points ready for D shackles. It has a durable black powder coat paint on a steel construction. It is easy to install thanks to pre-drilled bolt holes and precuts ends make it easy to assemble a WARN winch, even after the bumper is installed.
INSTALLATION PROCEDURE:
Note: When installing any kind of electrical components, it is recommended to first disconnect the battery
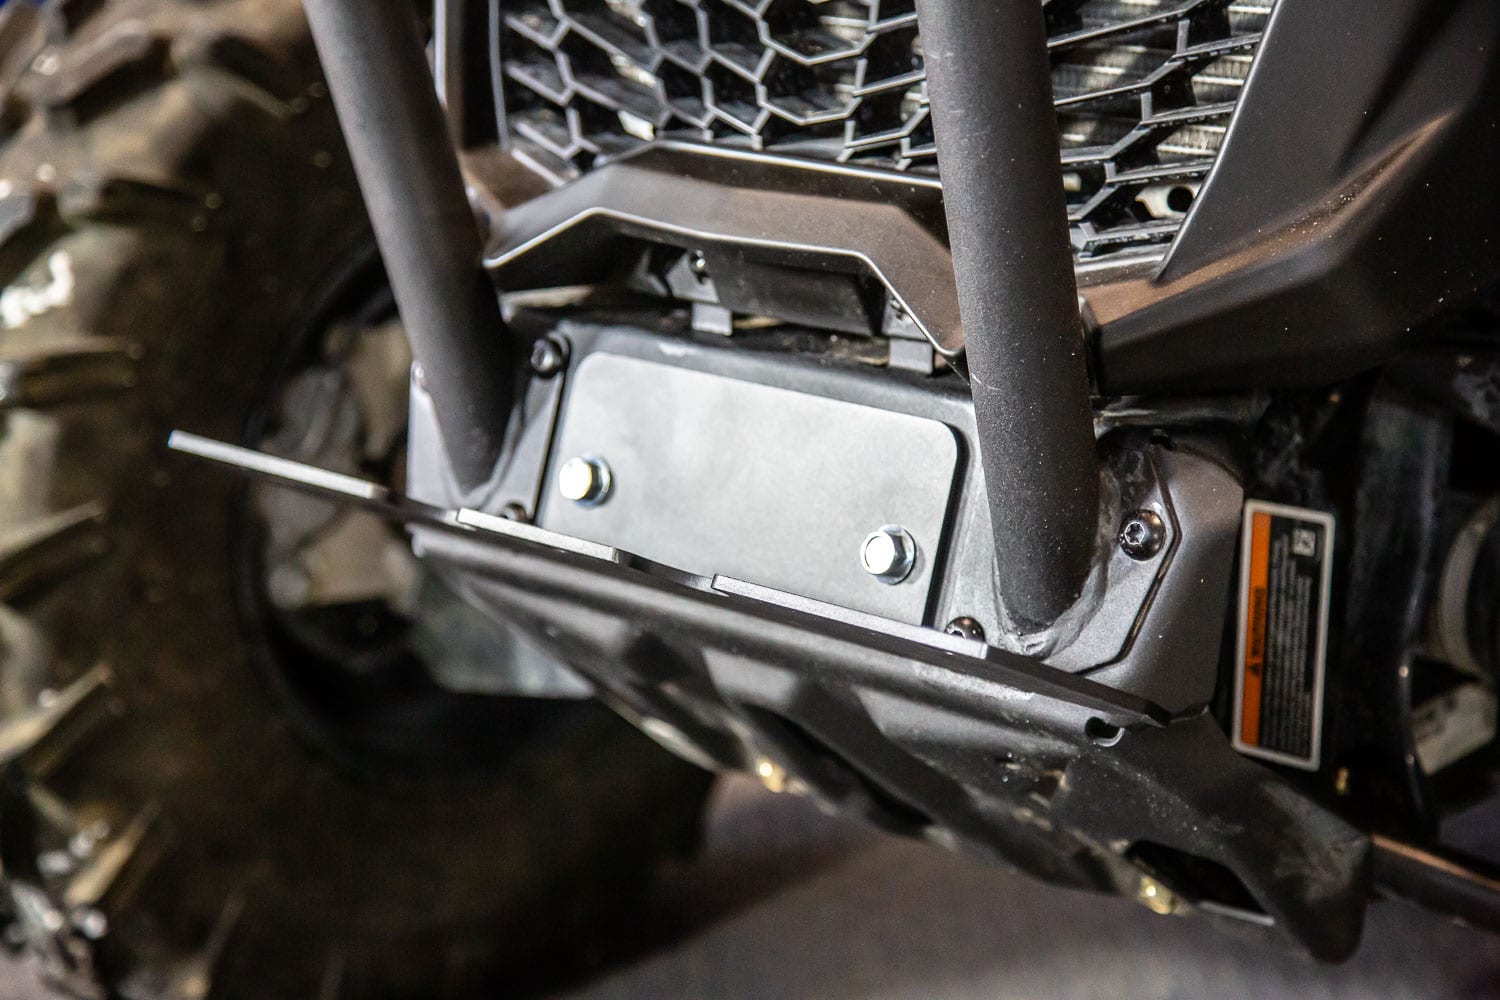
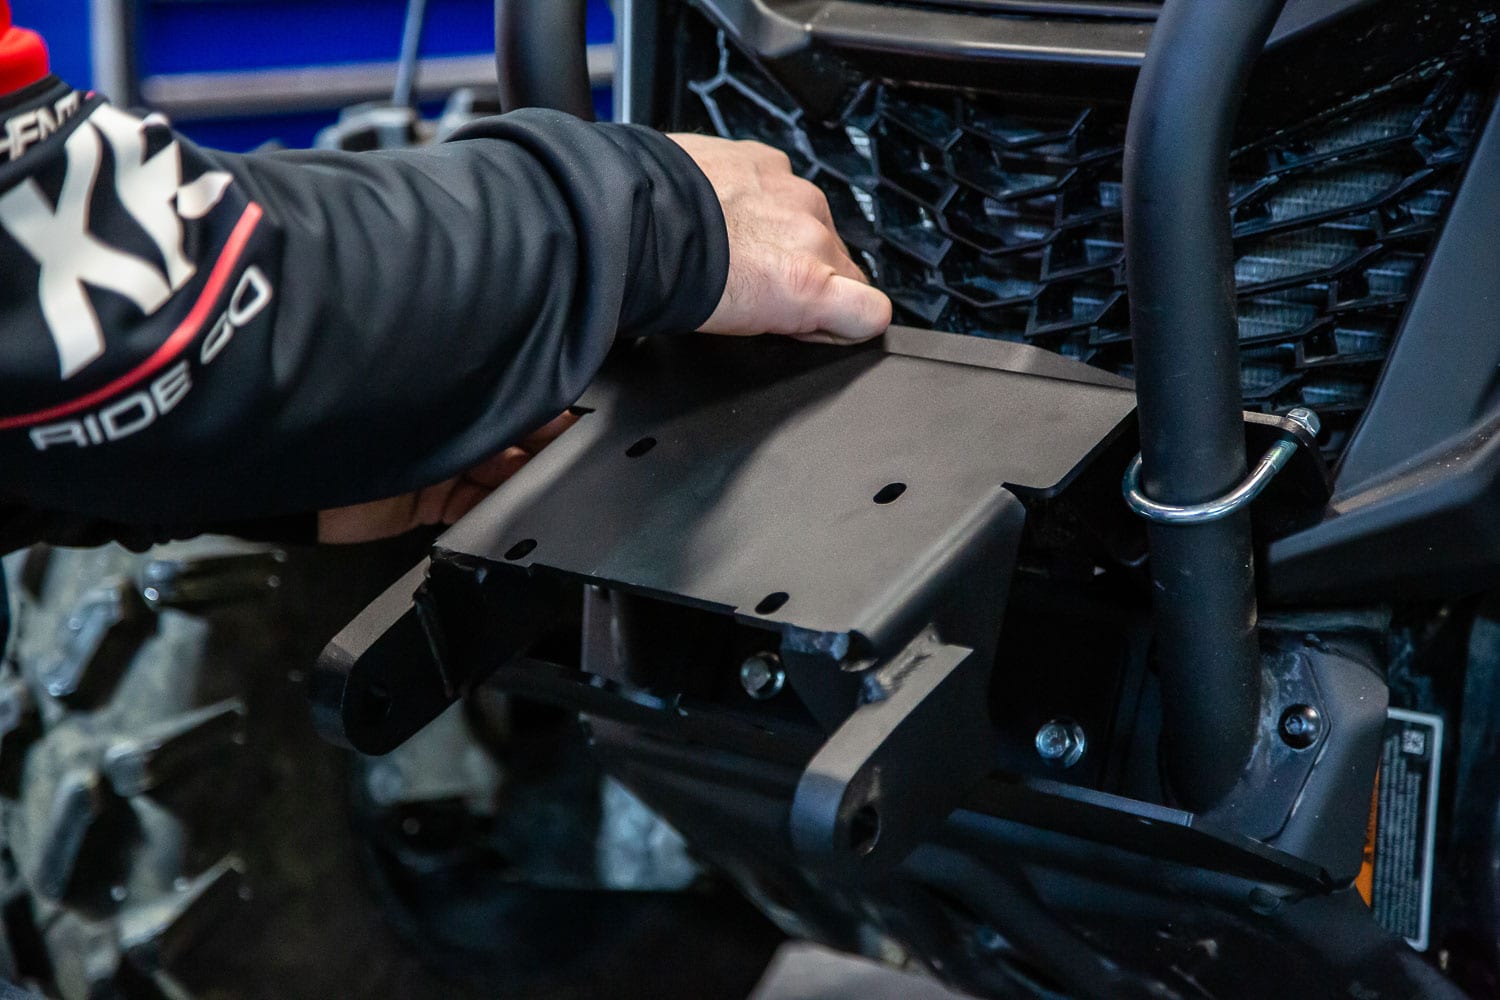
The installation of the Warn bumper is quick and easy with a bolt-on installation.
- Secure the lower retaining plate to the original Can-am Maverick Trail bumper with 2 bolts.
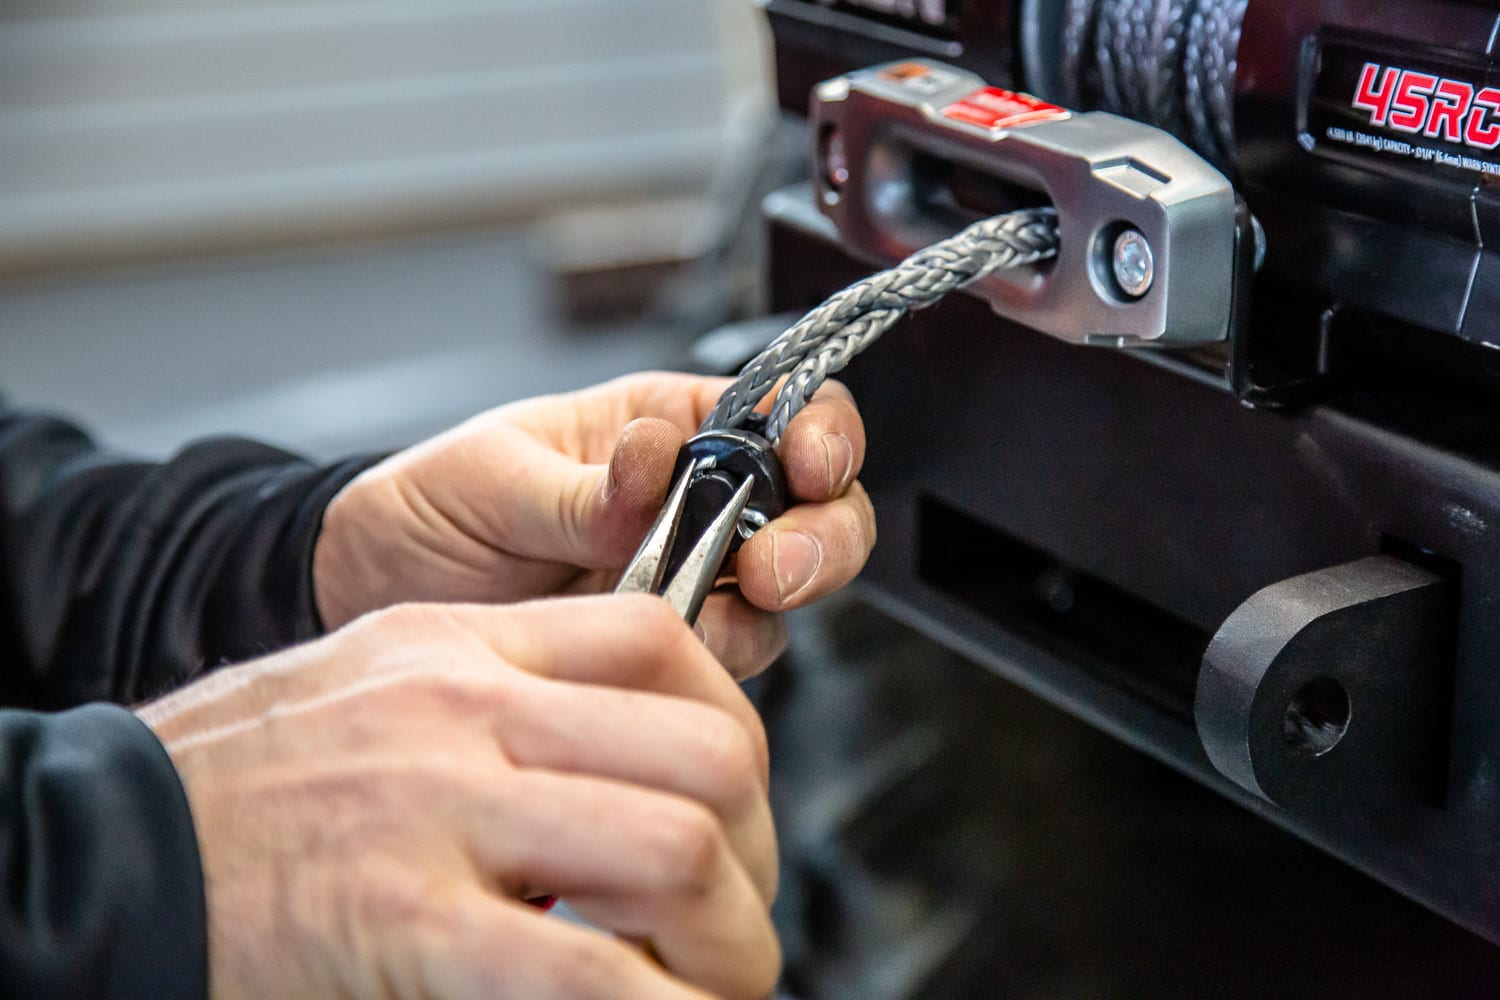
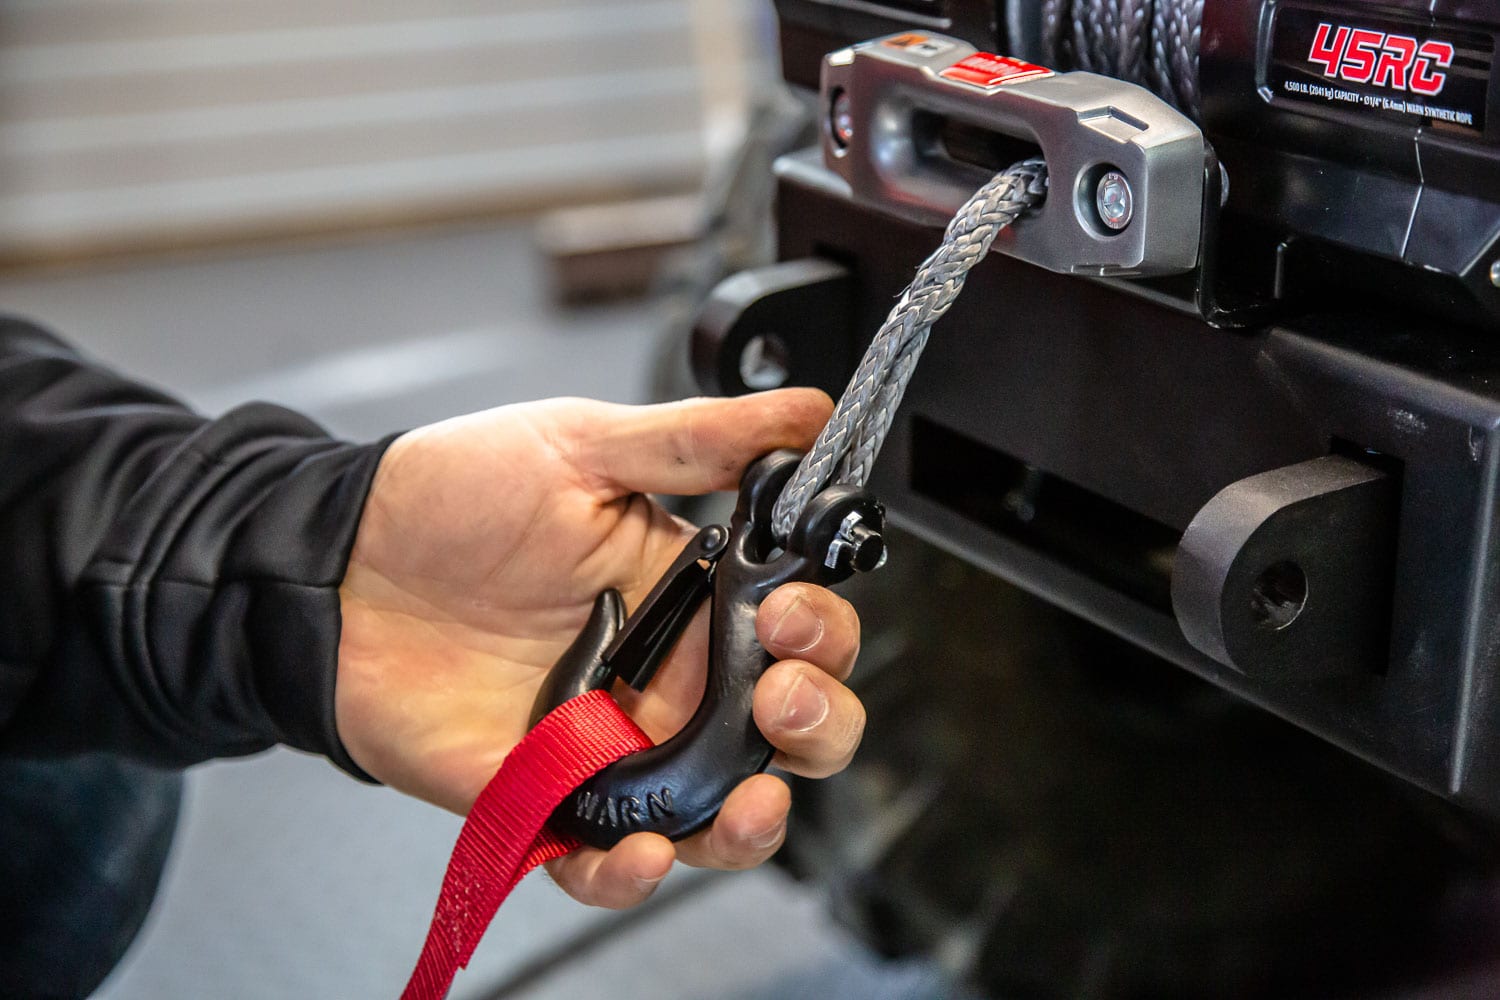
The bumper being firmly fixed, we are now at the stage of installing the winch.

Once the installation completed, the battery can be reconnected and we can now test our new winch and enjoy its benefits.
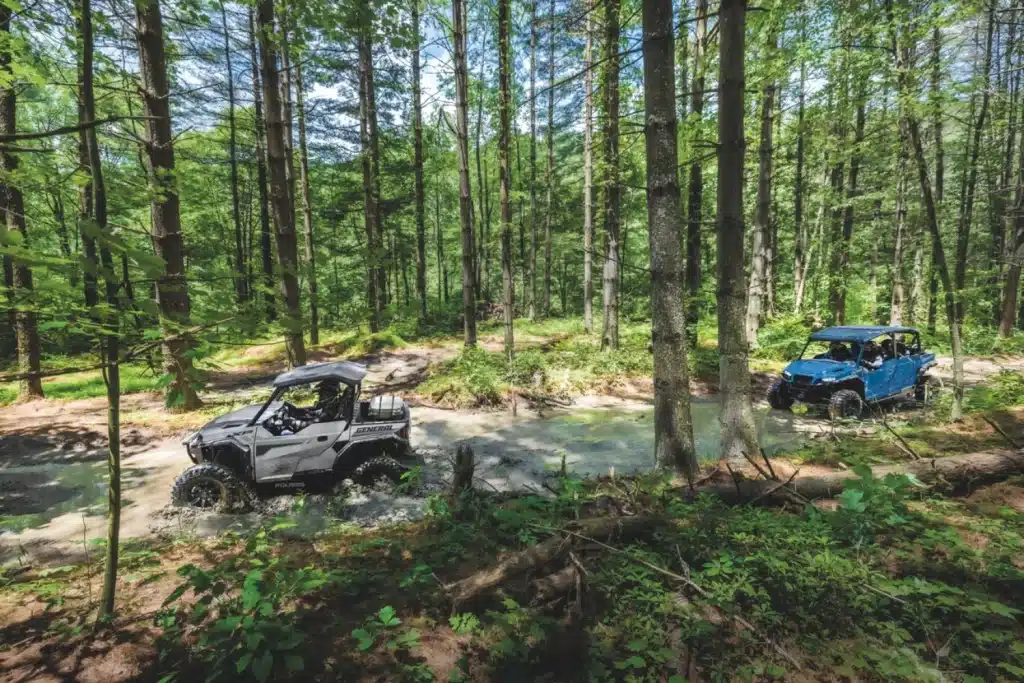
In conclusion, the addition of a winch is essential to fully enjoy our outings in the forest. See the choice of an AXON winch as an investment that will take you away from many worries. Even if it’s a bit more expensive, this high-end model from Warn will pay off in the long run and it will serve you for many years to come.