In the winter season, when the cold hits us hard, we quickly realize if we are missing something essential to prolong the rides during this kind of weather. Frostbite at the extremities of our body undoubtedly takes away the pleasures related to our outdoor activities.
It is at this precise moment that we realize the importance of having heated grips to enhance our rides. It is an inexpensive addition that can be done with very few tools and some basic experience.
2 options are available:
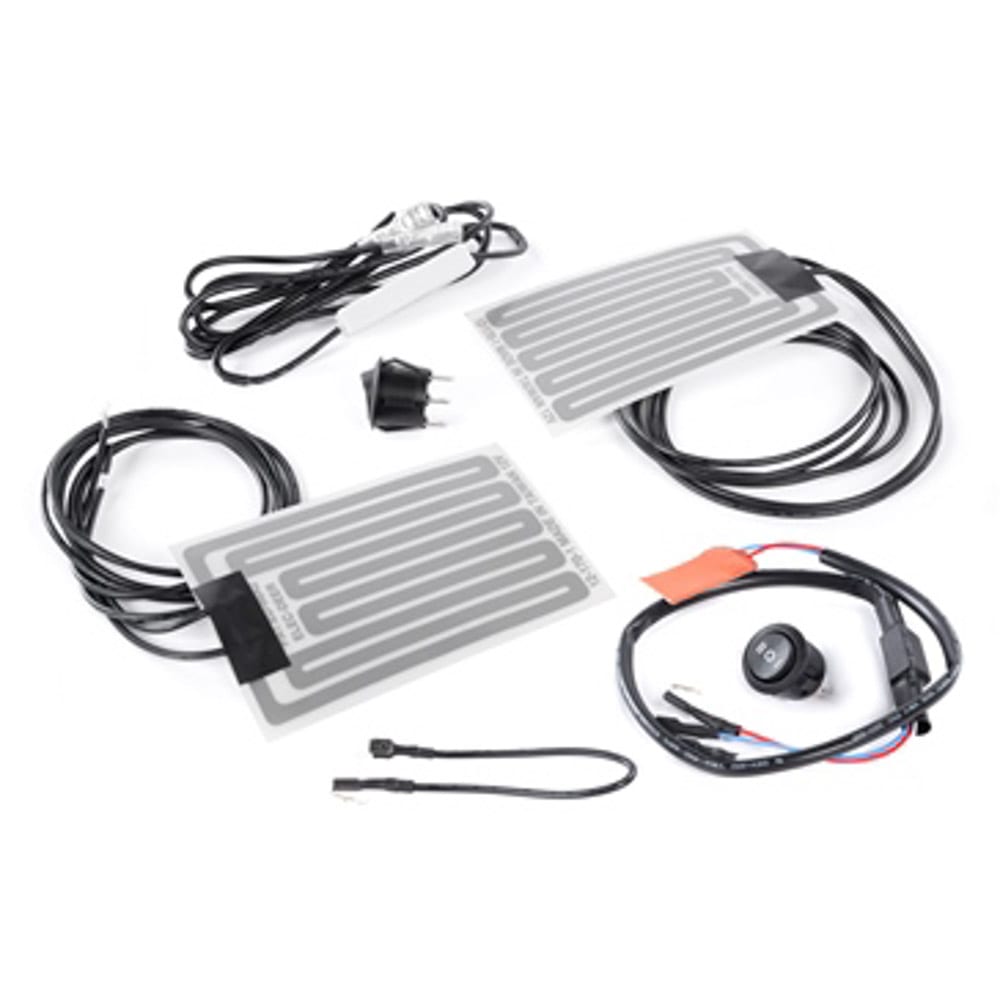
– The first, self-adhesive type, offers the advantage of keeping the original handle grip and is available at low cost. It requires that the original grips be removed with care if we wish to reuse them after the installation. On the other hand, as in the case of our Can-am Outlander, the use of glue during the factory installation of the grips makes recovering them almost impossible and requires the purchase of a new set. The heating elements of this option also have a limitation on the spread of heat caused by the thermal insulation property of the original rubber grips.
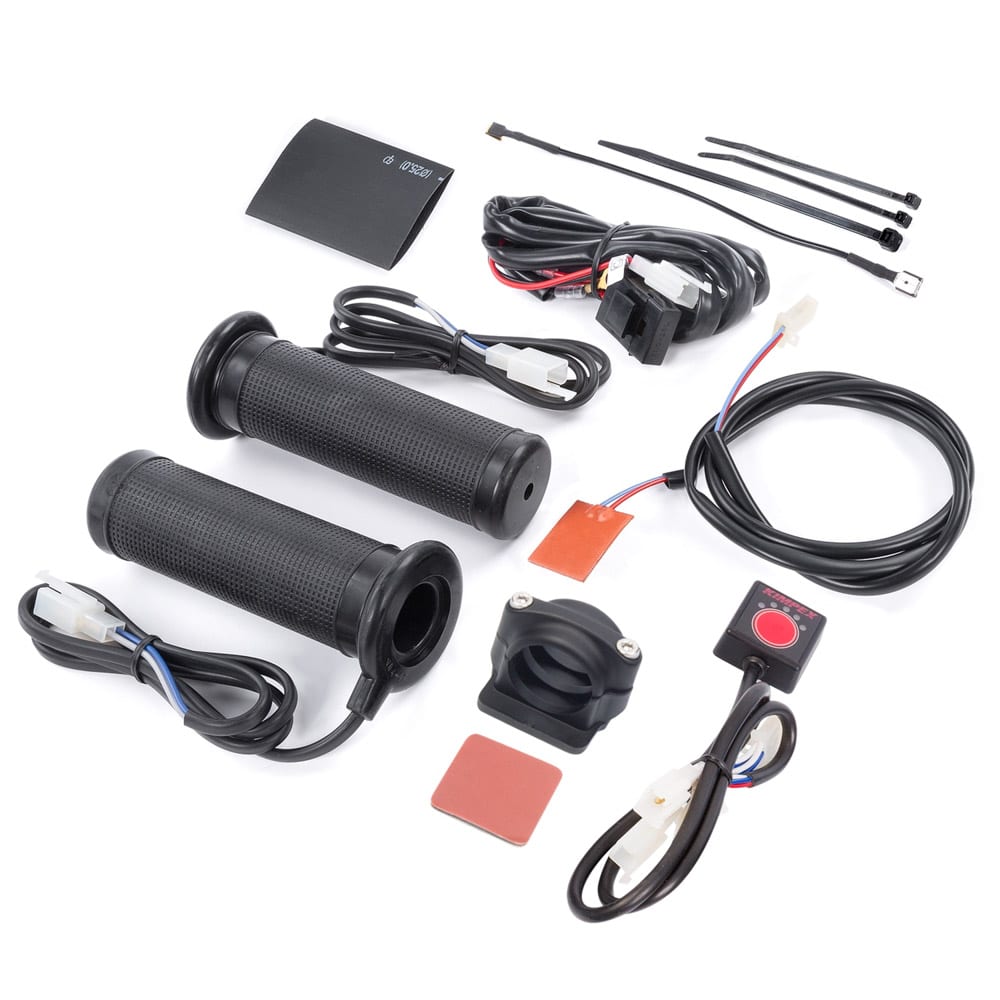
– The second option is more robust, but also more expensive because the heating element is integrated into the new handle grips. These complete sets allow us to proceed with the replacement of the original grips simply because they will no longer be necessary. This kit is the most efficient and has no interference to slow down the diffusion of heat. Therefore, they are more direct, efficient, and faster than the filament systems used in the past.
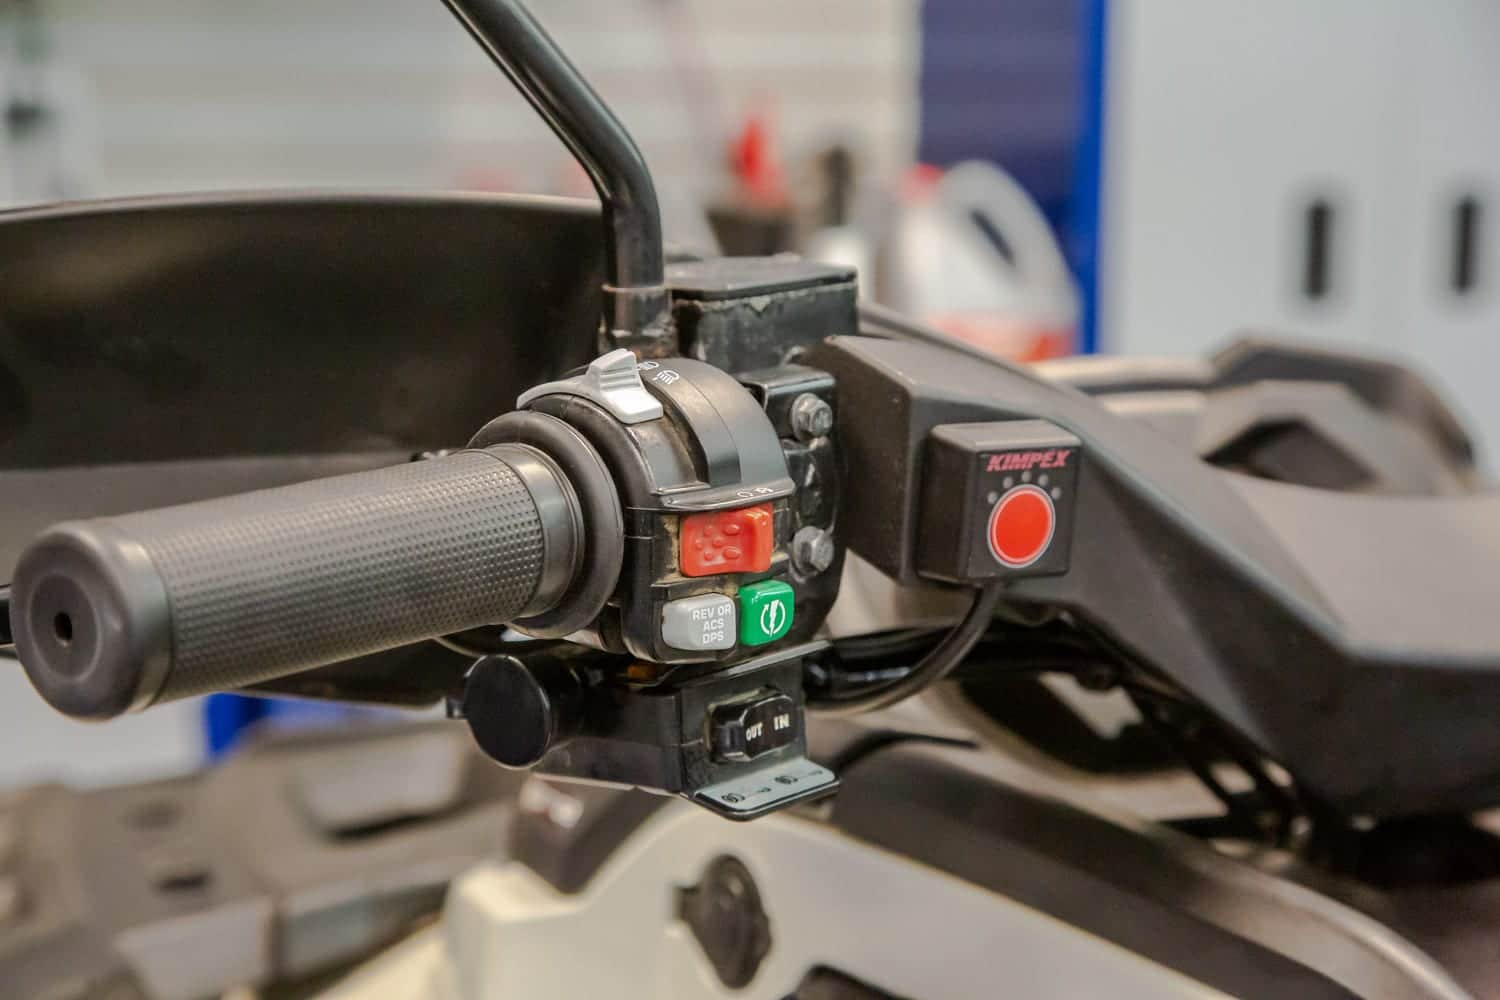
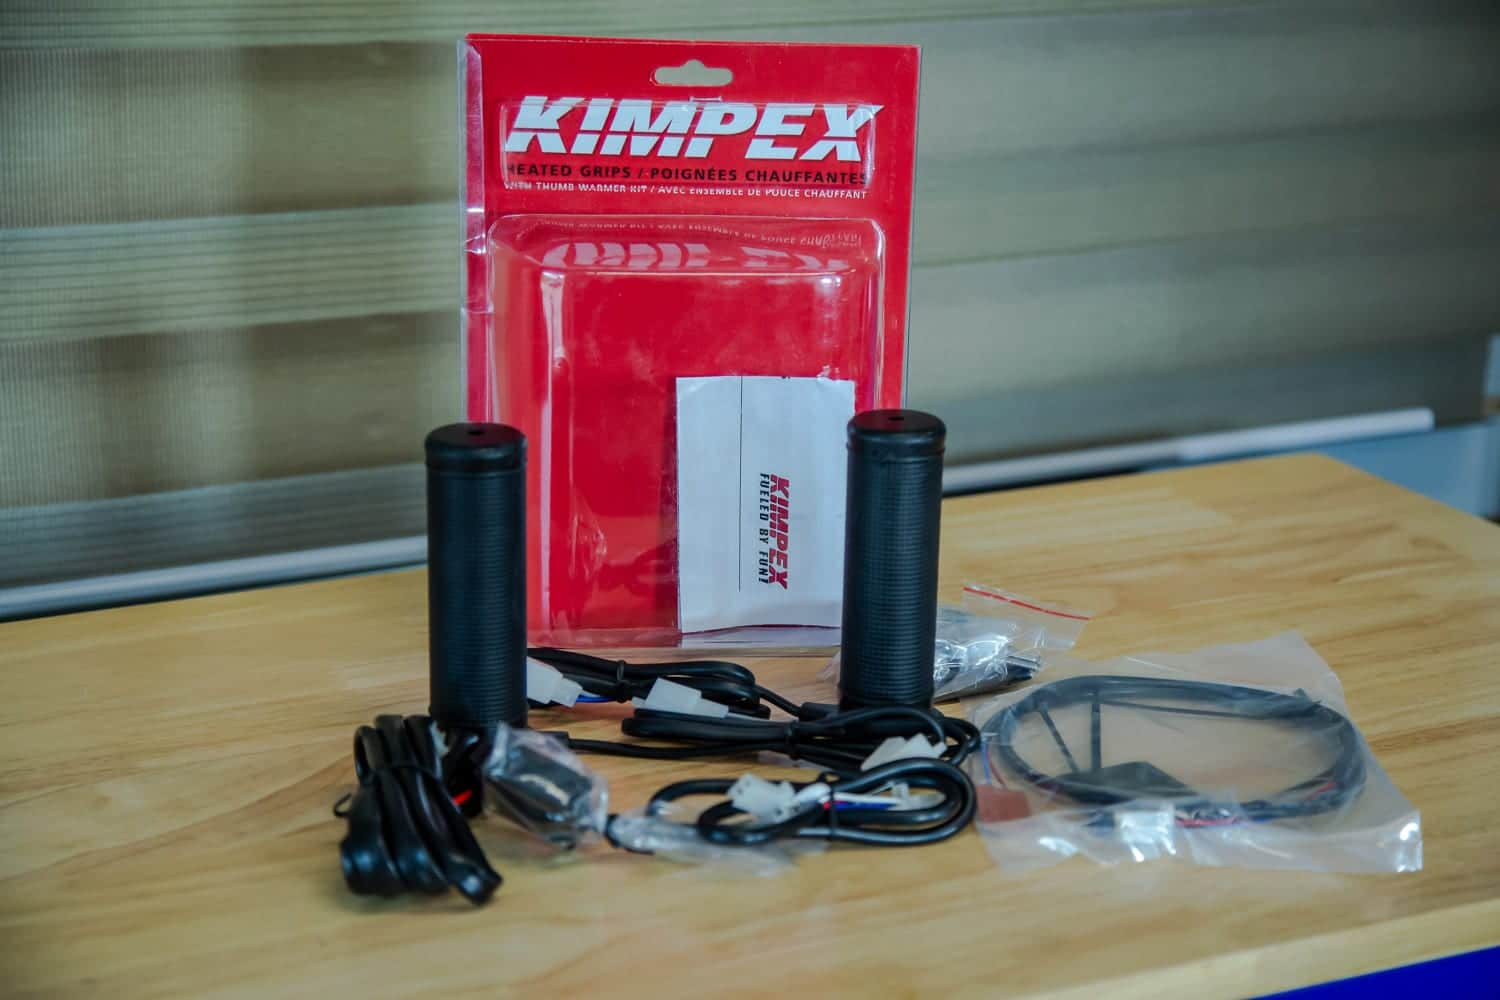
We decided to install the Kimpex Heated Grip and Thumb set. The main characteristics are as follows:
- Heated grip controller with LED light push button.
- 5 heat intensities
- easy installation
- fits on 7/8 ” handlebar
Installation of heated grips and thumb:
1- Neutralize the energy source. Your vehicle’s battery might seem harmless, but it is a potentially life-threatening storehouse of electrons looking for a way out at the speed of light. Therefore, always remove the terminal from the ground (negative) terminal first. This greatly reduces the risk of a battery short circuit. Second, remove the positive terminal.
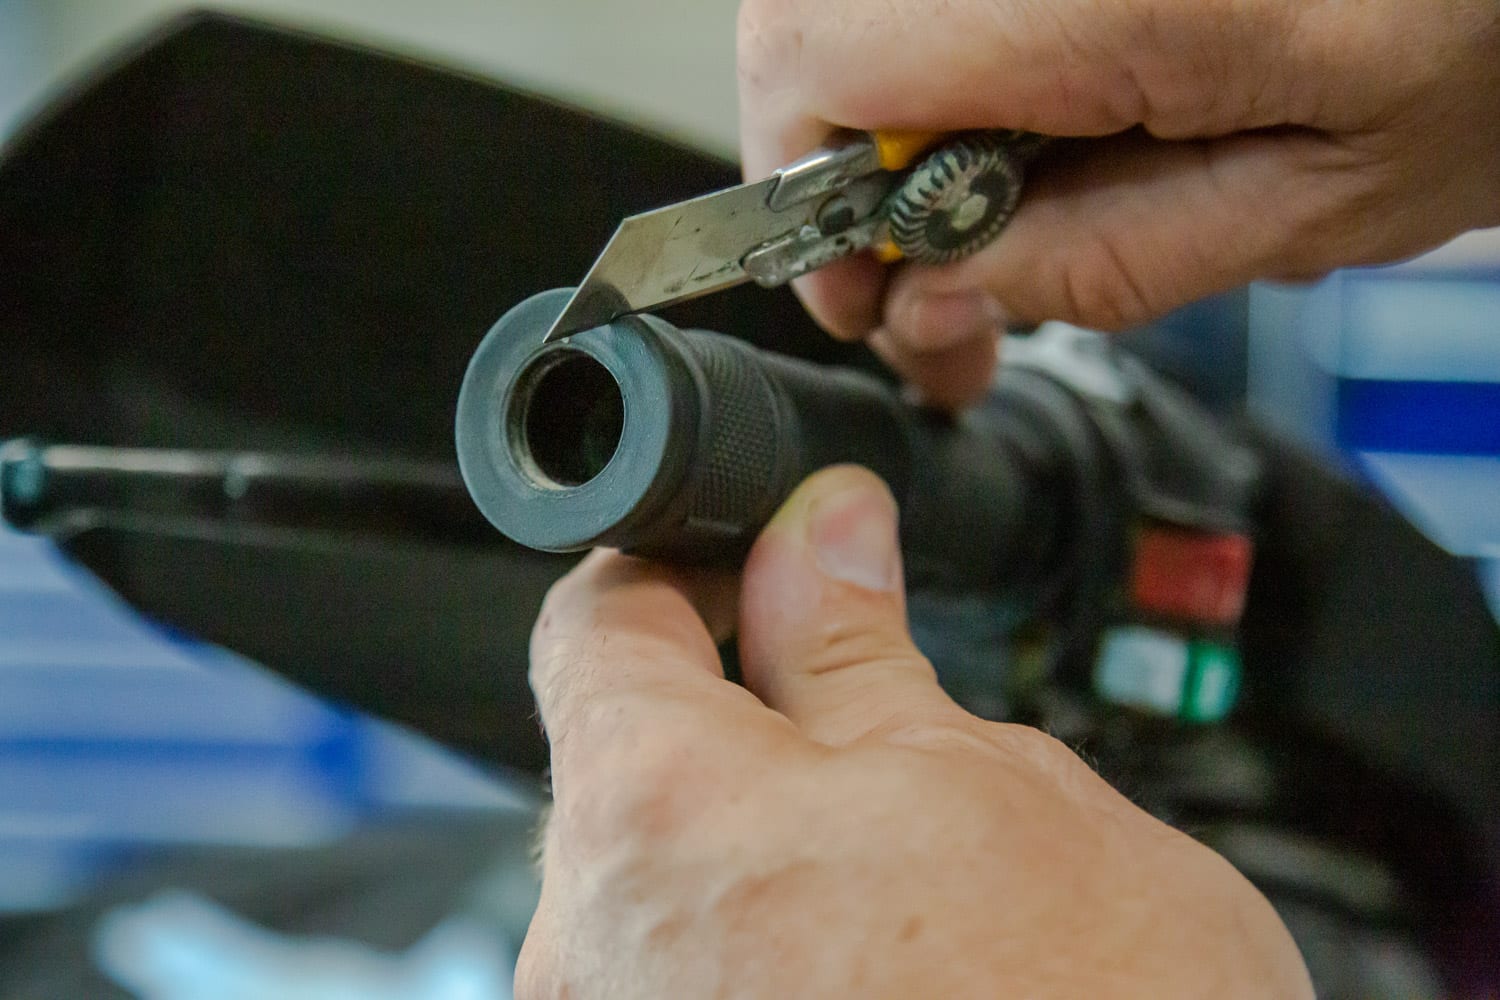
2- Start to disassemble your existing handles:
Once the end caps are removed, you need to remove the existing rubber grip from the handlebar metal tube. These are usually glued and won’t come off easily. Slip a flathead screwdriver between the rubber and the bar and squeeze it left and right to break up the glue joint. You can also cut the handles using a sharp blade. Make sure to completely remove any adhesive deposits using sandpaper or such material.
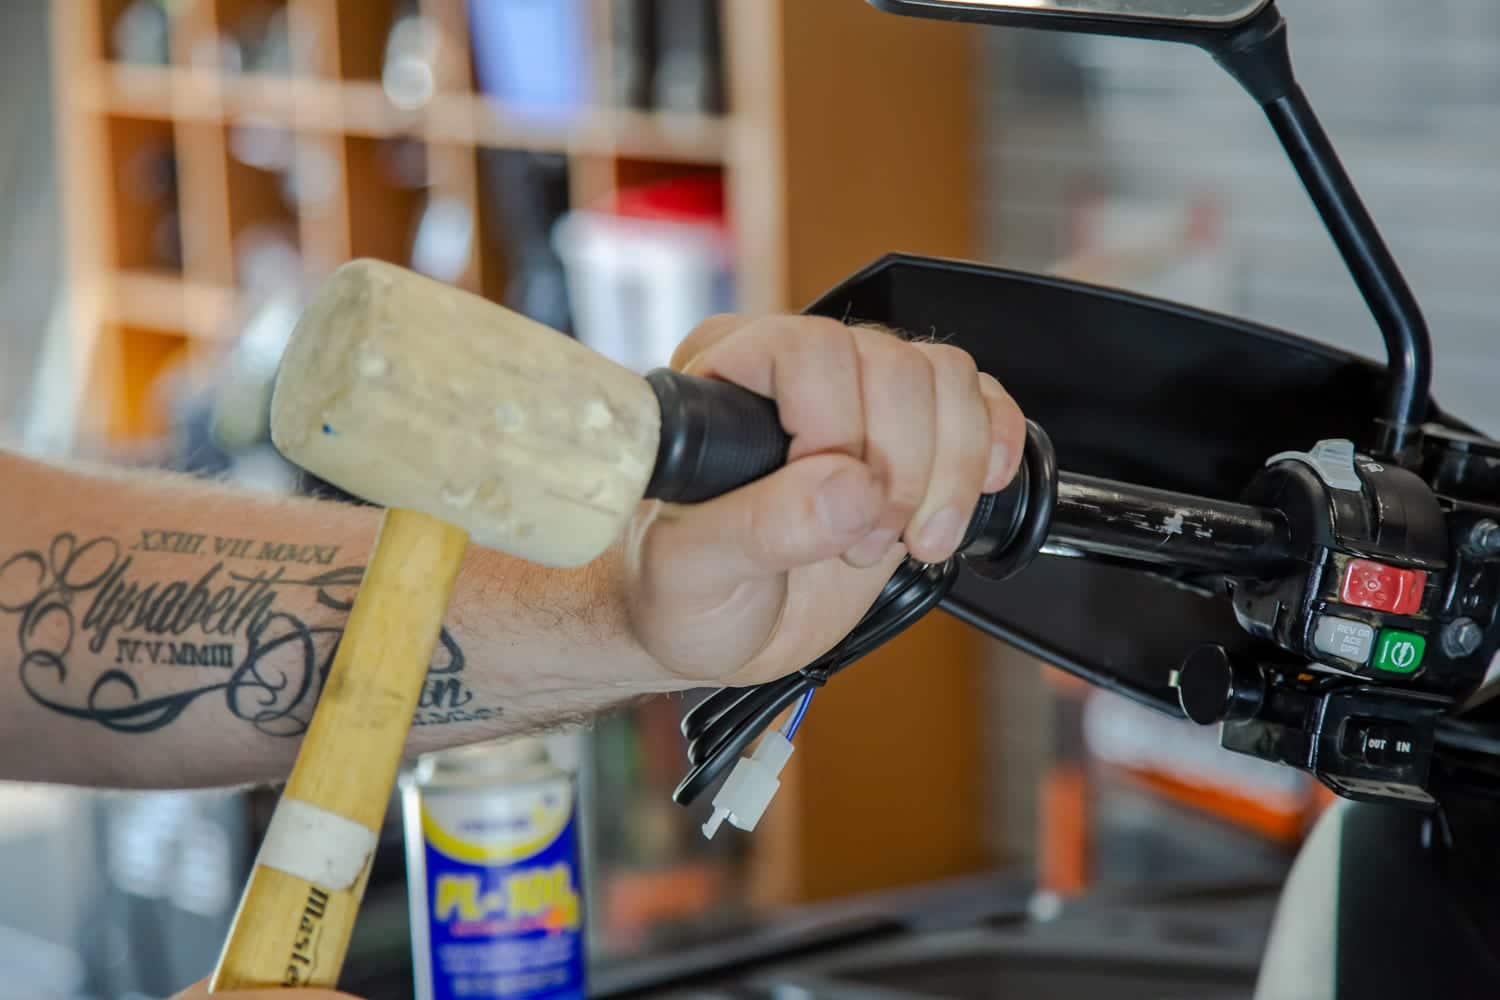
3- Insert the new handles on the end of the handlebar:
Take care to insert the new Kimpex handles correctly. If they are difficult to insert, this is best, as they will firmly stay in place. On the other hand, the use of a lubricant is an option when the insertion is too laborious. The use of a rubber-tipped mallet can also be used to complete the installation.
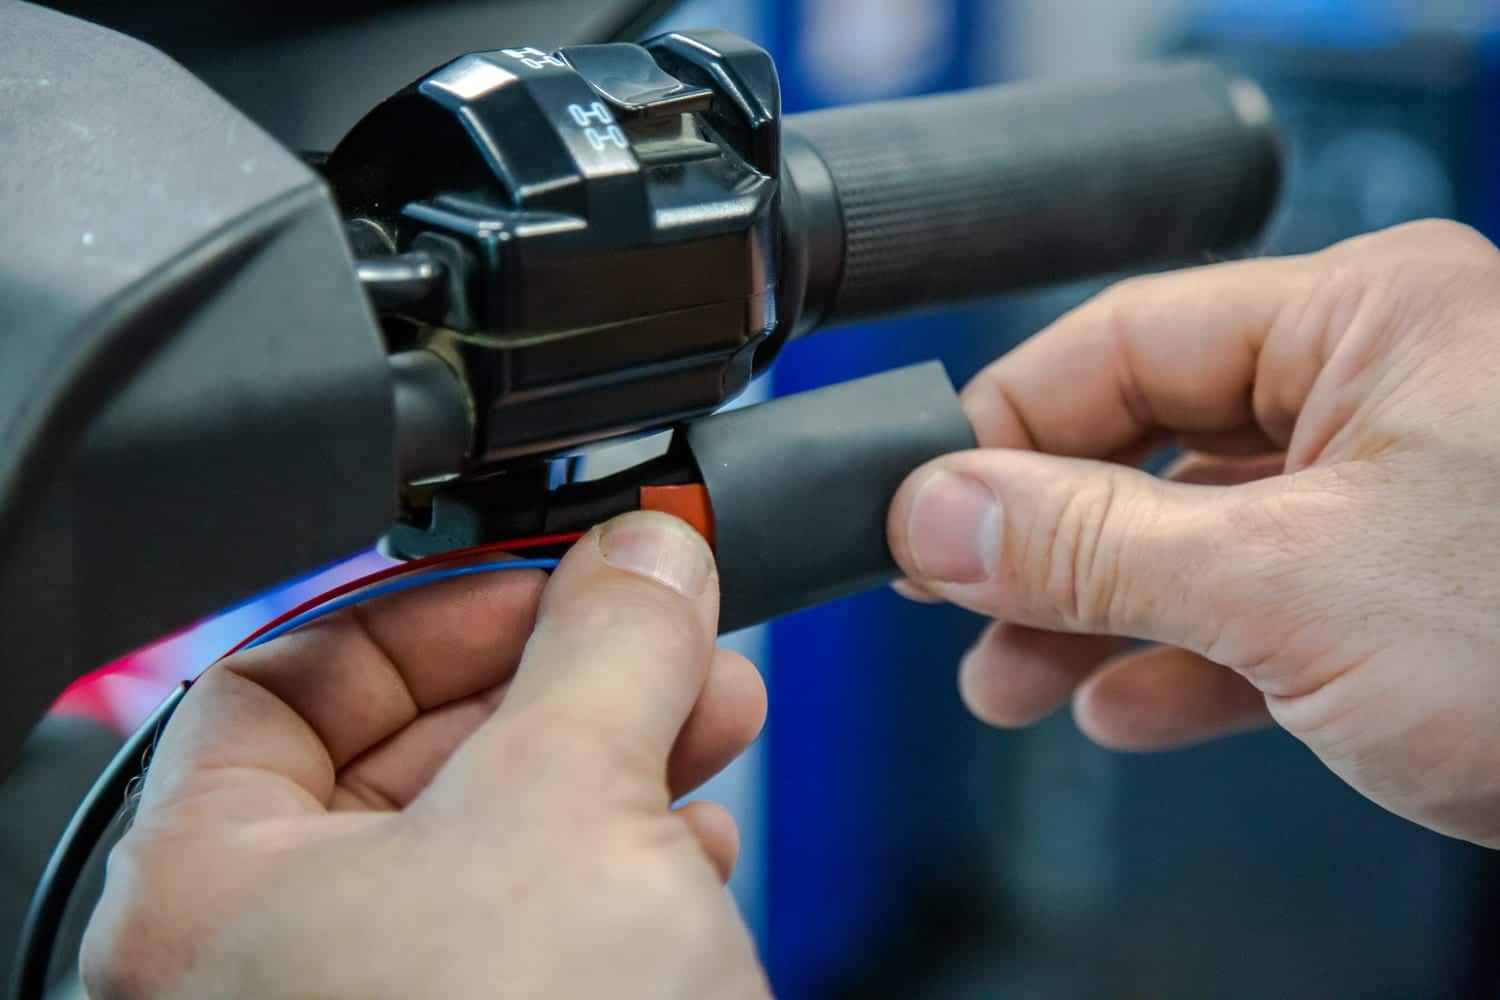
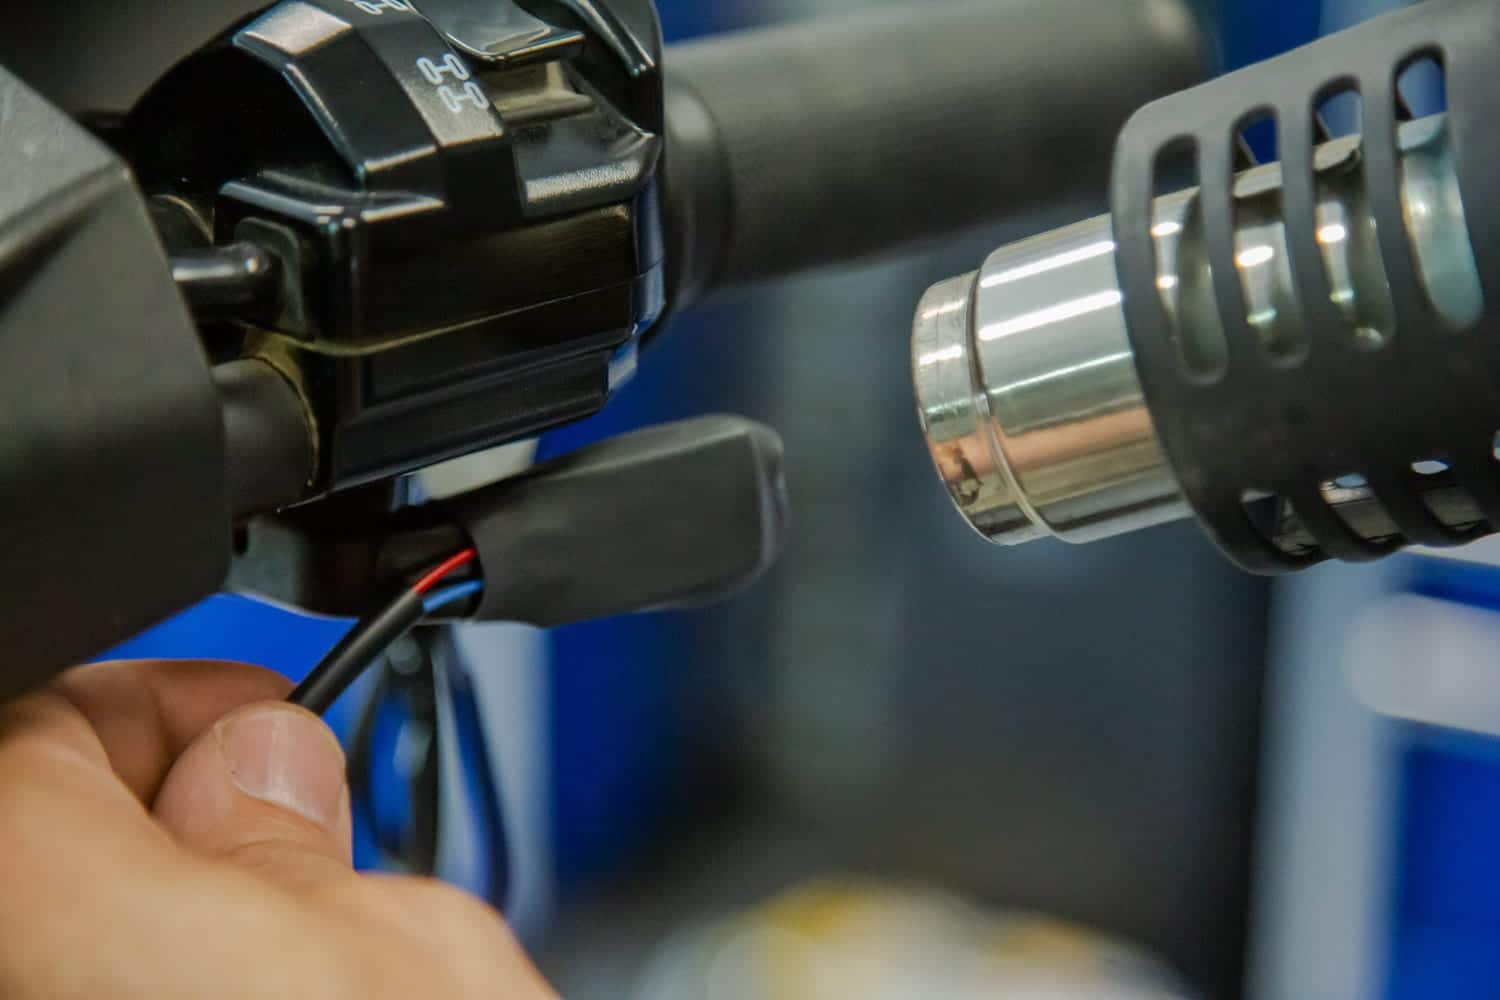
4- Install the heating surface on the throttle thumb:
Peel off the self-adhesive backing behind the heating surface and carefully place it on the thumb of the throttle. Insert the shrink band and use a heat gun for a perfect fit.
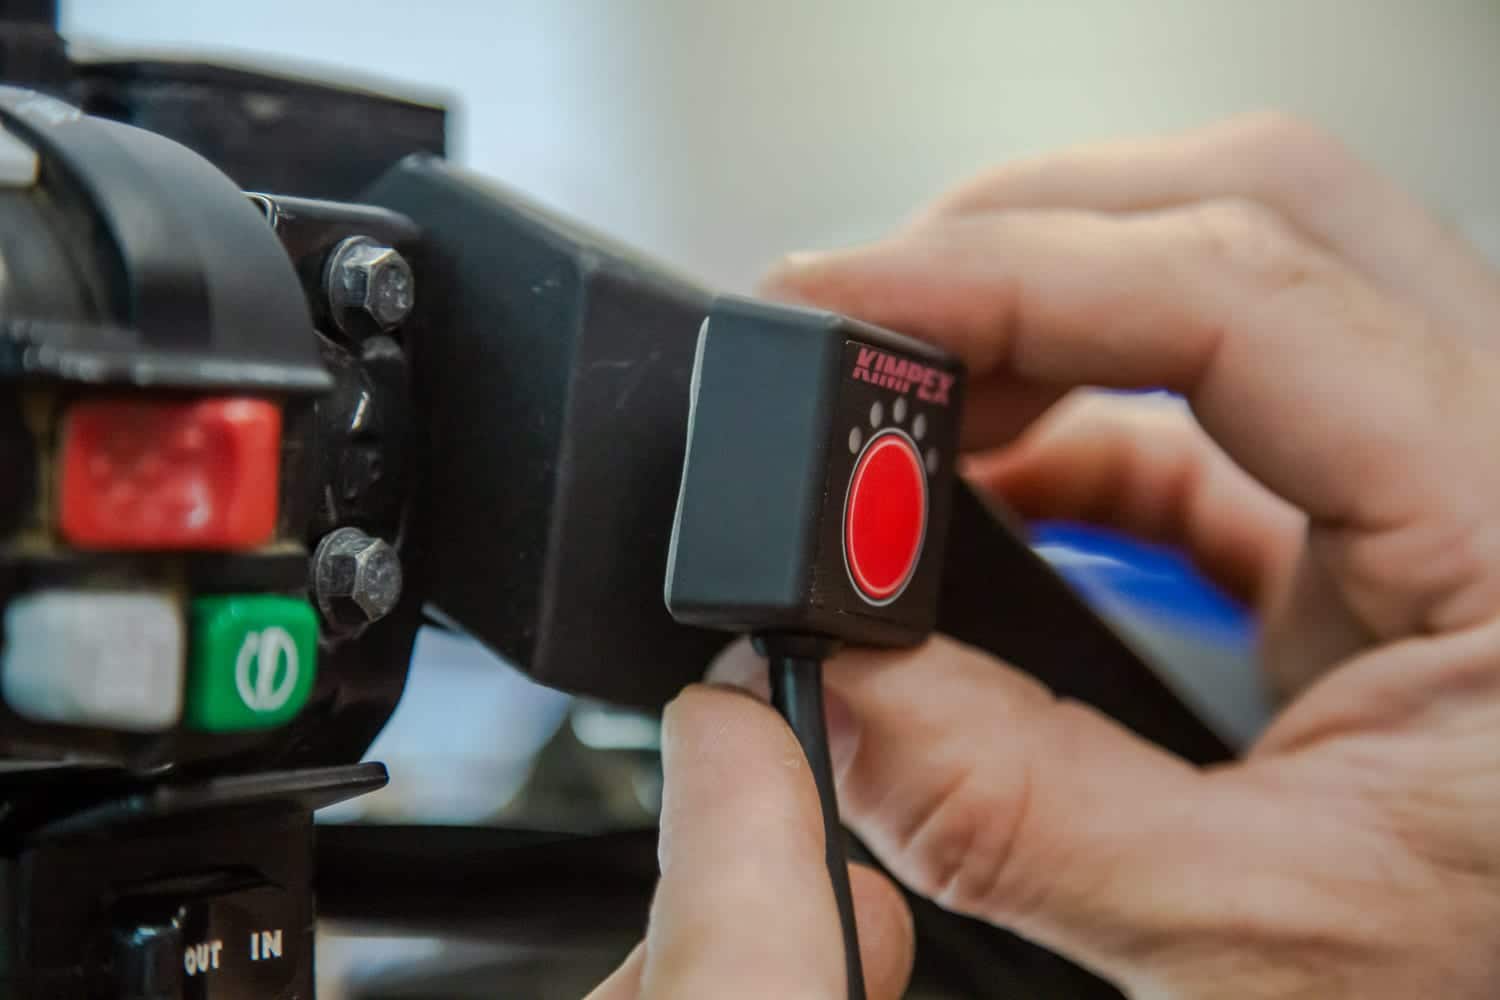
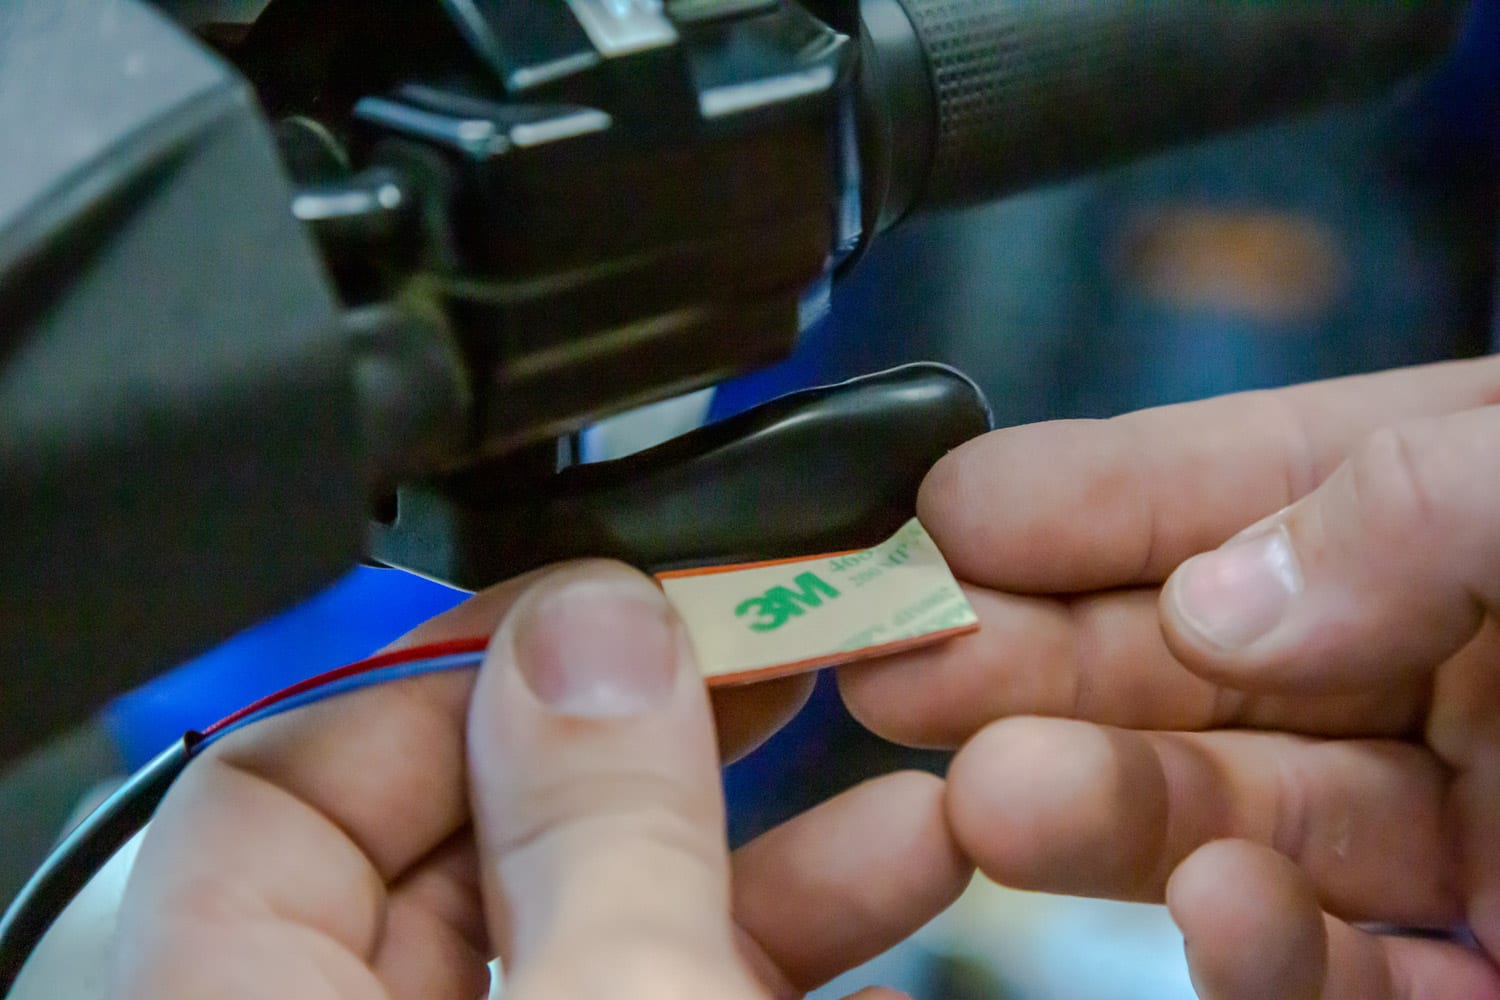
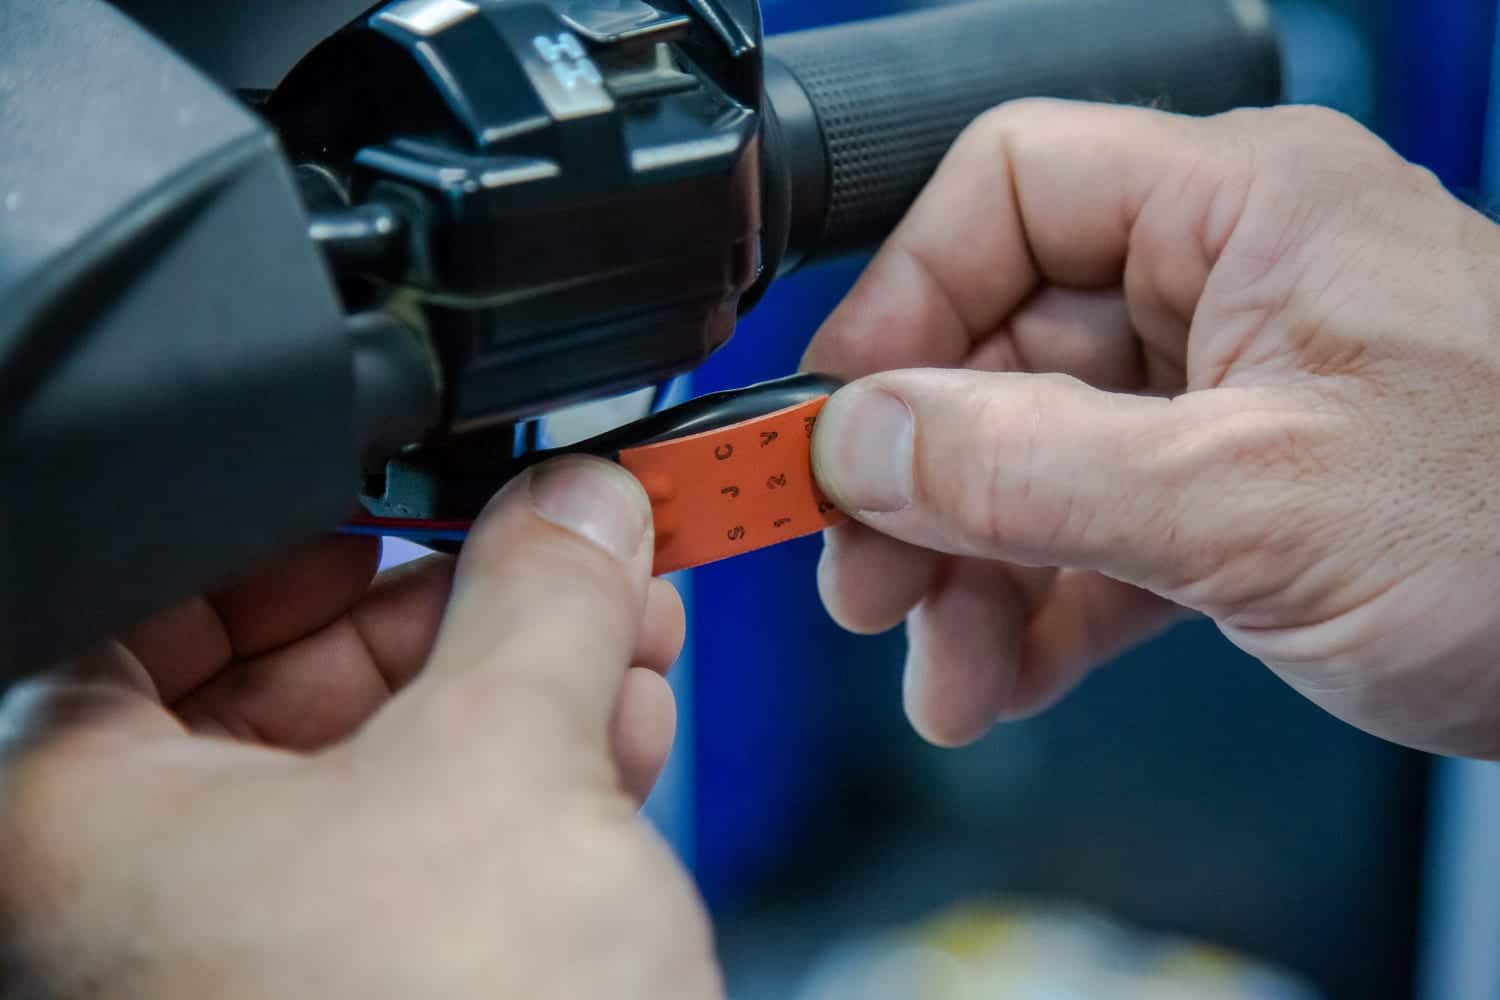
5- Installation of the switch:
Two installation methods are possible. First, it is possible to install it on the rounded surface of the handlebar using a clamping ring. For our part, we have opted for a self-adhesive film in a place that we have pre-selected.
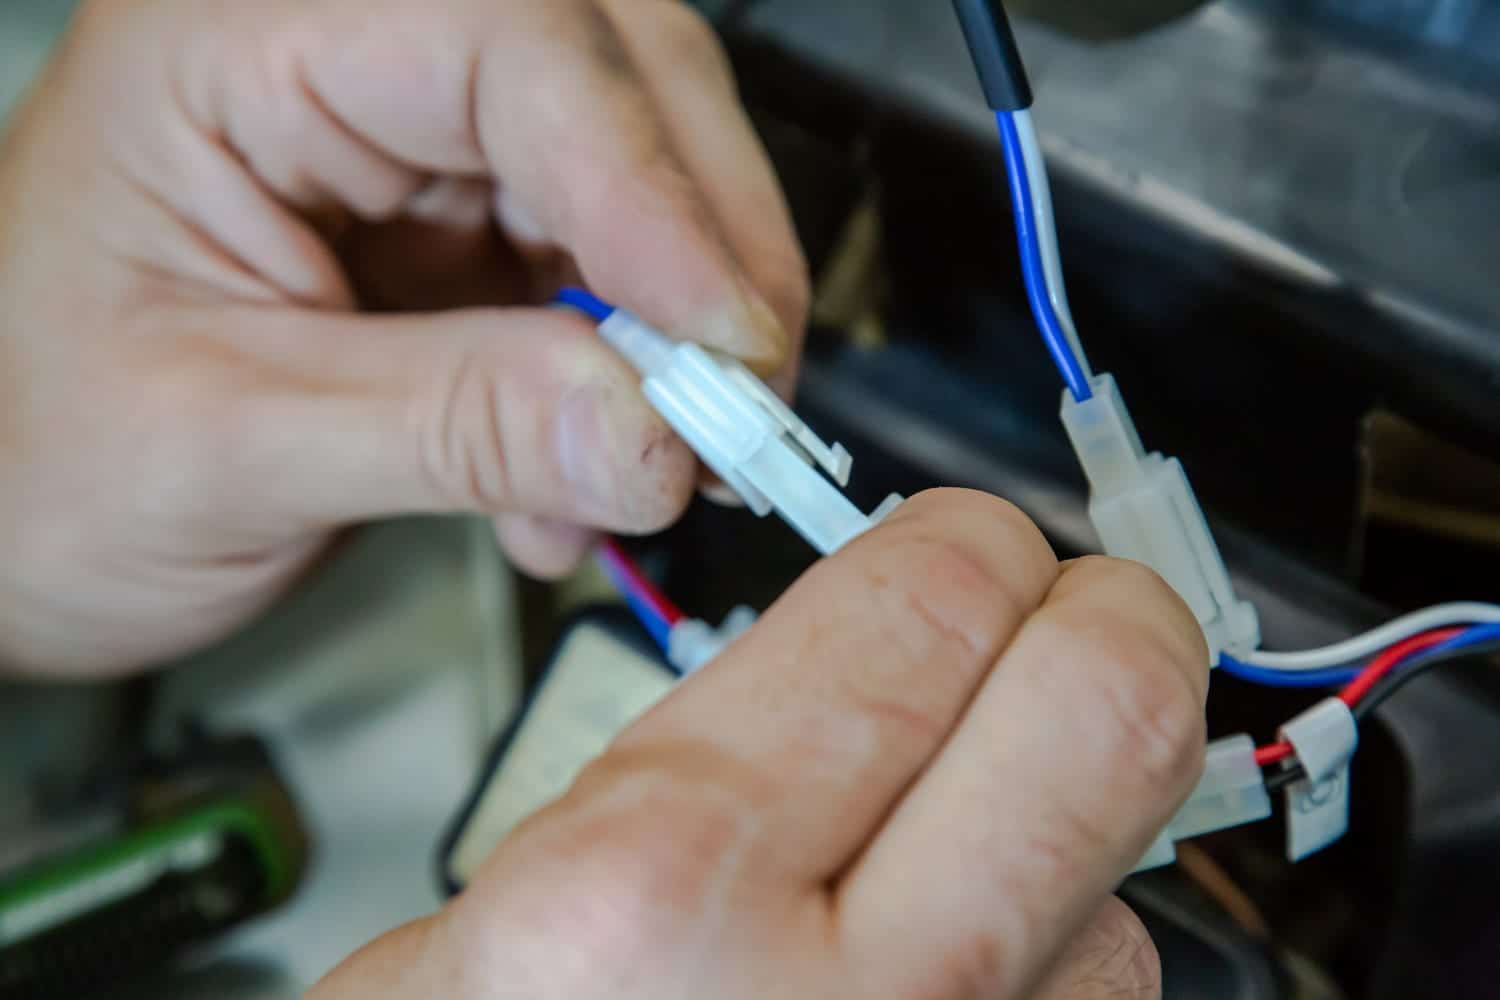
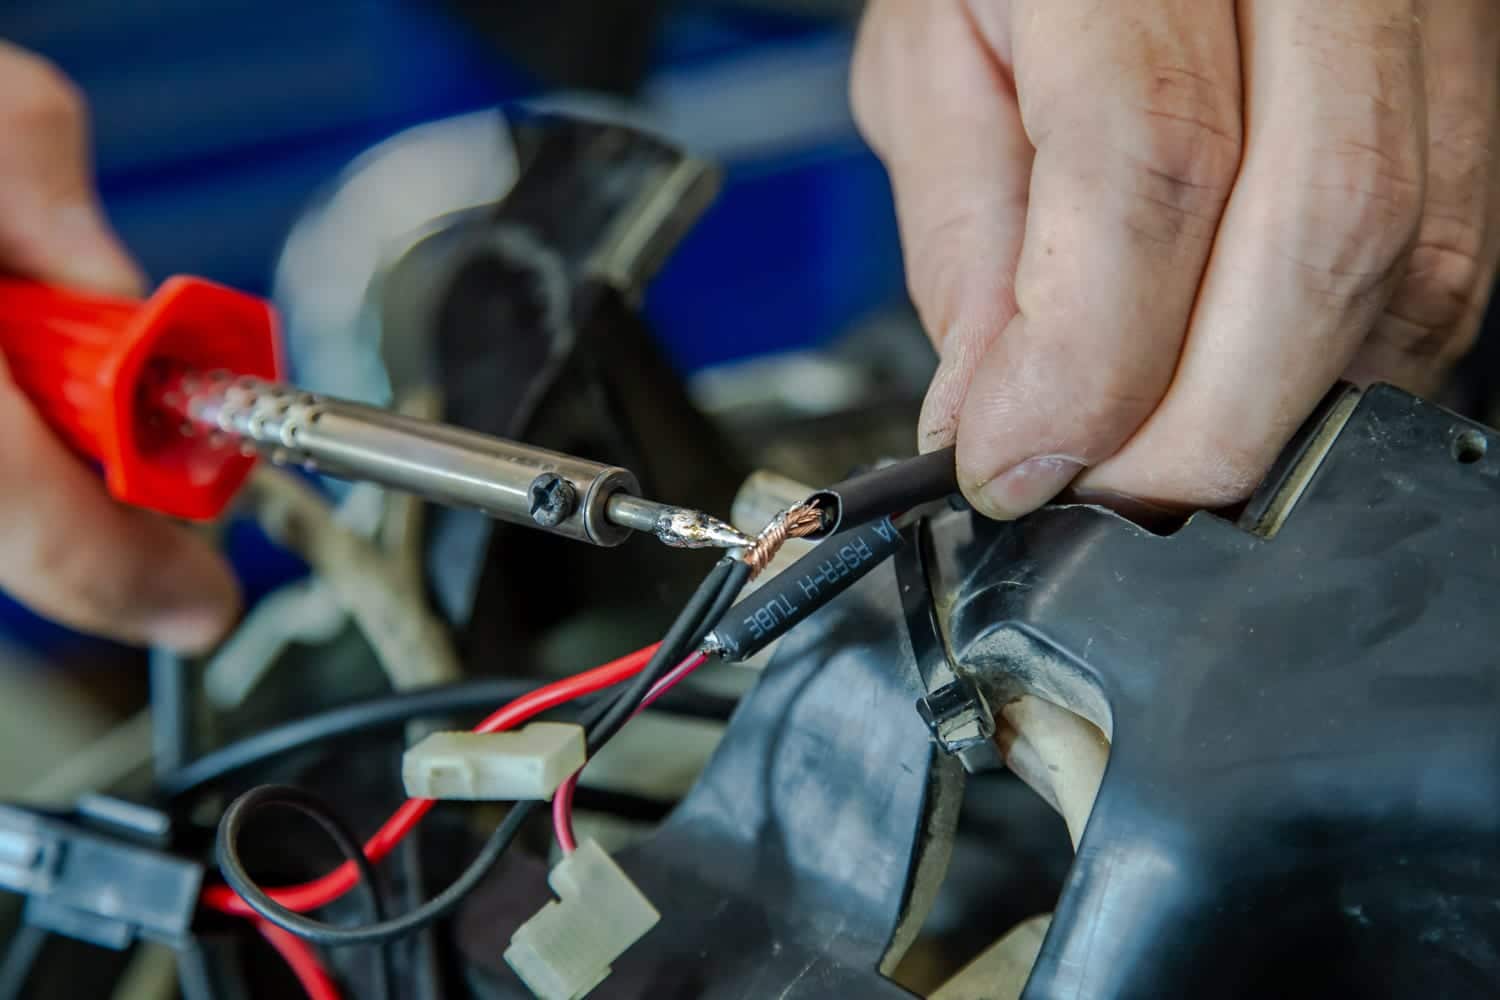
6- Find energy for the wiring harness:
Now you need to find 12V power for your new heated grips. You can wire the grips directly to the battery, but it’s a bad idea because if you accidentally leave the heater on, you’ll kill your battery in a flash. What you want is to connect it to a switched power source which only turns on when the ATV is running. If your ATV is equipped with an accessory power source, this is essentially what we are looking for.
Our Can-am Outlander is equipped with a 12V accessory socket that we will use. We have therefore taken care to connect all the wiring near this source, taking great care to attach everything with zip ties to avoid friction and wear that could affect its proper operation. This Kimpex set also has the advantage of having quick connect fittings.
We connected the 2 wires to get our positive source (+) as well as our grounding (-). We have taken care to insulate everything to protect our connections.
7- Finally, reconnect first the positive terminal to the battery followed by the negative.
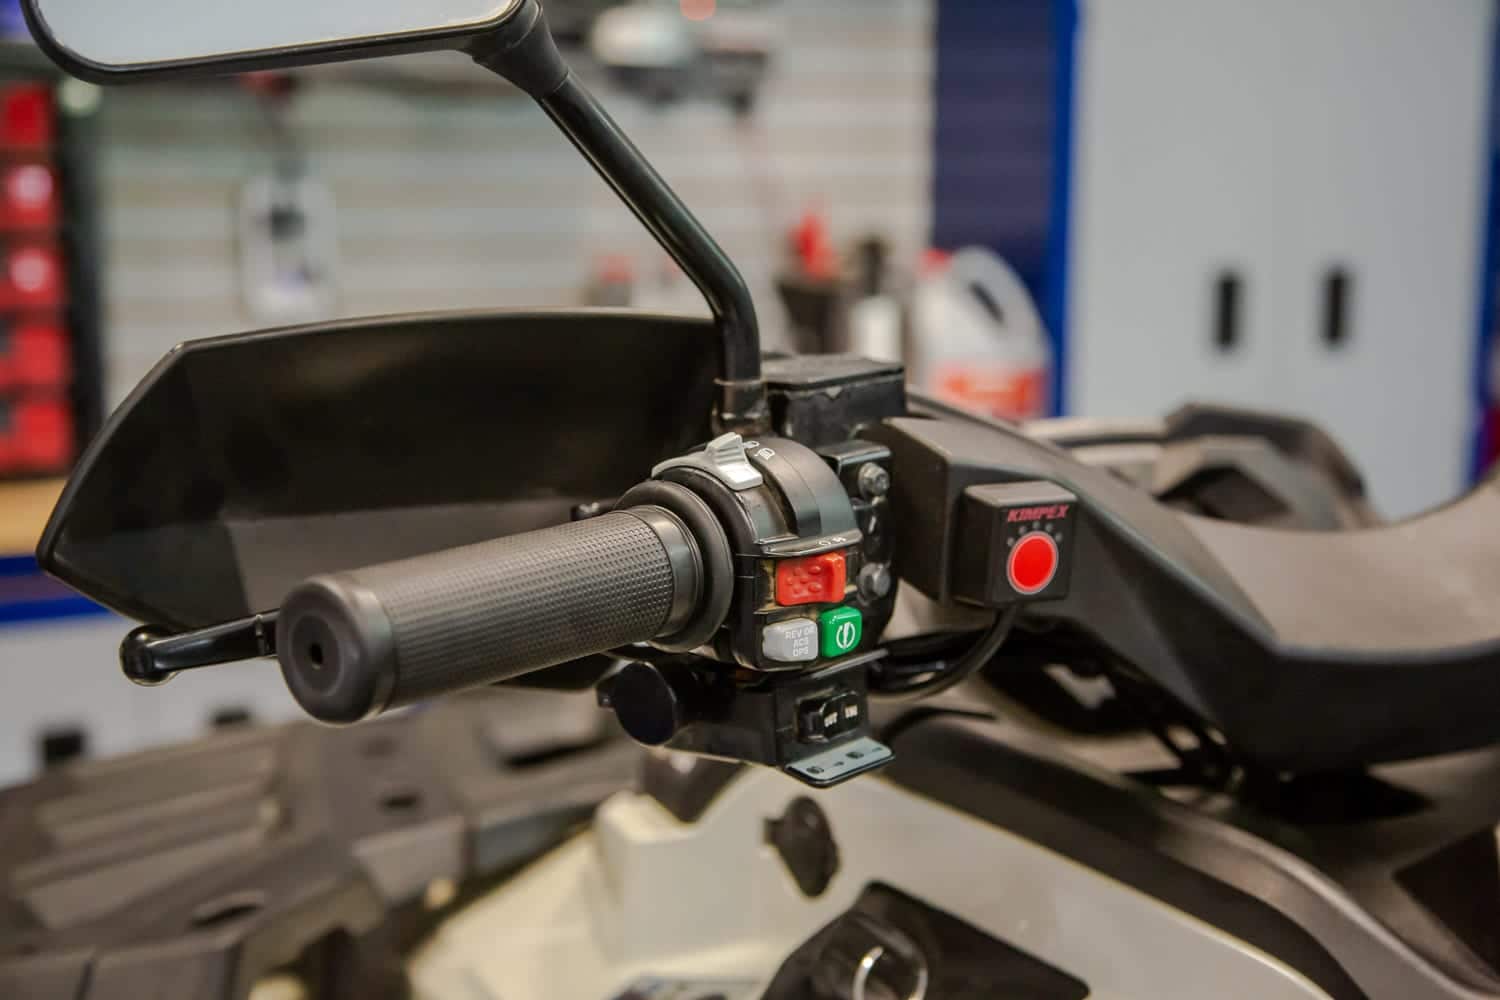
8- Test the operation: press the switch installed on the handlebars for a few seconds to activate it and to check the 5 levels of heat intensity. There you are! An easy addition that you will be proud of and that was installed very quickly.
In conclusion, the DIY addition of the heated grips and thumbs is a wise and beneficial decision. The result will allow you to make long rides in the cold season. The investment will quickly pay off thanks to the convenience that the heated grips and thumb will provide.