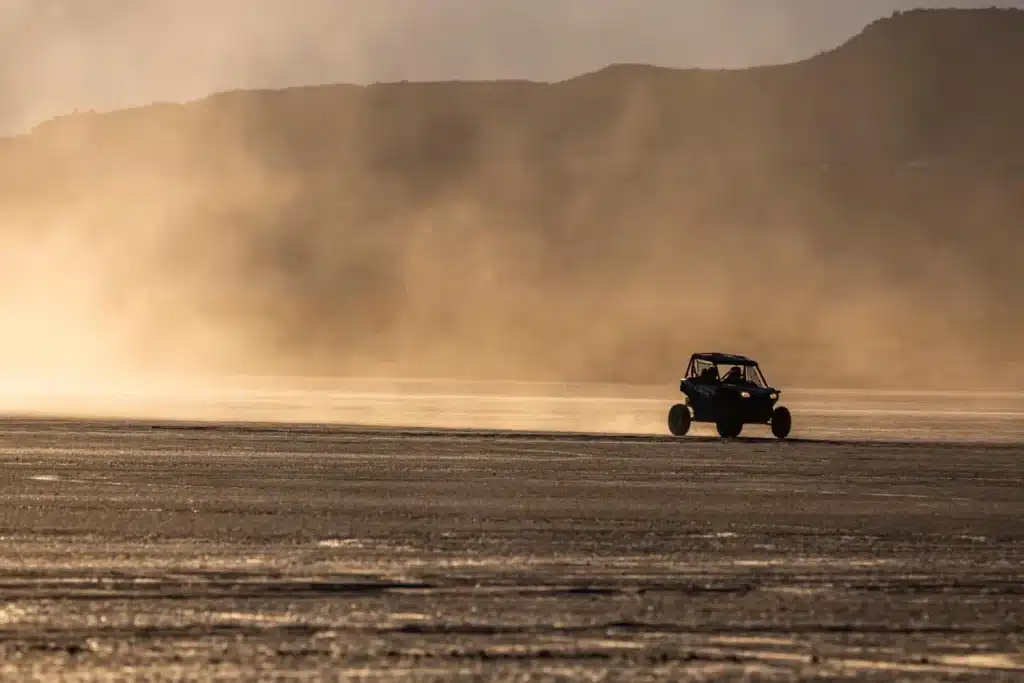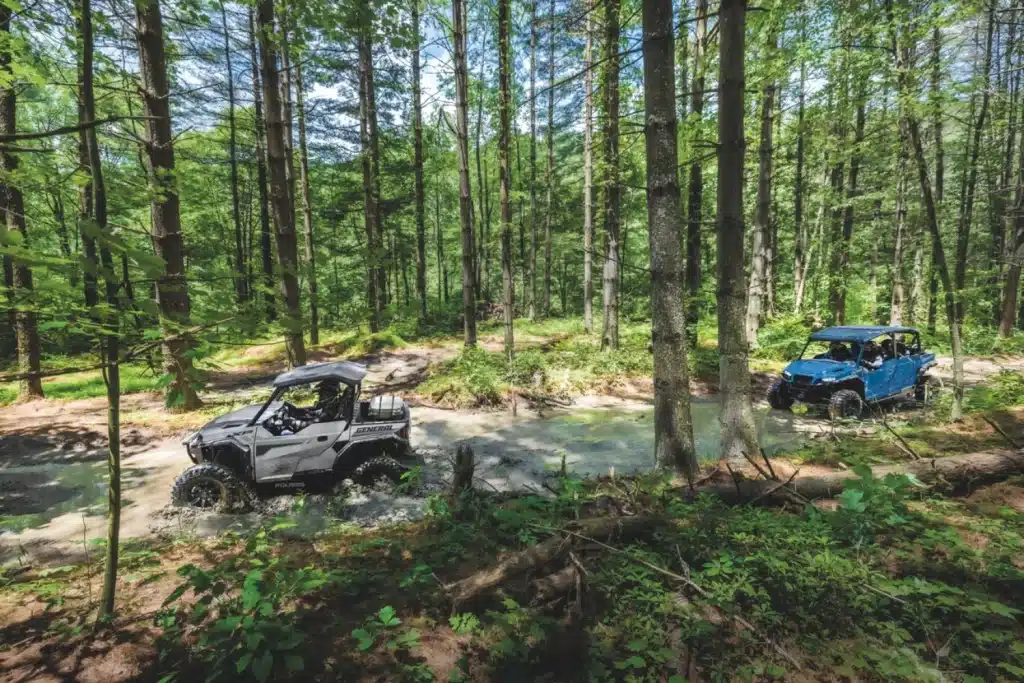
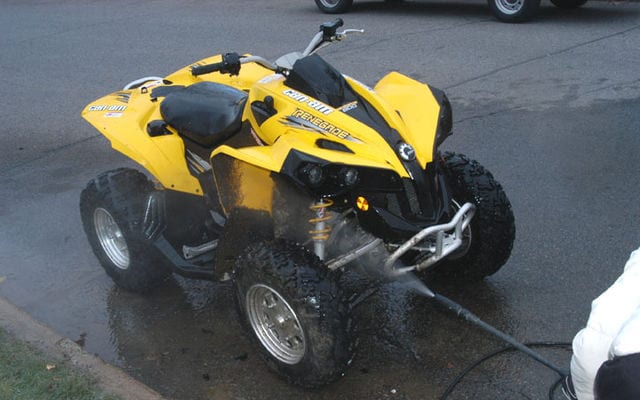
We all know that it takes quite a bit of time to wash up everything after a fun trail ride. Most machines available today offer great protection to the user from the many types of materials churned from off the ground and projected all over the place by those fat tires. The machine takes the blunt of that soup, while the rider stays fairly dry and comfortable. One can try and not dirty it; steering around mud holes, but that gets boring very fast. Any normal trail rider just dives in. Just so you know, a quad must be washed to stay healthy, and not just to look good. Mud, rocks, branches or any other type of debris will eventually end up in areas that could prematurely damage parts. For example, many quads with independent suspension have plastic guards protecting the A-arms and other components. Imagine these filled with mud and then left there to dry out. Now imagine your CV joint boots rubbing on that dried up mud the next time out. Know this, washing it when the dirt and mud are fresh is way easier and faster then when you wait even just to the next morning.
Everything counts
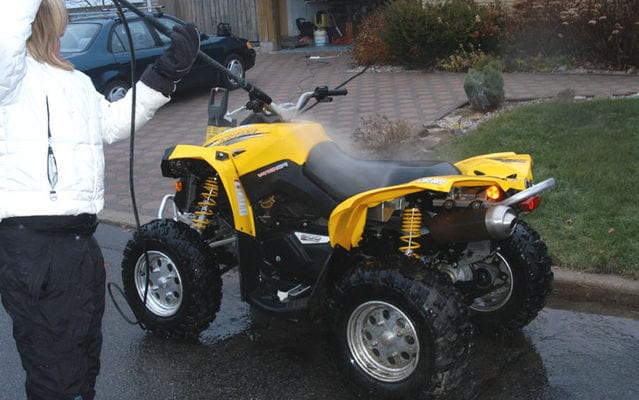
Ok, now let’s see what we can do to make washing a more pleasurable task by doing it right in a minimum amount of time. I’m hoping you’ve got more than just your thumb pressed against the end of your garden hose for this. You can manage with just a good hand gun on your hose, but it will take a lot more time than with a pressure washer. Ideally, try and park your quad on a spot where the water and dirt accumulation underneath won’t bother anyone afterwards. If after dark, light your quad as best as you can but it is almost impossible to do a good job when it’s dark out. I usually do a very quick wash to remove the bulk of the mud and finish up in the morning. Place your pressure washer close to one side so you can get around the entire quad with the gun.
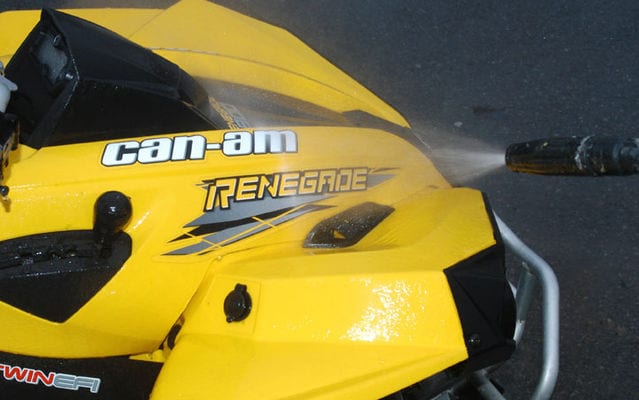
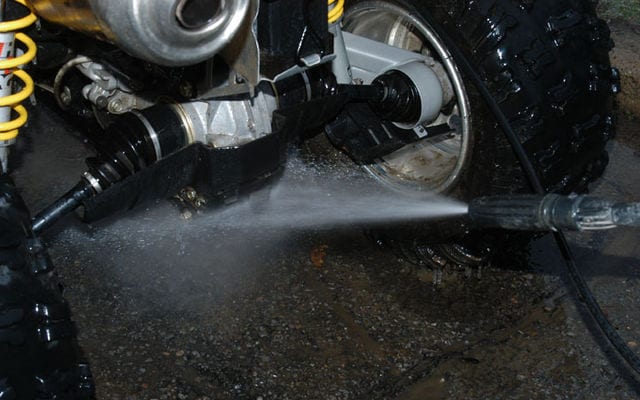
Many electric or gas powered have an adjustment knob at the tip, so make sure you set it for a flat not too wide spray. The nozzle should be kept at around a minimum of 12 inches from any surfaces and parts and swayed side to side or up and down about that same distance of 12 inches. Stay away from a straight and very small type jet which will give you more pressure, but will attack only a centimeter wide area at a time and send your stickers flying. You can use it in some tougher to get to areas, like in between the frame and motor or over skid plates near the end of your wash, but keeping the same flat jet and getting closer will do just the same. Commercial and professional type pressure washers (as in self-serve car washes) are not necessarily ideal, costing a lot more and needing to be sprayed with caution, so not to cause damage to some delicate parts, infiltrate greased joints or tear away stickers. These normally don’t have any adjustments on the spray type, but different tips are available.
A flat V shaped jet is what you should look to have. Pressure washers come in many sizes, capabilities and prices. Some of them gas powered, others electric, some even warm up the water for the added efficiency of steam. Small consumer electric pressure washers priced at around 100$ will do fine, while larger ones at around 200$ are more practical, with wheels and a handle.
STEP #1
First and foremost, go for the foot wells, they gather the most dirt and spraying them will send dirt flying everywhere. Wash them enough so that you don’t come back to them and throw leftover dirt on cleaned areas. Starting at the rear, from the middle, shoot upwards with your hand close to the ground on the center parts with the jet shooting vertically and gradually shoot outwards to clean out the underside of your fenders thoroughly and do the same on other side; restart in the center a few times and move in an up and down motion, but rotate your gun 90º degrees for an horizontal jet. Distance the nozzle so that you get the jet to cover the entire width of the fender and patiently dilute the entire bulk of the dirt in repeated top to bottom motions.
STEP #2
Now position yourself facing the side right in the middle and give the rear tire a few motions pointing downwards with your hand high up. Since your hand is already up there, give the whole quad a very quick rinse and drop right back down with your hand now close to the ground again. Shoot the underside of the front fender in an up and down motion with an horizontal jet.
STEP #3
Ok, now backtrack and switch to the other side. Do the same; quick shot on the rear tire, few swipes all over the top and then hand to the ground for the front. Utility quads gather a lot of dirt, even more so if it’s a 4×4 or in the front where your radiator resides and where the lights are hooked on. Make sure you get to all that dirt, before attacking the lower moving parts like A-arms, shocks, brakes and wheels.
STEP #4
Move to the front and do exactly the same as when we started at the rear; upwards from the center out with a vertical jet. Stay there and go for a good wash of all suspension components, brakes and wheels’ interiors.
STEP #5
Switch one last time to the rear and do all the lower parts as you just did up front. By now you should be just about done. Go for the tires and spray the wheels’ exteriors. Ideally, you would repeat all the steps in one very swift motion. Your overhead sprays on the whole top should have already taken care of your plastics. If they are still dirty, wash them again but make sure you keep the jet perpendicular to your stickers and shoot on them from the center out.
STEP #6
Sit back and enjoy a cold beverage as you contemplate your work, as your quad is kept healthy. If you have been doing it to impress someone, you might want to wipe it dry. If not, drops of water will dry up transforming into stains.
Ok now don’t look at it too much, you might want to hop on and ride again……Oh well, it looked nice while it lasted!