Continuously variable transmissions, or CVTs, on ATVs use different technologies, depending on the manufacturer or the model of the ATV. The basic principle is almost always the same, as well as the inspection, maintenance, and precautions to take when using them.
The CVT transmission usually consists of a drive belt, a primary clutch, which is directly connected to the engine crankshaft, and a secondary clutch (“driven clutch”) that transfers the power to it at the transmission input. This set of pulleys linked by a belt continuously modifies the ratio by opening and closing. The factors that impact these movements are engine rpm and the vehicle’s torque requirement.
A little history
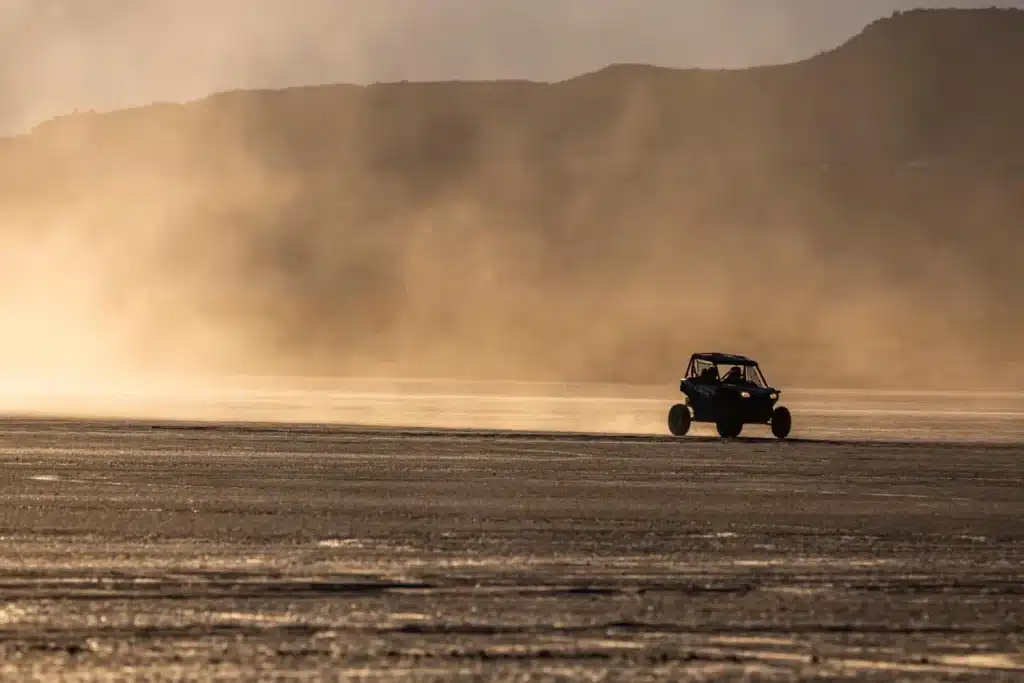
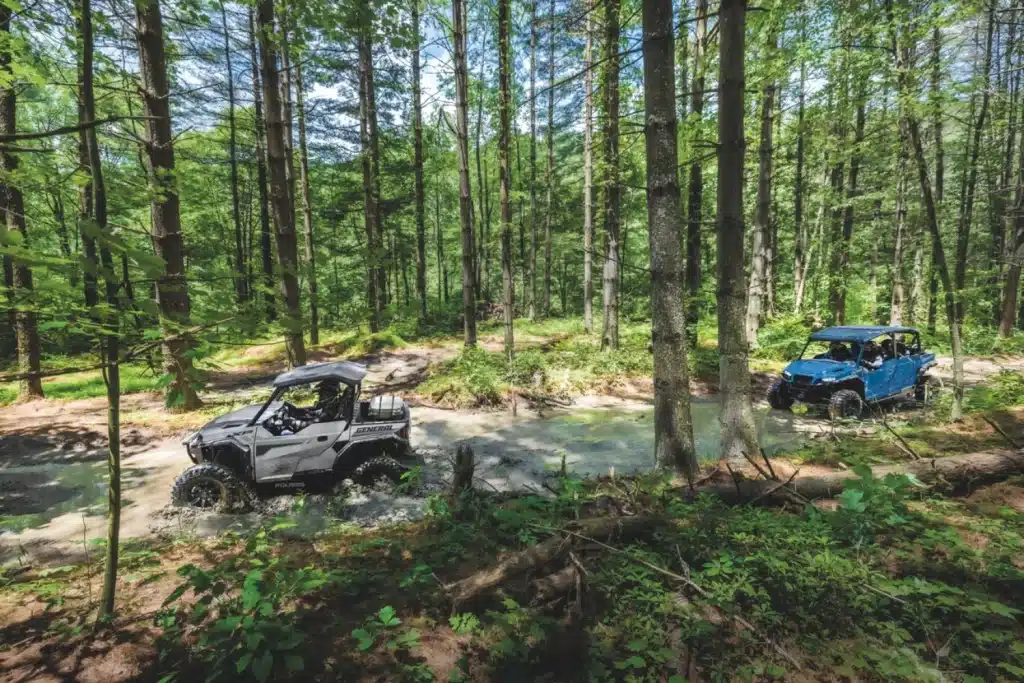
There were a lot of horror stories over the course of the history of ATV continuously variable transmissions, which were popularized in the 1980s. Trail riders, weaving their way through the forest with replacement drive belts hidden in their trunk with a minimum number of tools so that, in the excitement of the wanton use of the ATV, no one would doubt that it could fly off and break apart and, at the same time, completely wipe away any trace of the euphoria of the ride. Forced to admit that his belt had given up, the ATV driver pulled out his tools and replaced the belt right on the trail. I admit this was a bold move and enough to scare some new buyers when faced with these new transmissions.
These transmissions are now designed more precisely, calculated better, and more powerful. It is possible to find ATVs on which the clutch received the minimum amount of maintenance and the original belt posted more than 15,000 km on the odometer. Impressive!
The drive belt in the photo travelled 6,000 tortuous kilometres. It showed obvious signs of overuse over the last several hundred kilometres, but the fact that checking it was always put off until another time resulted in it failing on the trail.
In this article, I’m going to limit myself mainly to the drive belt, primary clutch and, briefly, the secondary clutch. The primary clutch is usually the source of noise, vibration, and a drop in performance and it also requires some significant maintenance.
Let’s take a look at this CVT
Suggested tool to carry out the work:
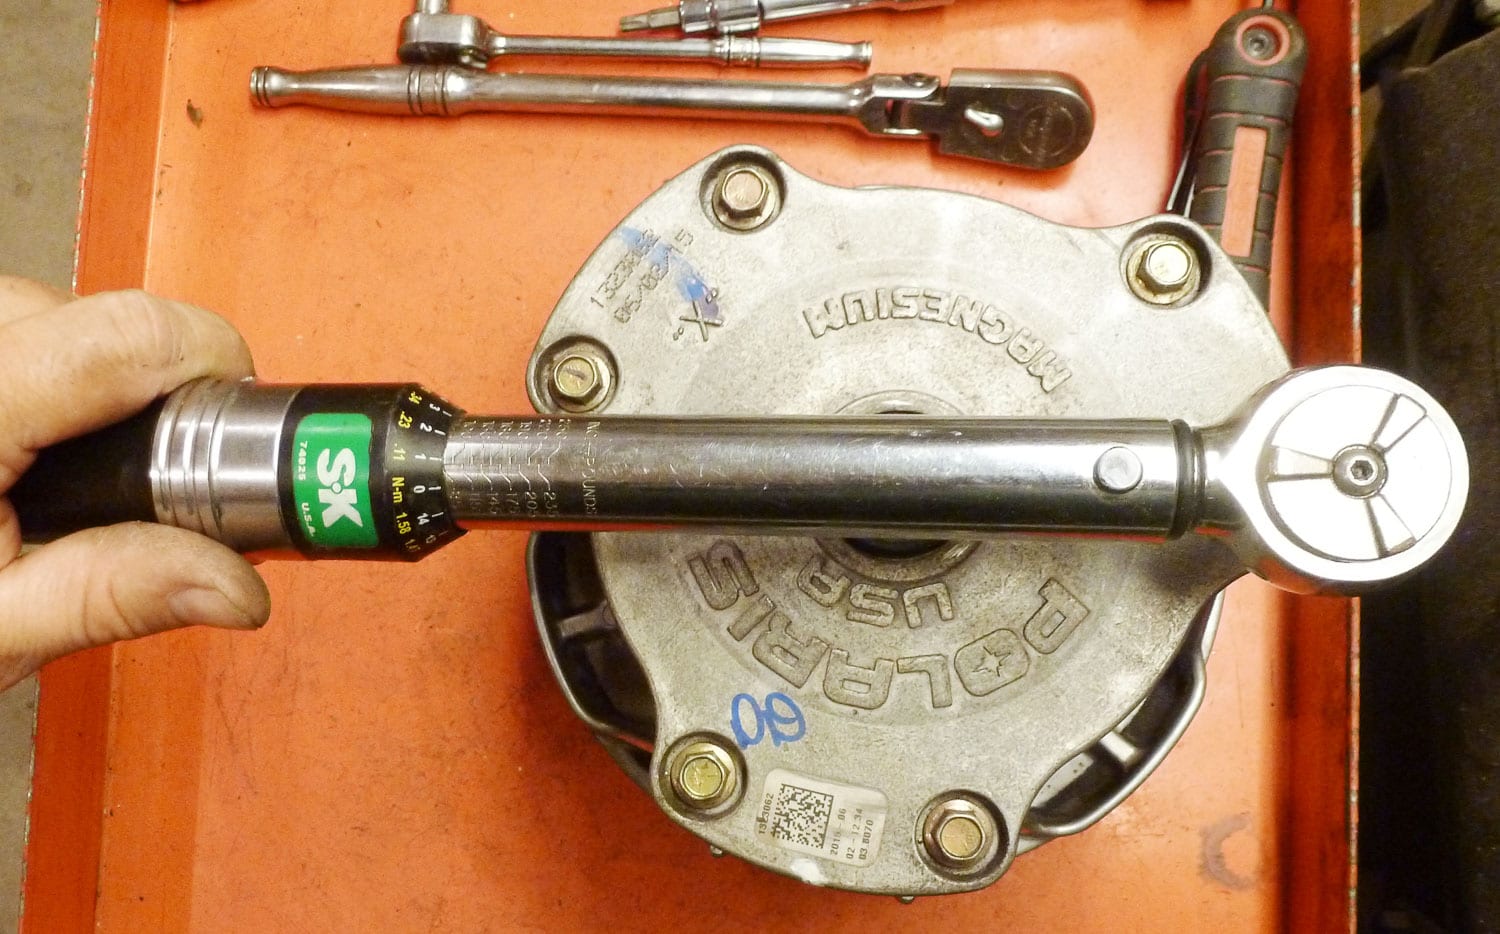
Basic manual tools like a set of sockets and 3/8-inch ratchet wrenches will usually be enough for this task. A torque wrench in lb-ft and lb-in will be very handy. However, be sure to buy a primary clutch extractor specifically for your ATV. A maroon Scotch-Brite hand pad or 400-grit sandpaper as well as a compressed-air nozzle and ½-inch impact wrench will make some tasks easier.
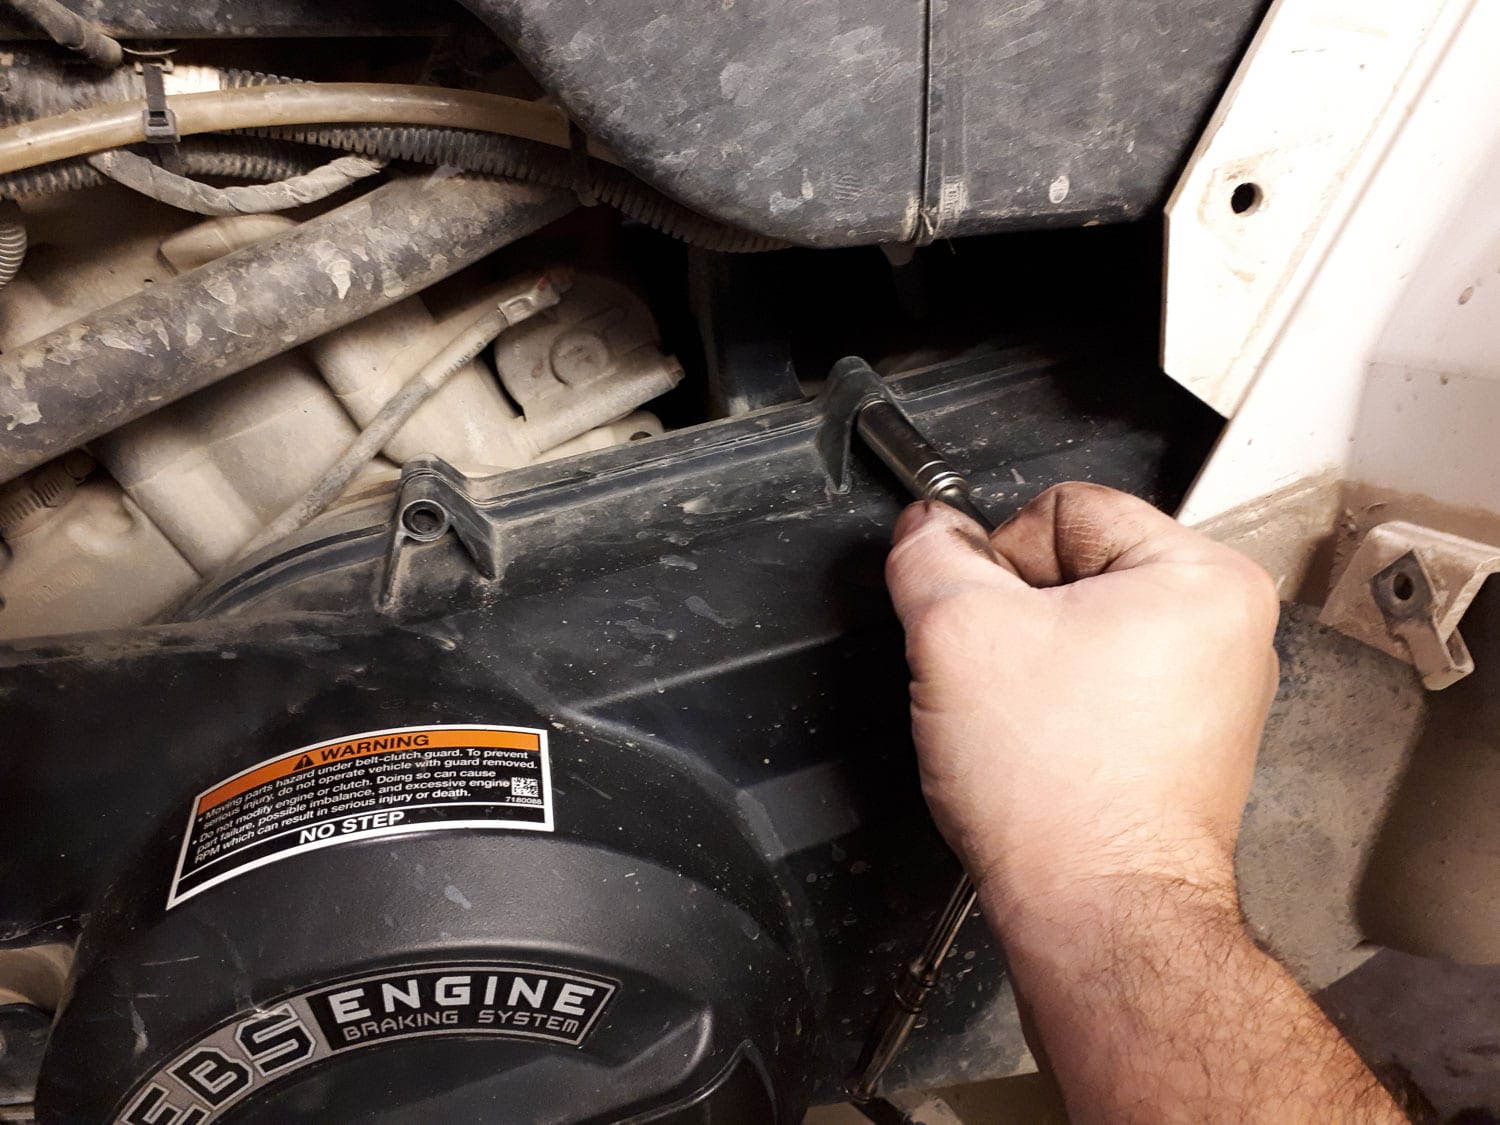
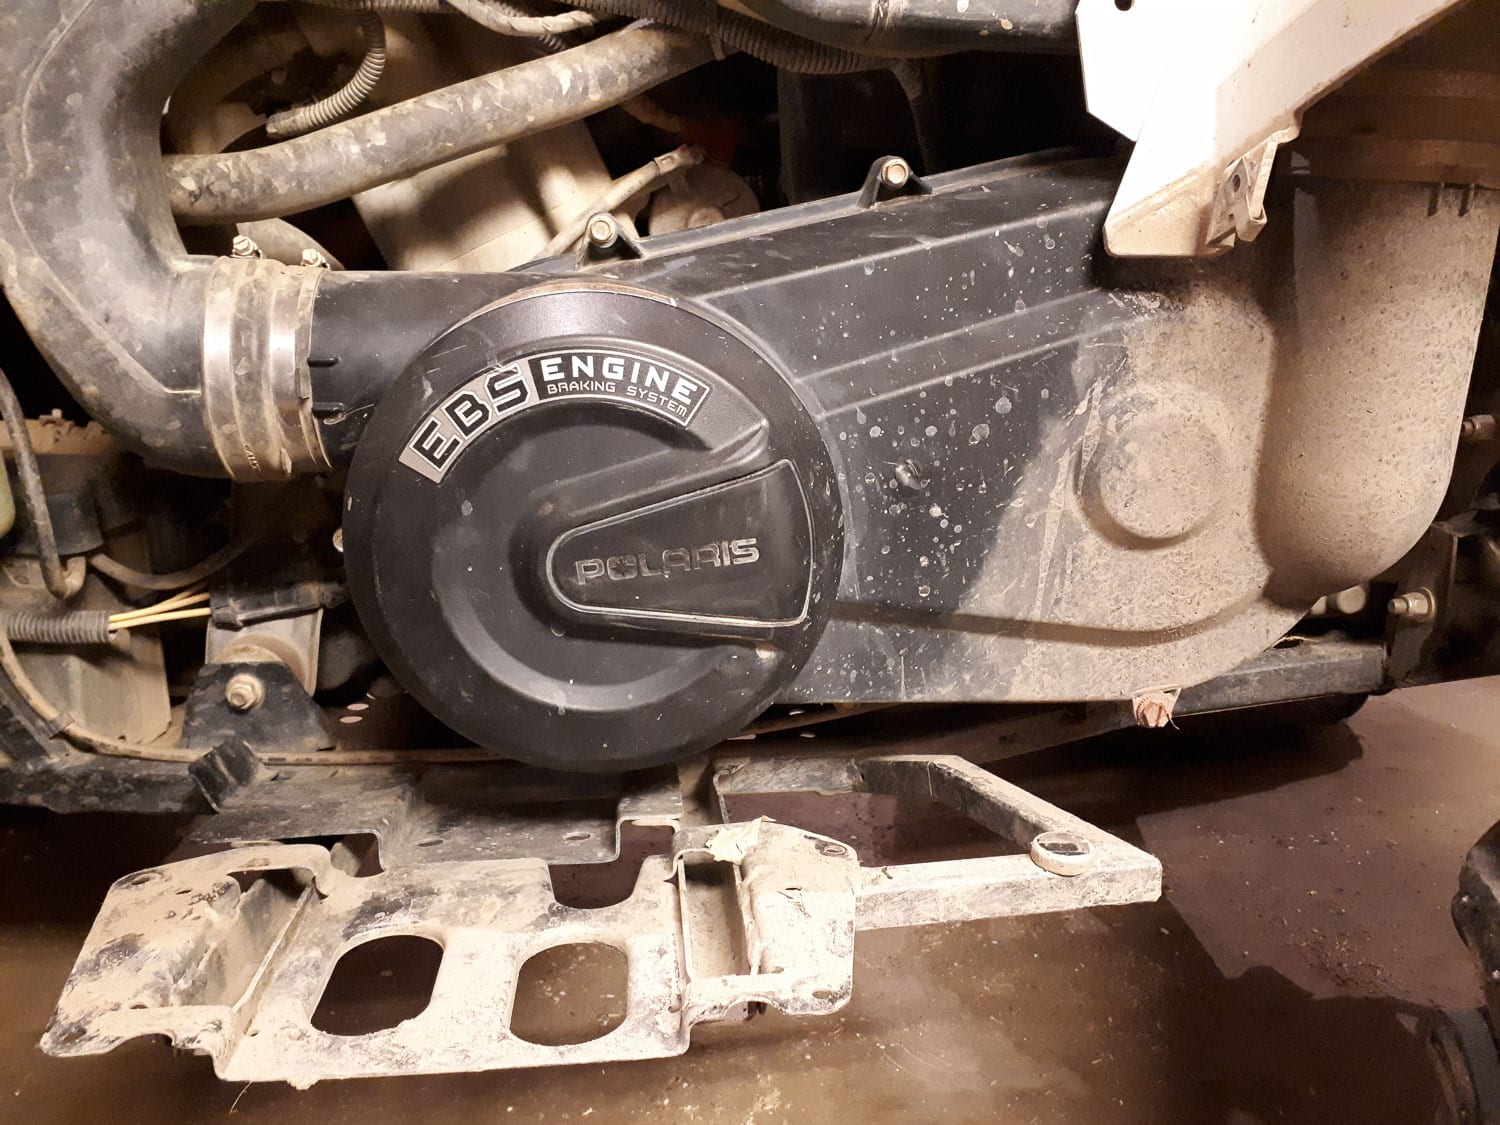
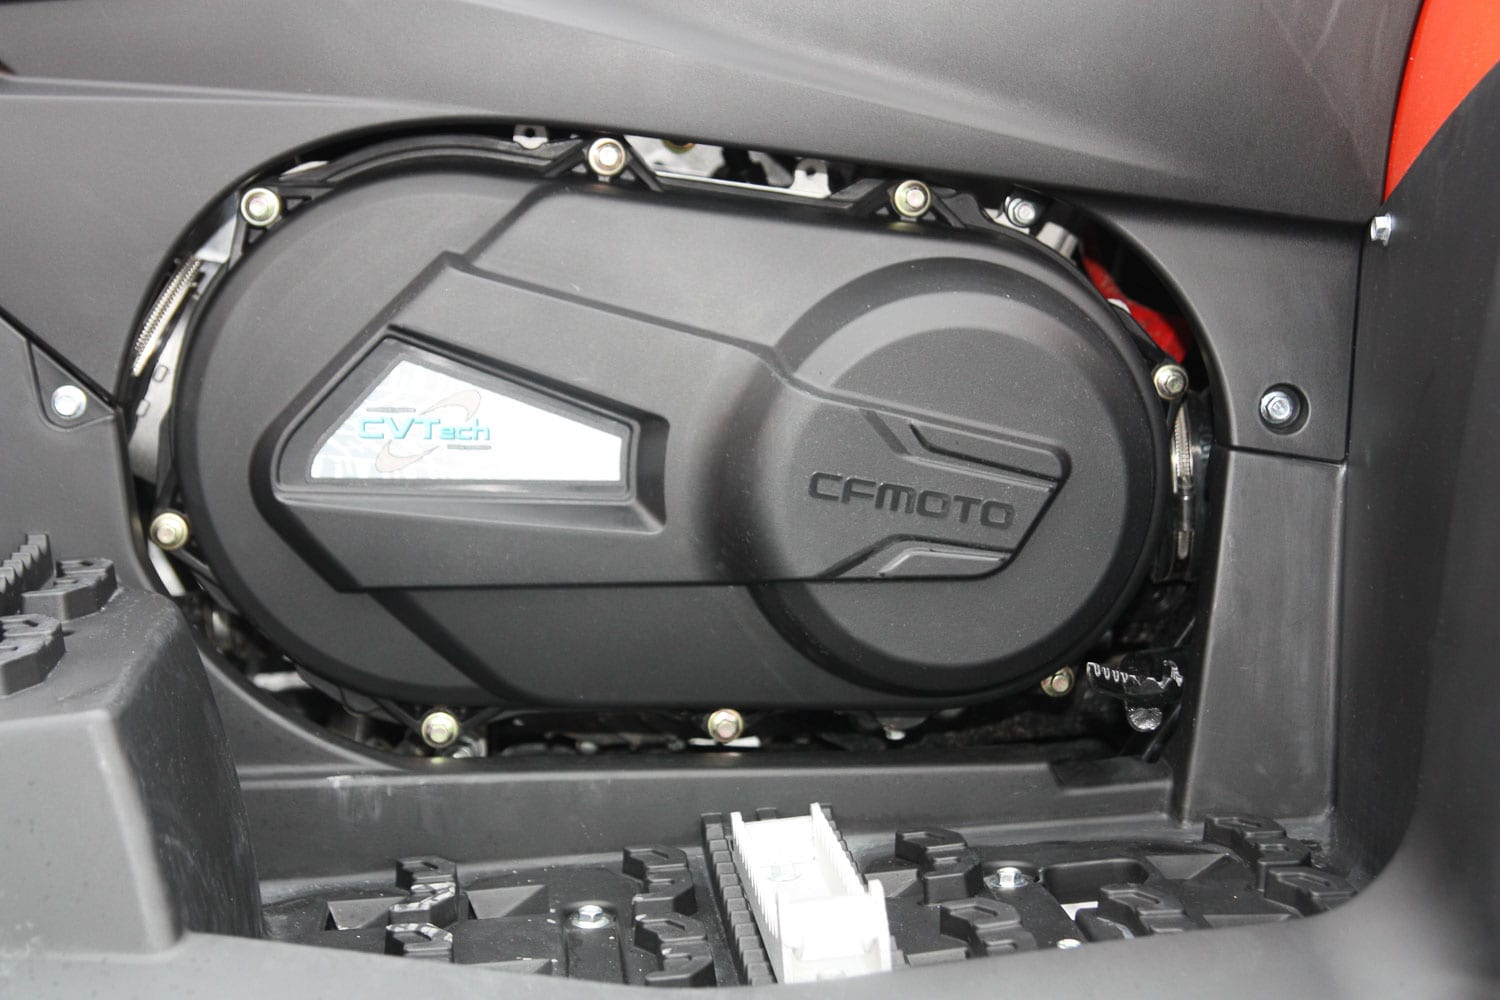
To start, locate the belt cover. It can usually be found on the left or the right side of the ATV on transverse engines, or behind the engine on longitudinal engines. In most cases, the footrest on the belt side will have to be removed. Don’t forget to separate the two vent pipes from the belt cover. Remove all the cover attachment screws and separate the cover from the ATV. Pay close attention to the cover gasket, as its condition is very important.
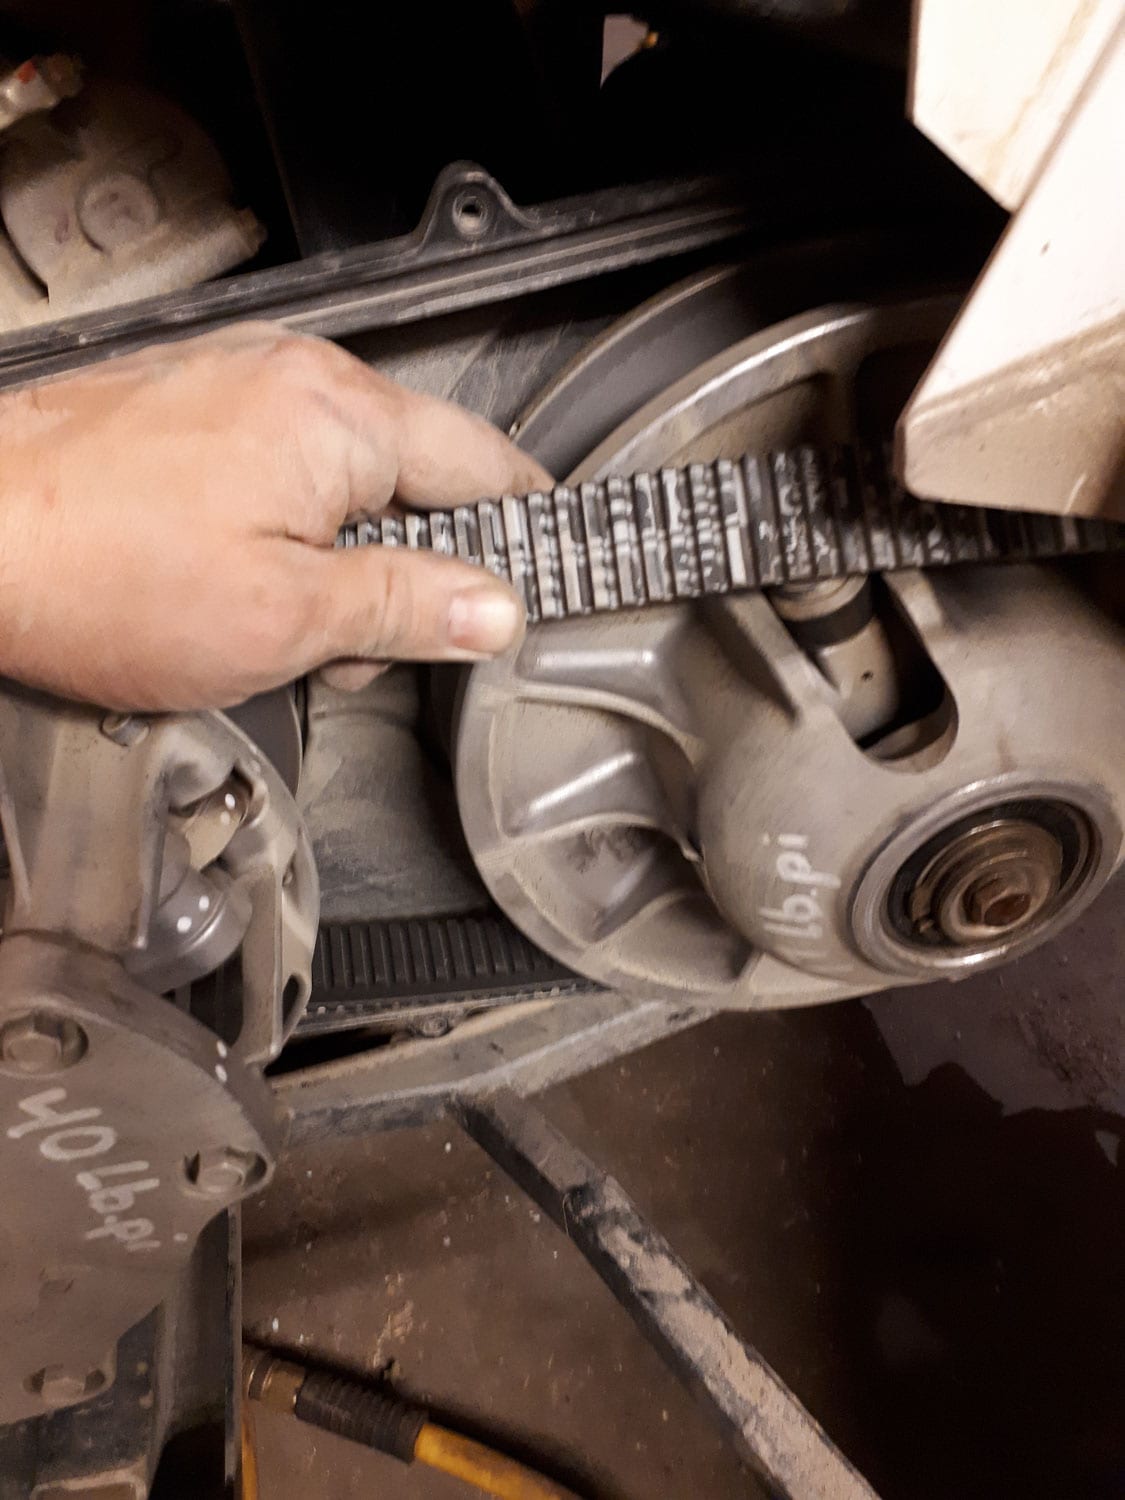
Remove the drive belt from the clutch assembly. In this particular case (Polaris), you have to push on the belt to open the secondary clutch, then pull the belt over it. Identify the direction in which your belt rotates if you want to reuse it. A belt always always has to apply its tractive force in the same direction once it’s been used. The belt fibres position themselves and tighten against one another as the belt is being used, therefore, reversing the direction of rotation may cause the belt to lose its shape and break.
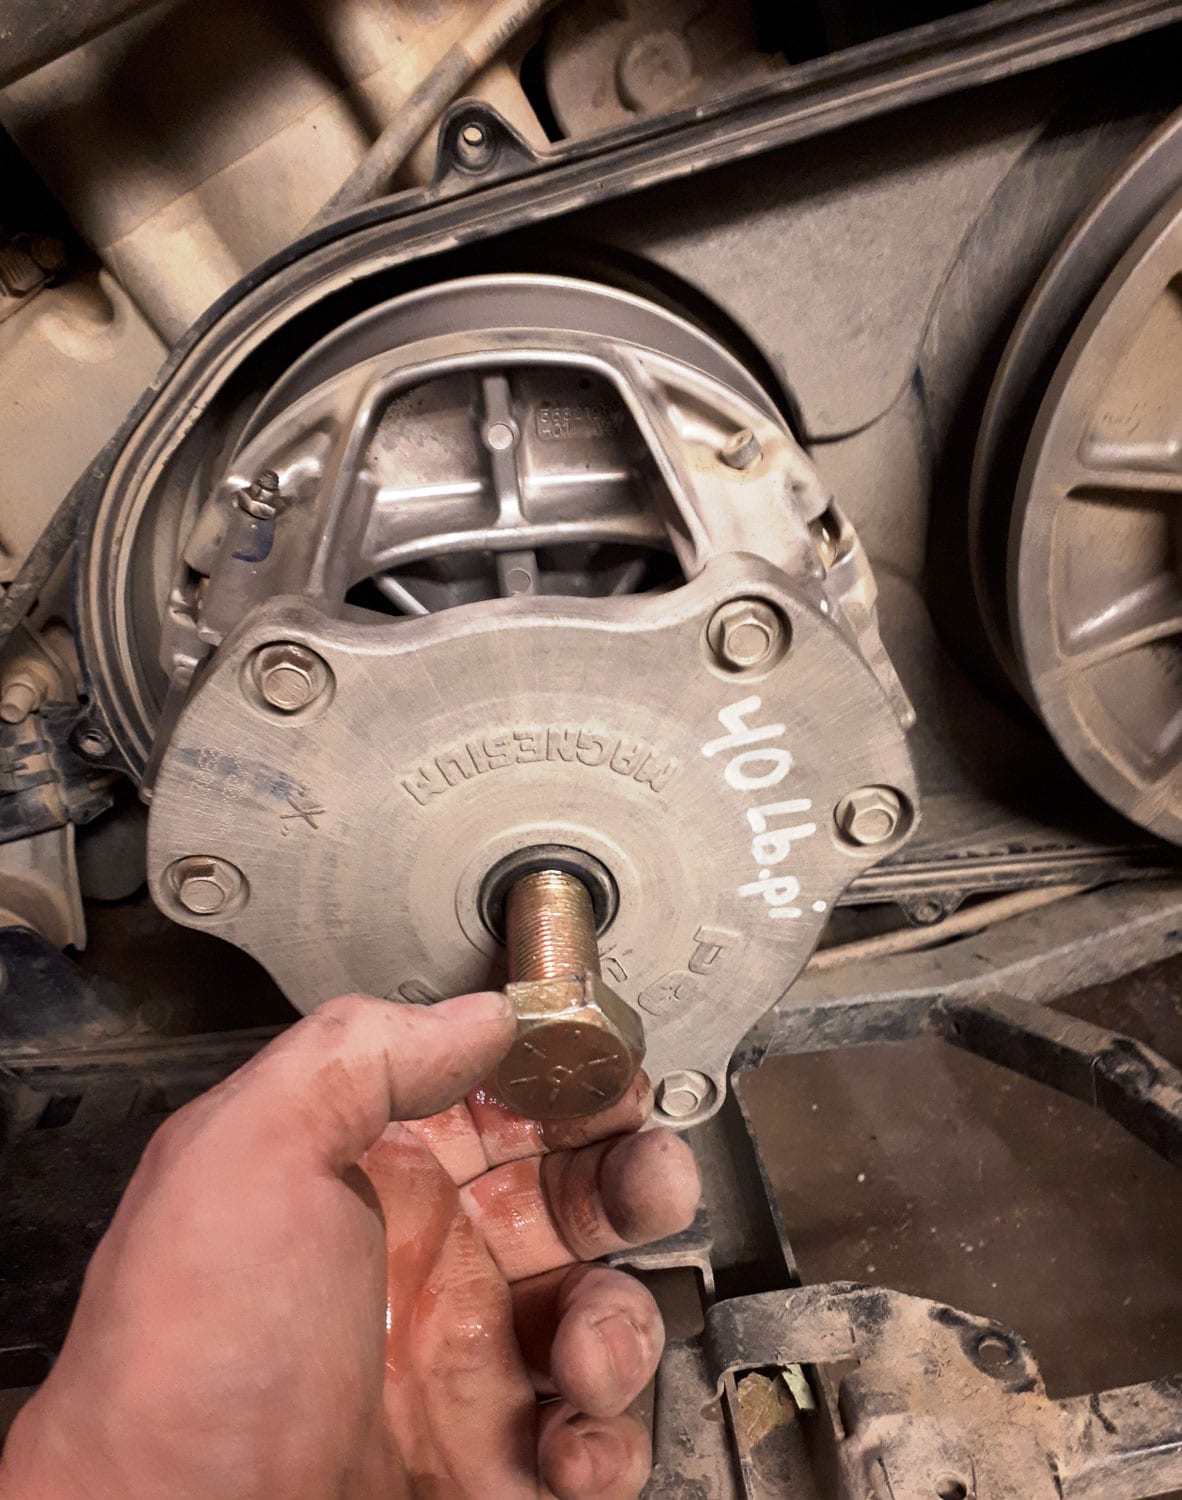
Remove the centre retention bolt from the primary clutch. Be aware of the direction of the bolt threads, as some have a left-handed thread. Usually, if the thread is not conventionally right-handed, it will be indicated on the belt cover. Use your primary clutch extractor and firmly screw it into your clutch until the clutch separates from the engine crankshaft. A higher torque will be required for this step. Take care not to use anything old thing or something you took from a bar to extract your clutch. Using an inappropriate method to extract your clutch can lead to the expensive breakage of your clutch, or worse, the engine crankshaft. You’ll be left holding the clutch in your hands!
Let’s start with the primary clutch
Before starting, it’s best to clean the dust stuck to the pulley using compressed air. Mark all the clutch parts. Usually, clutches contain a factory marking, but I suggest that, if in doubt, do this yourself. This is important because, first of all, the clutch was balanced, and if the parts are not repositioned in their original location, there may be a vibration during operation. Secondly, the parts that move against other parts may wear out and adapt poorly to one another, which may speed up the premature wear and tear of the moving parts.

To check the condition of the clutch, release the tension on the spring. To do this, simply remove the 6 screws above the clutch. Maintain pressure on the clutch to counteract the thrust of the spring. Set aside the top of the clutch, the spring, and the thrust washer. You can then measure the height of the spring and compare it to the manufacturer’s specification.

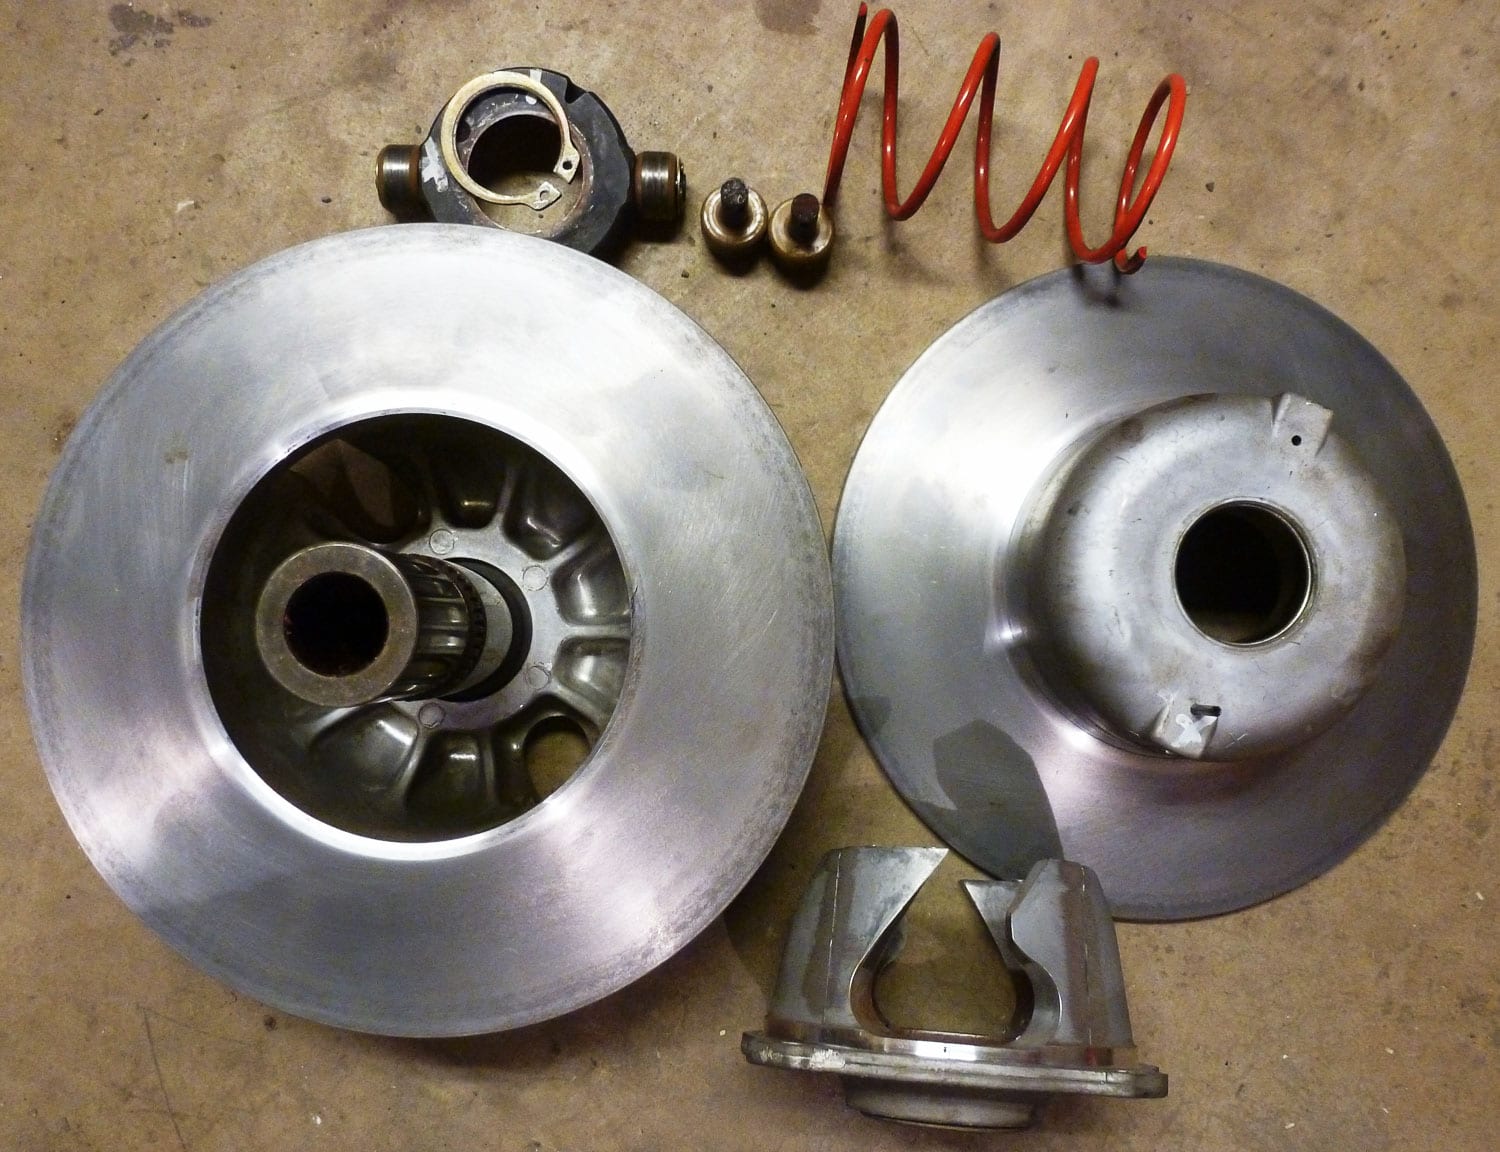
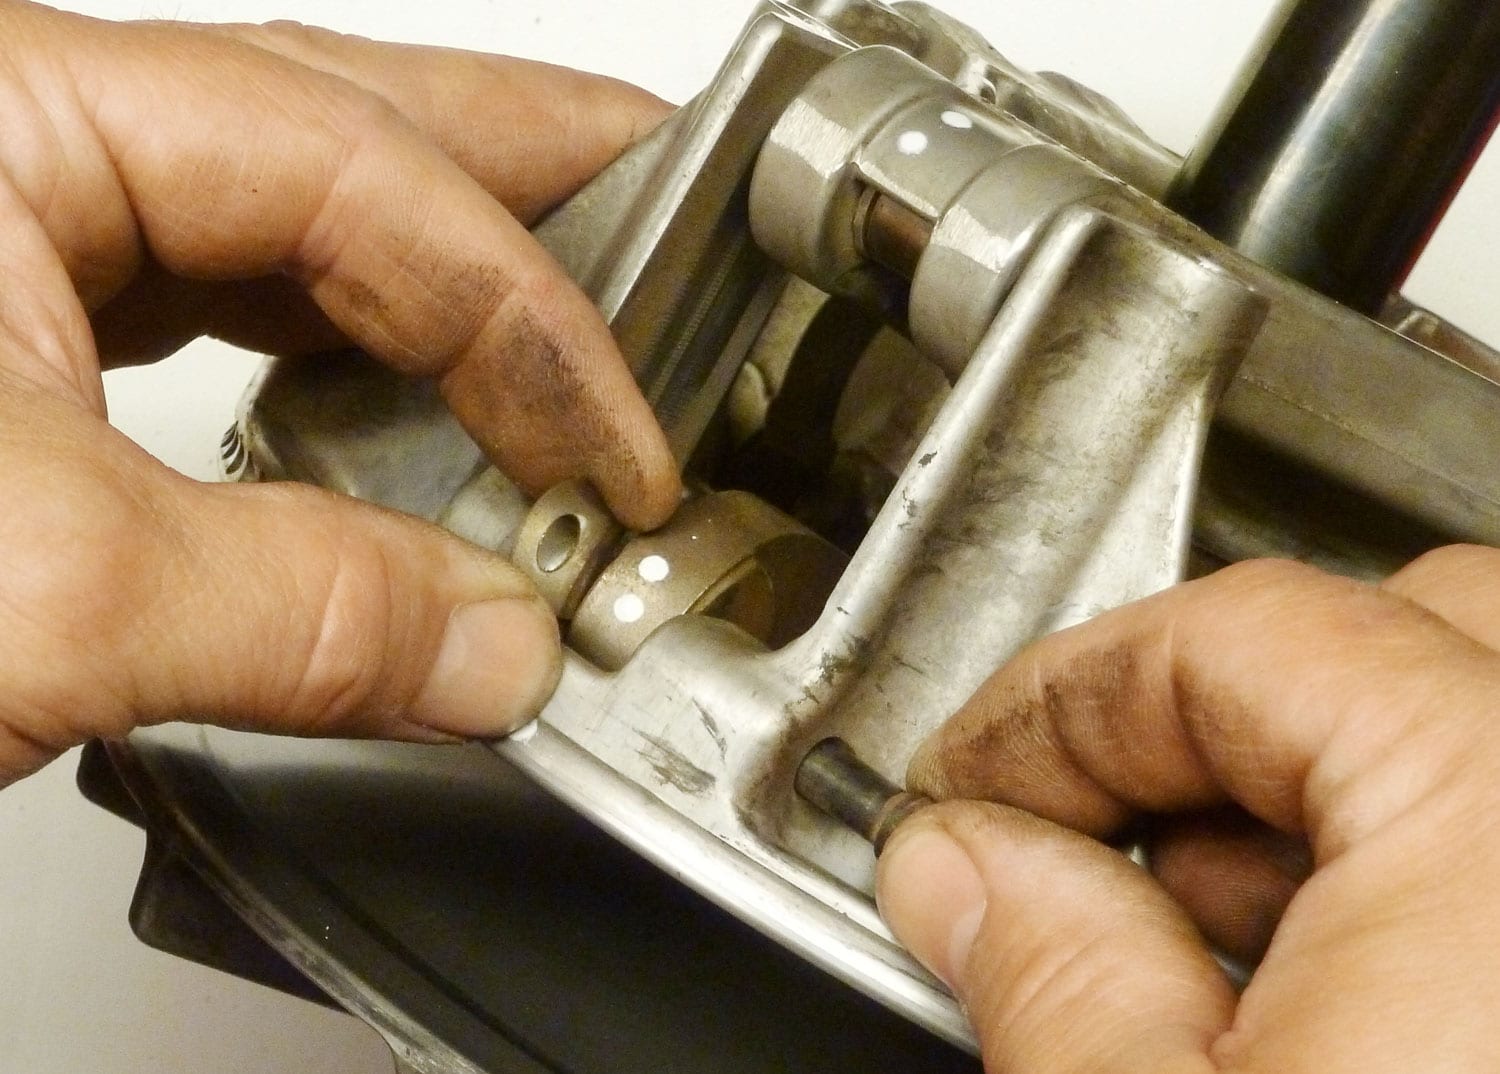
Now that you can freely access the ramps, remove the nuts and retention axles of the clutch ramps. The ramps act as levers when subjected to the centrifugal rotational force of the engine and the ATV’s load by pushing on the rollers and, in this way, varying the opening and closing of the clutch. The weight and ramp curvature as well as the clutch spring tension are extremely important in terms of how the clutch behaves. A wide variety of ramps and springs are available to adapt the ATV to your use. Now, carefully inspect the surface of the ramps, rollers and ramp axles. In all three cases, there should be no visible trace of wear. The rollers must be able to turn freely. If there seems to be some resistance when they turn, spray a rust remover similar to WD-40 on them to dissolve the film of rust between the roller and its axle. You can easily see the wear on the ramp axles in the photo. On the other hand, the ramps are far from needing to be replaced.
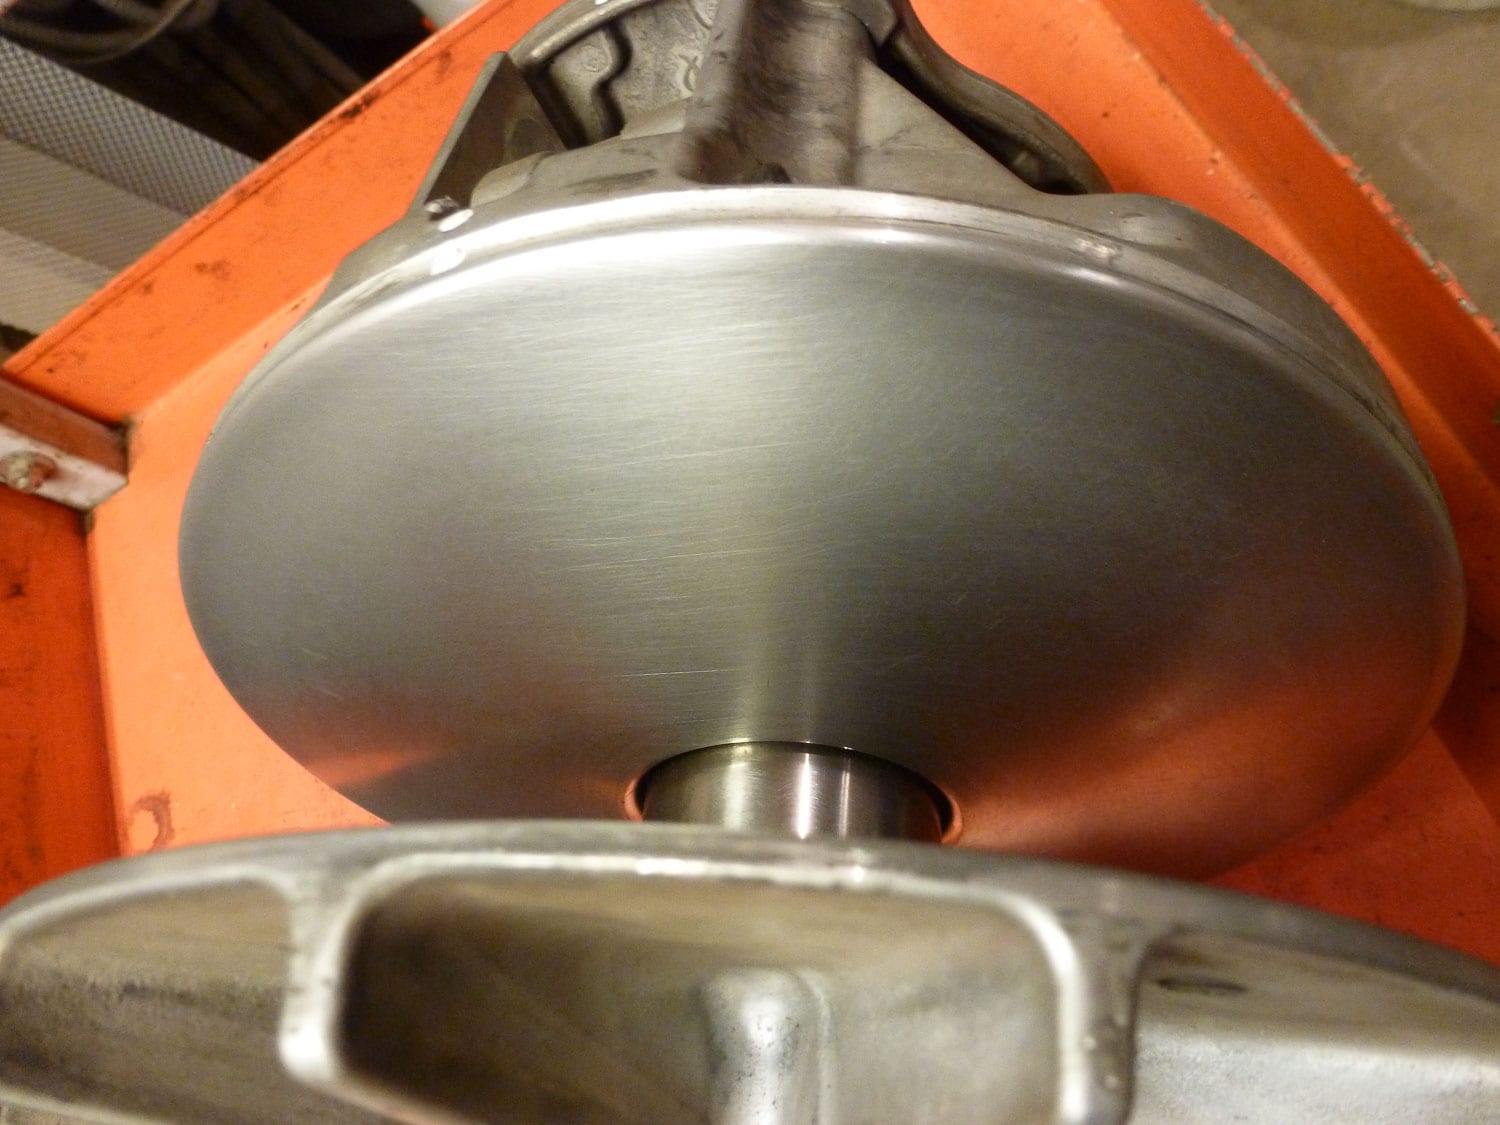
All you need to do is check the wear on the pads of the clutch plate. Even in this case, each manufacturer has their own specifications. Nonetheless, you can use your hand to confirm if it slides freely or if there seems to be excessive play. A dirty or icy pulley, as shown in the photo, must be cleaned using 400-grit sandpaper or, preferably, a maroon Scotch-Brite hand pad. Once it’s clean, look for traces of distortion caused by the belt or even cracks. If you believe or suspect that you need to disassemble your clutch’s spider, or that there may be a major defect, visit your specialized service & repair shop. Expensive disassembly tools are required to disassemble the spider so as not to damage the pulley. The tightening torque for this part is 200 lb-ft, which explains the risk of breakage if it is done without using the right tool.
Reassembly
To reassemble, simply reverse the procedure, except for a few specific details. When installing your ramps with the new axles, push them to the side and watch to see if the side of the ramp comes in contact with the spider. If this is the case, there are shims available on the market that you can insert between the ramp and its seat. Note the side on which the shim is placed as well as the positions of the axle and nut of the ramp. This position is important due to the rotational direction of the clutch, which always forces the moving parts to the same side. I strongly suggest tightening the screws to the recommended torque using a torque wrench. Losing a part of the clutch during operation of an ATV involves a lot of kinetic energy, possibly transforming the part into an extremely dangerous projectile. I leave the rest to your imagination.
Secondary Clutch
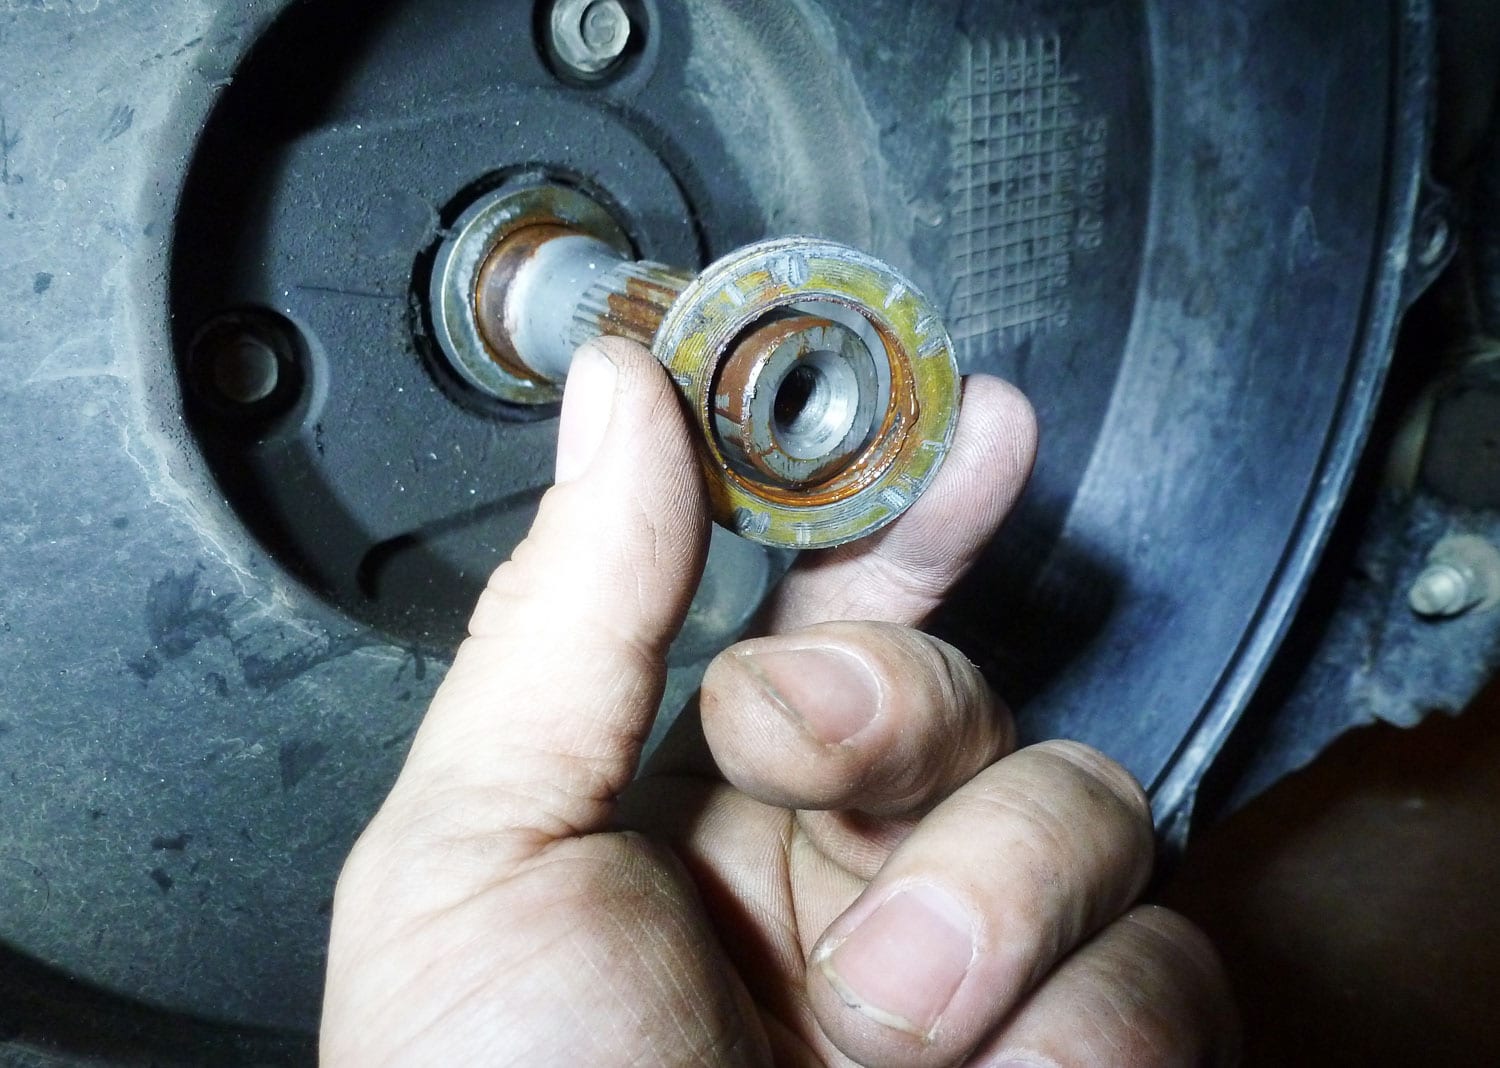
The secondary clutch doesn’t offer a lot of options in terms of maintenance except for cleaning it using compressed air and a Scotch-Brite pad, as in the case of the primary clutch. I’ve disassembled this one to show you the inner workings of this clutch. The disassembly of this pulley is rather complex and still requires the use of a specialized tool. If, however, you remove the clutch from the transmission, be careful not to change the number of steel washers between the pulley and the transmission. These steel washers act as shims to align the secondary with the primary clutch. If they are not set properly, the belt will show signs of premature wear.
Final Assembly of the CVT
It is extremely important to eliminate any trace of oil on the contact surface of the drive belt and the pulleys. Use a brake cleaner on a clean cloth and clean the surface of your pulleys. A trace of oil or grease can contaminate your belt and cause it to slip. Once again, the use of a torque wrench is appropriate to mount the clutch without applying too much tightening torque and damaging the threads of the engine crankshaft or the transmission input shaft.
Drive Belt
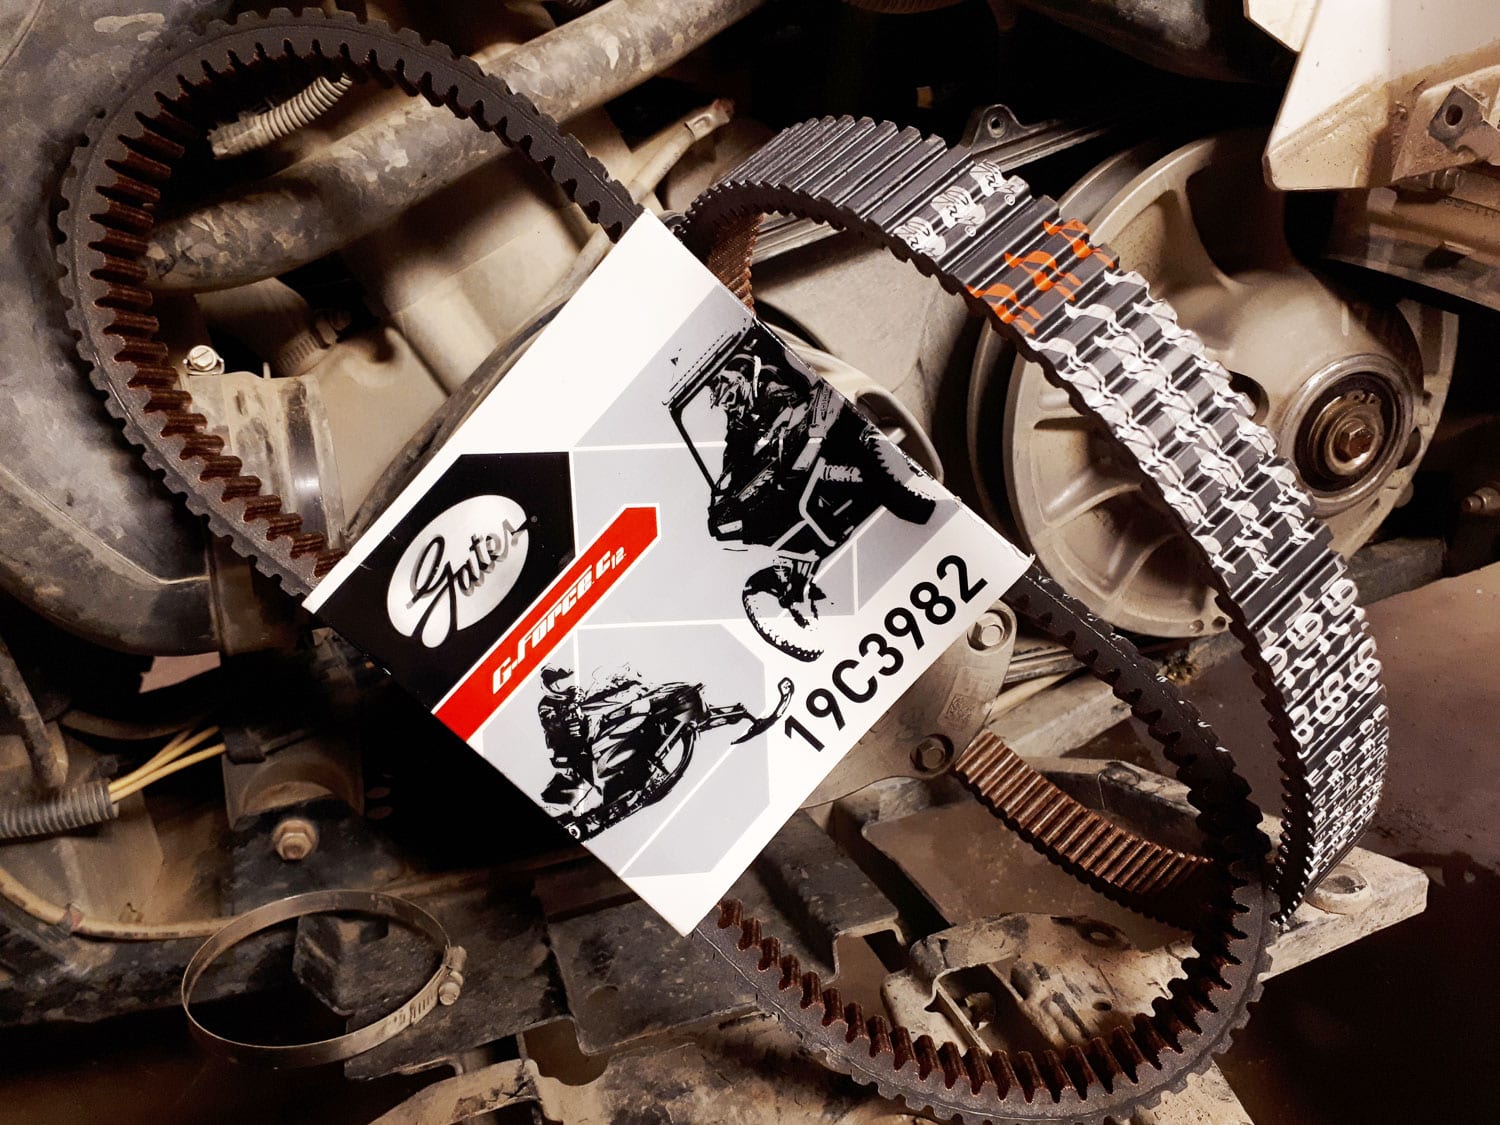
When reassembling this CVT, I installed a G-Force C12 belt by Gates. This high-performance drive belt has many interesting features and is made of highly resistant materials, such as carbon, aramid fibres, and a special adhesive material, that transfer power with minimal loss and provide more resistance to wear and heat.
Breaking in the Belt
Many people don’t know that a new drive belt has to be broken in. This is critical to adjusting the angle of attack from the belt to the clutch. Once the belt is broken in, the contact between the belt and the pulleys is optimal and ready to be subjected to the maximum torque of the engine. Gates suggests a way to break in the belt. Here are the main points.
It takes at least 48 km of driving to break in the drive belt. Throttle gently when driving and vary the speed so that the belt runs voer the entire surface of the pulleys. The ATV must be stopped every 15 minutes to allow the belt to cool. During breaking in, avoid suddenly accelerating, maintaining a constant speed for long periods of time, or towing heavy loads. By following these instructions, you’ll maximize adhesion and significantly reduce heating, icing, and wear.
Test
After breaking in the belt, which seemed to take forever, I gradually pushed the ATV to its limit. The performance of the G-Force c12 was very reliable, the sudden initial accelerations were handled well, and there was no sign of slippage. Until now, the Gates G-Force c12 has been very satisfactory. There’s still the long-term test to determine wear, however, my impression is a positive one in this regard.
We covered the CVT extensively and, maybe for some, this may seem like a a major undertaking, but it is doable. However, simply removing the belt cover, clearing the trapped dust using compressed air, and visually inspecting the belt can be a good start to preventing a breakdown.