When spring rolls around, many of us pack away the snow machines and get the ATV or UTV ready to hit the trails once again. It’s some work, but it’s fun work. It gets us ready to do the things we enjoy and if you’re at all like me, working on the machine is relaxing. Life may stress me out (especially lately) but once I get my hands on the machine, it all floats away. Whether your machine is pretty new, or you’re rolling out a “vintage ride,” most of these steps apply, whether it’s an ATV or a UTV. Let’s get our hands dirty.
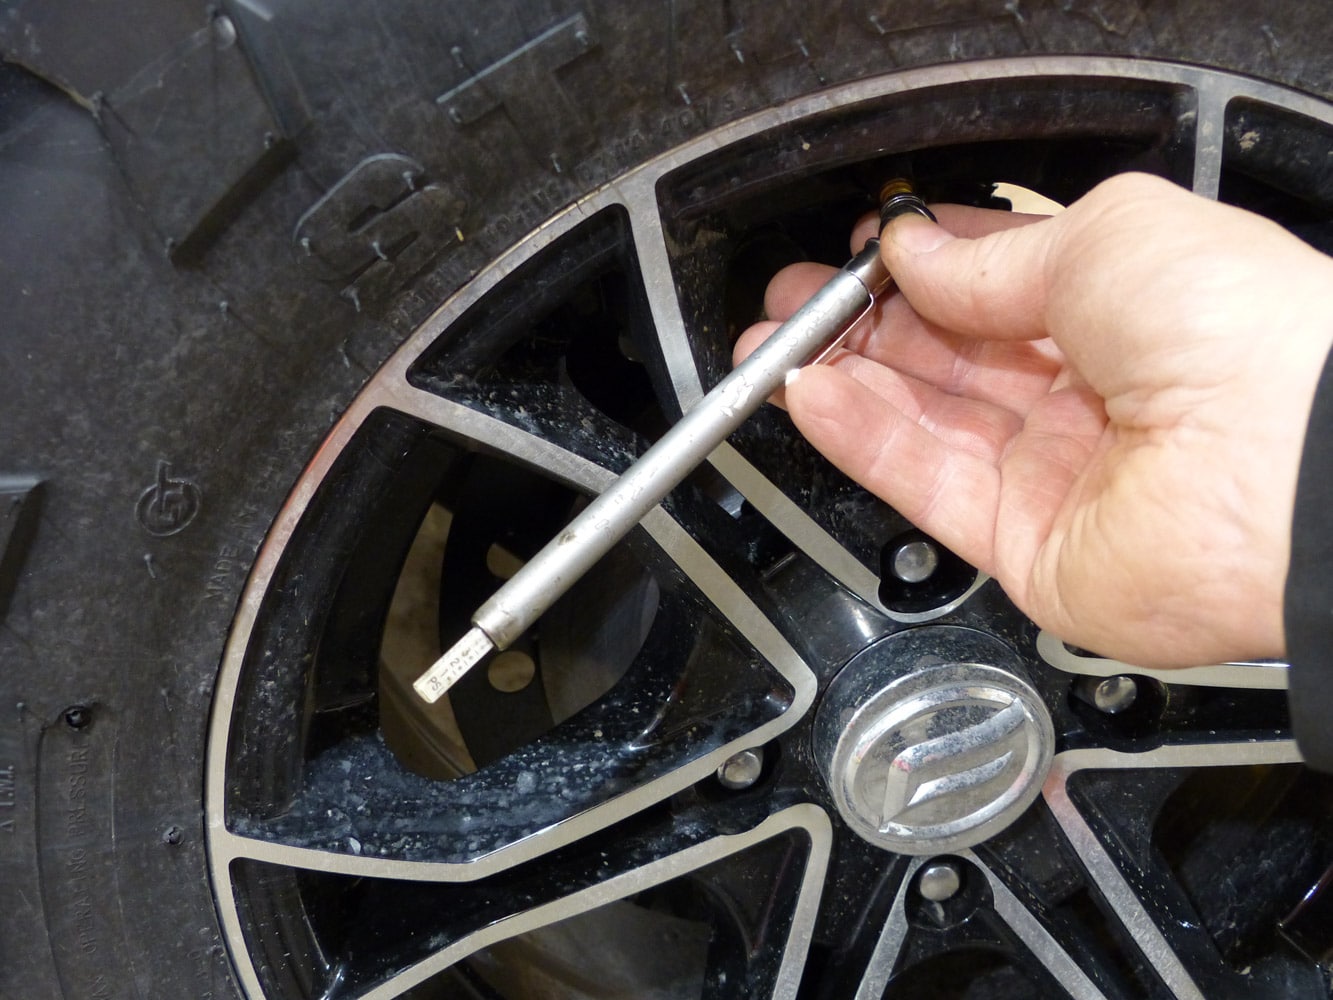
1. Check those tires
With the cold fluctuating, it can play games with your tire’s air pressures. My springtime tire regiment is pretty simple. I like to over inflate them just a little, mostly to help stabilize the tire. I’m sure you’ve seen tires get a flat spot from sitting for a while. Over inflating just a little helps reseat everything. Then I’ll drop the pressure back to normal. If the tires are a little older, it never hurts to spray some soapy water on them when you’re checking them. If you see bubbles, you have a leak that can either be something that happened while in storage, or it could be a crack depending upon how old the tires are. Small leaks are an easy fix. Big leaks? Well, there’s some great deals to be found on new tires. Maybe it’s time?
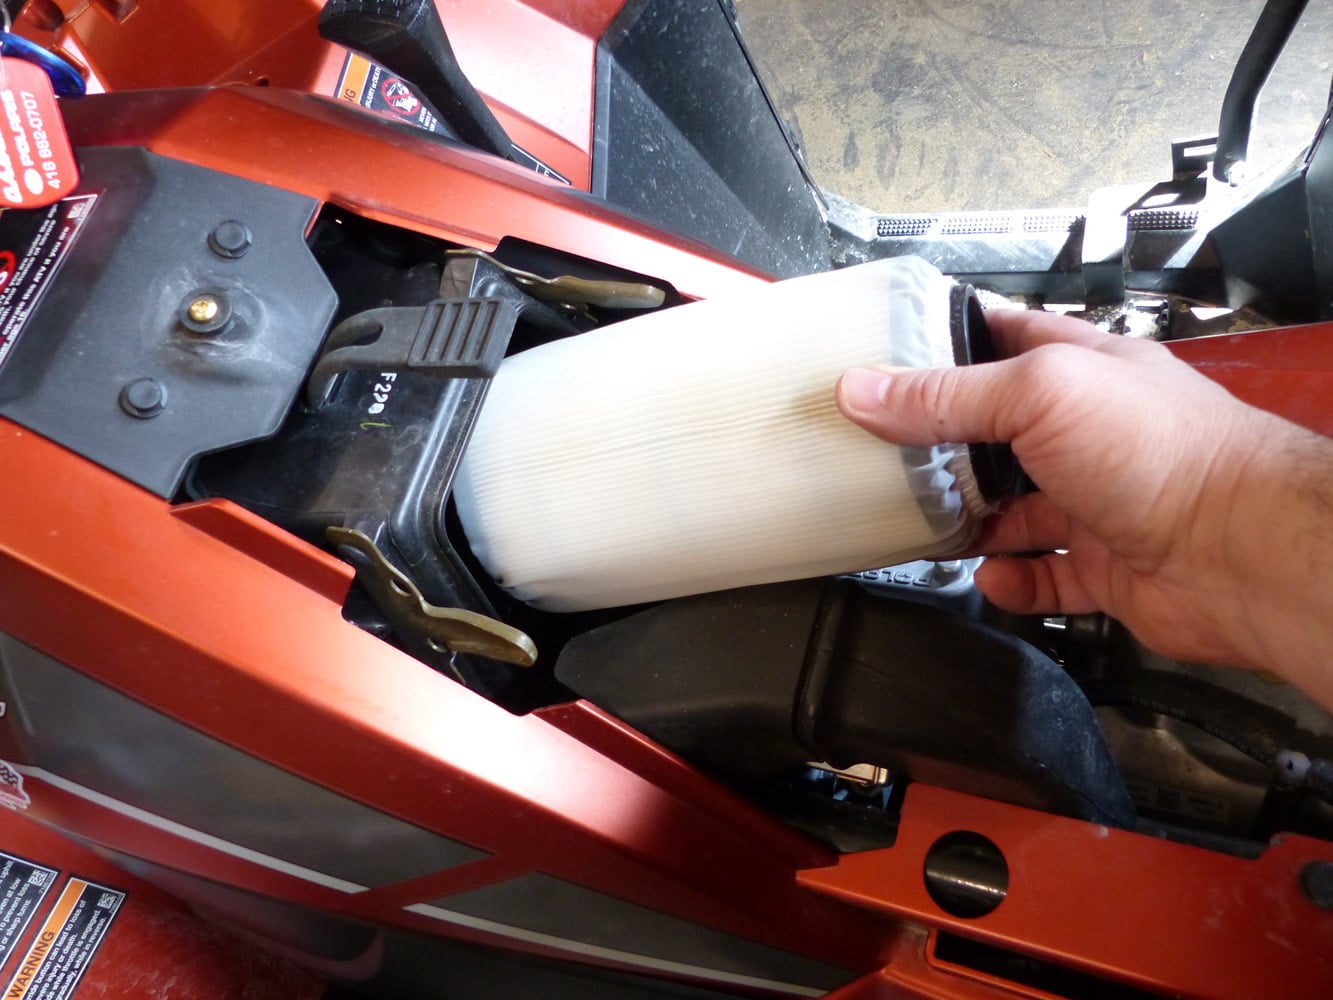
2. Air filter check
If I had a dollar for everytime a small critter decided to make a nest out of an airbox while a machine sits for the winter, I’d maybe have enough to cover the costs of all those air filters. Don’t even think about starting up that machine before you check the air filter. If the woodland critters haven’t found their way in, you should at the very least clean and re-oil your current filter to help make it ready for spring riding. It’s not a bad time to just replace the filter with a new one. That way there won’t be a surprise that finds you while you’re out on a ride. Your machine needs clean air to run. Give it what it needs.
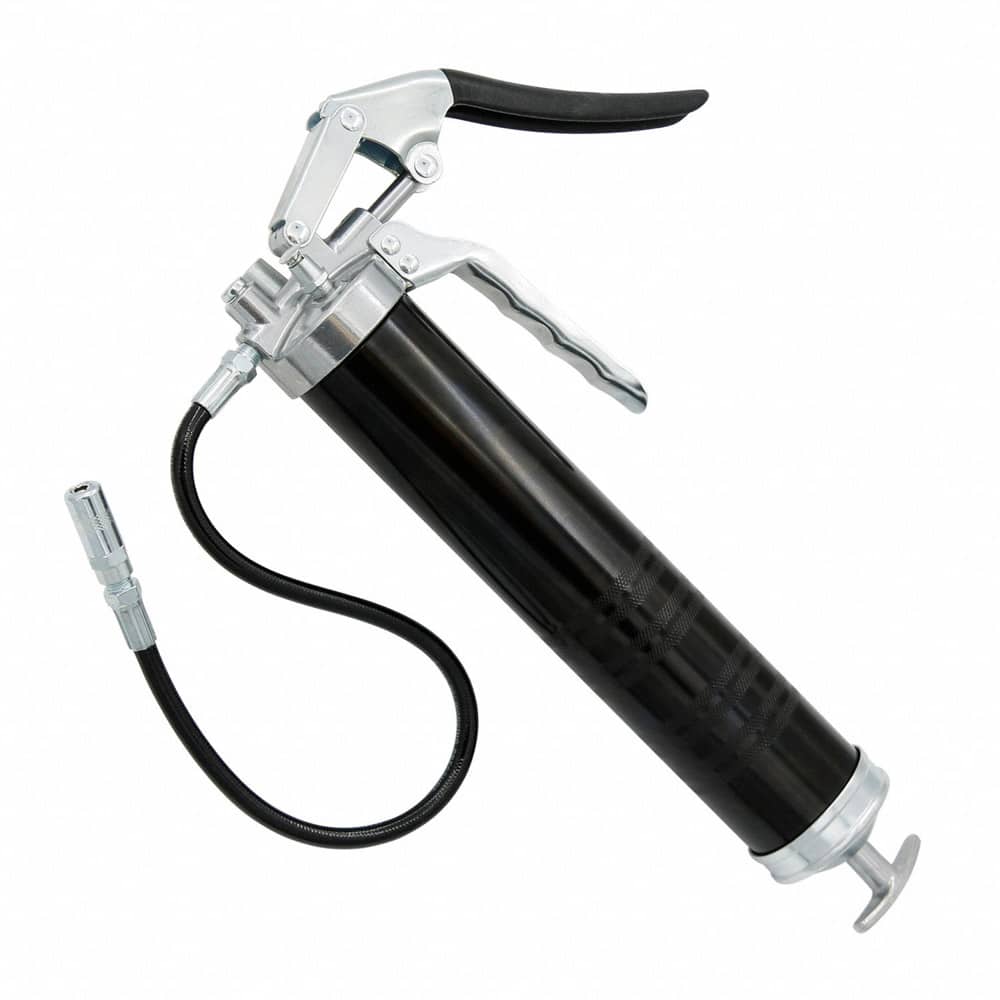
3. Grease is the word
Get the grease gun out and check all those pivot points and zerk fittings. I am one to usually pump enough new, fresh grease into the zerk to help push the old out. At least to help clean out any dirt that may have worked in. It’s also not a bad idea to go and grease any spots that may be prone to damage from mud and water, as you’re bound to run into that on the trails. If you have a chain-drive machine, like a sport ATV, you should be lubing the chain before riding, too. This is also the time to go through and check every nut and bolt. Make sure everything is tight.

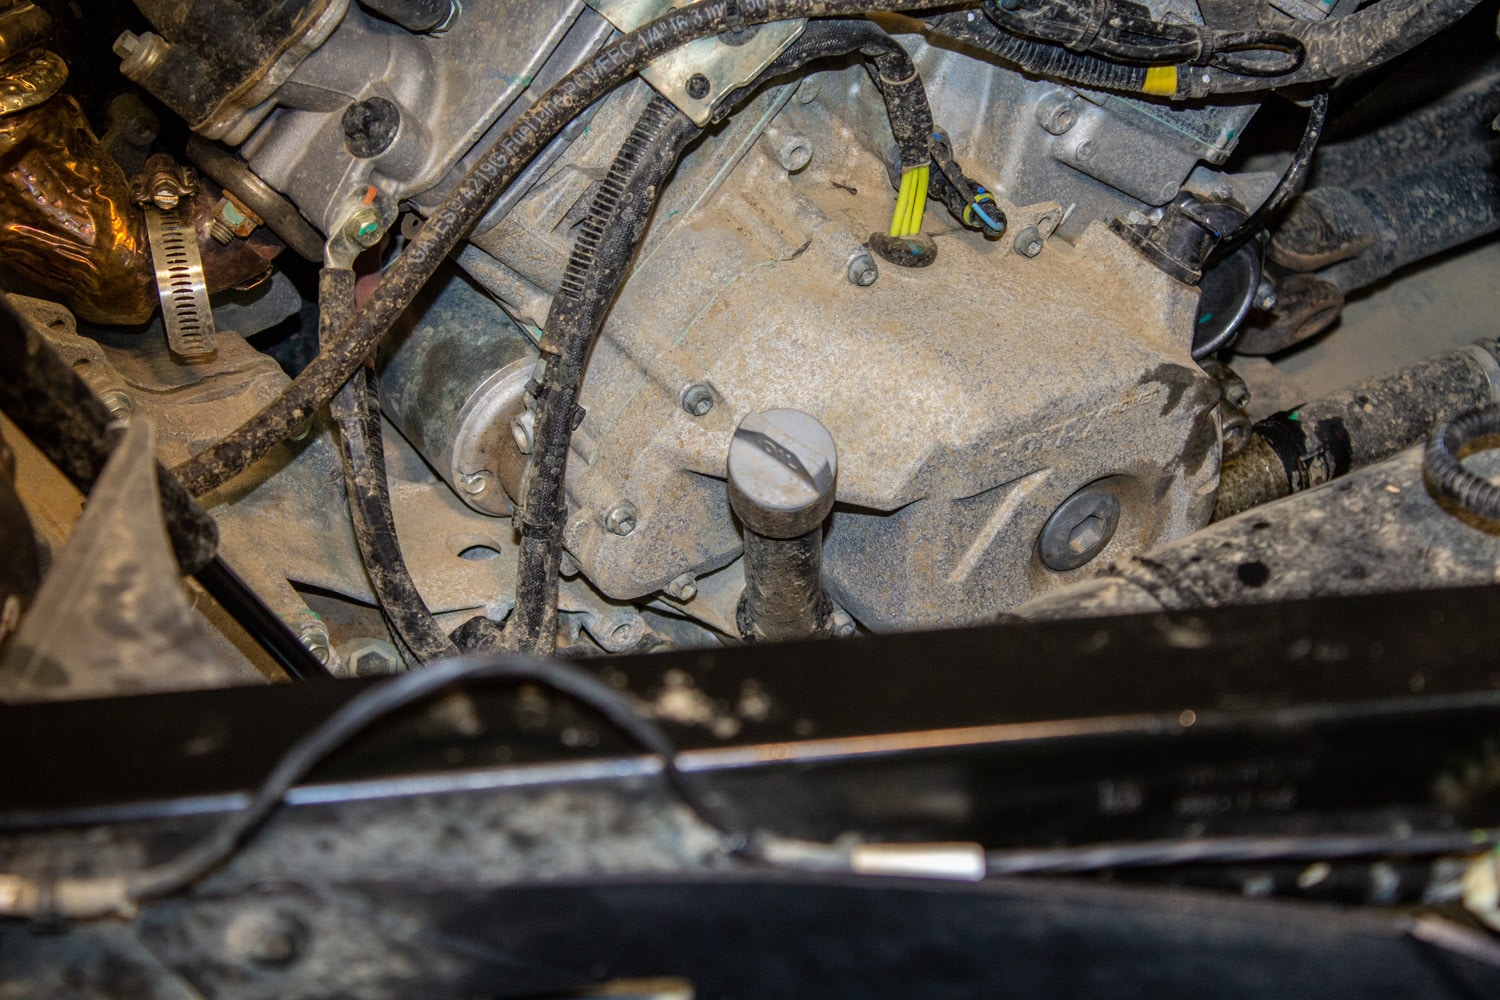
4. Striking oil
Water is never a good thing for a motor, and one thing that can happen during storage is condensation inside the engine. Since you’re just getting the machine ready to start back up for the season, it’s a great time to change the oil as it is. Don’t forget to change the oil filter, too. There’s an old saying regarding an ounce of prevention. We prefer to call it a quart of prevention, as in quarts of oil. And for you guys lucky enough to have a two-stroke sport ATV, don’t forget to change the oil in your transmission now, too. And if you should want to get rid of that pesky old two-stroke, well you know how to reach me.
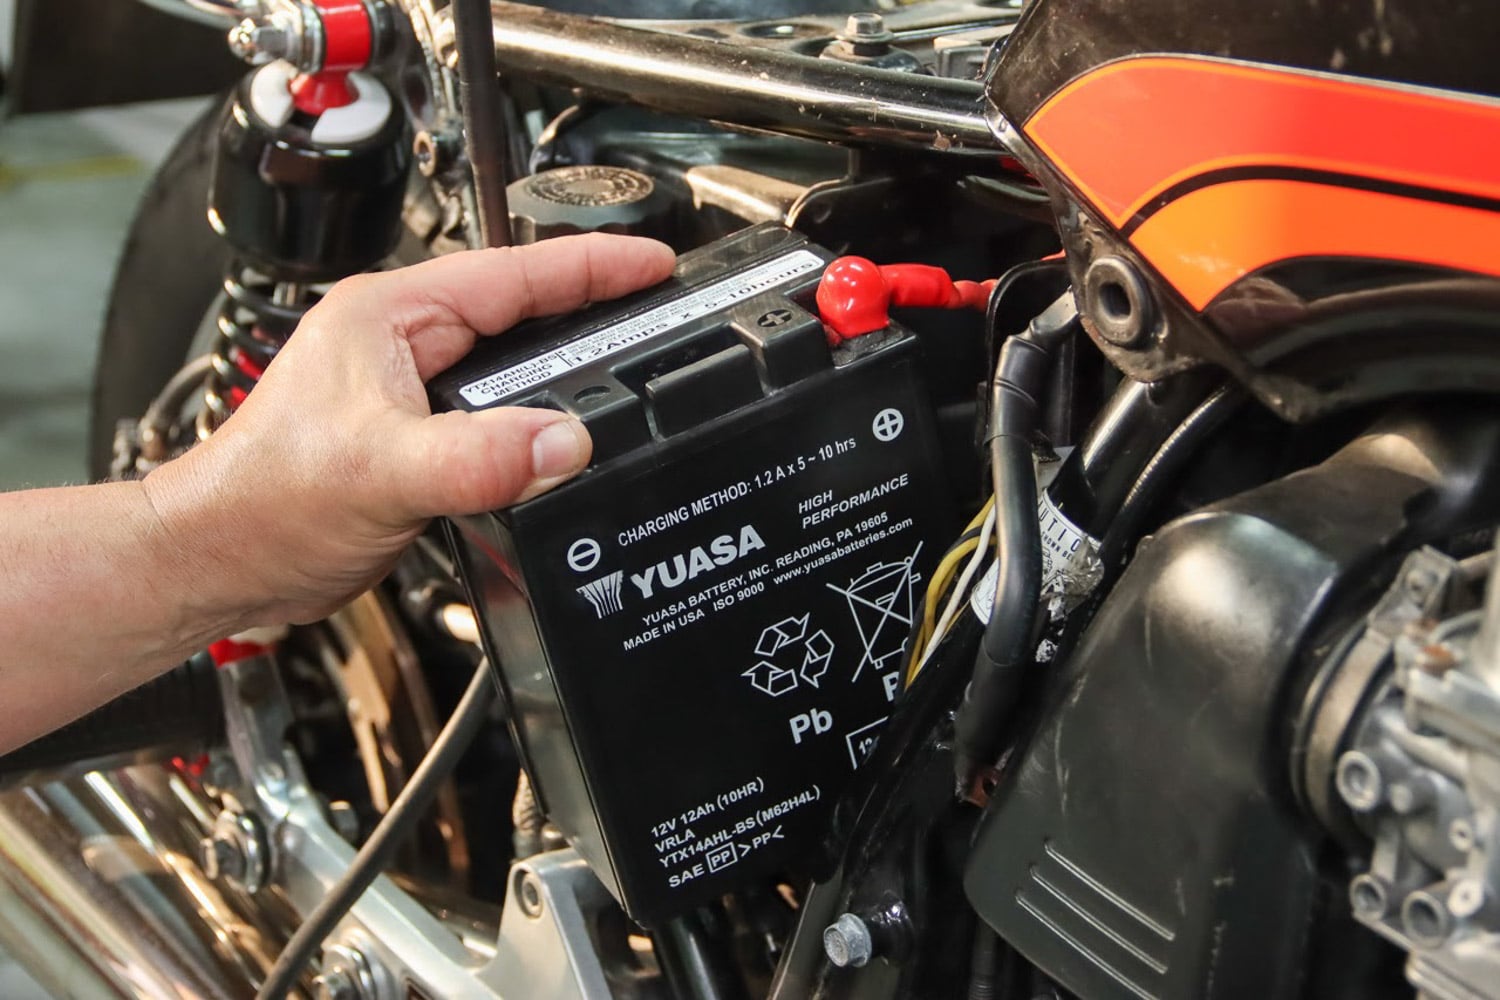
5. Put the battery back in
If you didn’t pull the battery before storing the machine, you should have. If you don’t have a heated storage garage, pulling the battery makes the most sense to avoid damage that can come from extreme temperature swings. I put mine on a trickle charger over the winter. Most trickle charges have a built-in battery tester, too. This is a good feature to have and a great way to make sure the battery is good to go. If you didn’t pull your battery, you need to check it for damage before trying to start the machine. Once you put the battery back in and reconnect it, turn the key on, but don’t start it just yet. Check those gauges and everything to make sure it’s all ready to go. Now start up your machine.
6. Let it warm up, then shut it off
Let your machine idle and get up to temperature before shutting it back off. Once it’s off, you need to recheck the fluid levels. If everything looks good, you’ve got a little more work to do before heading out adventuring. This is also a good way to help burn off any of the stabilizer fluids you hopefully used. After I let them run for a while, I top off the tank after I shut it down.
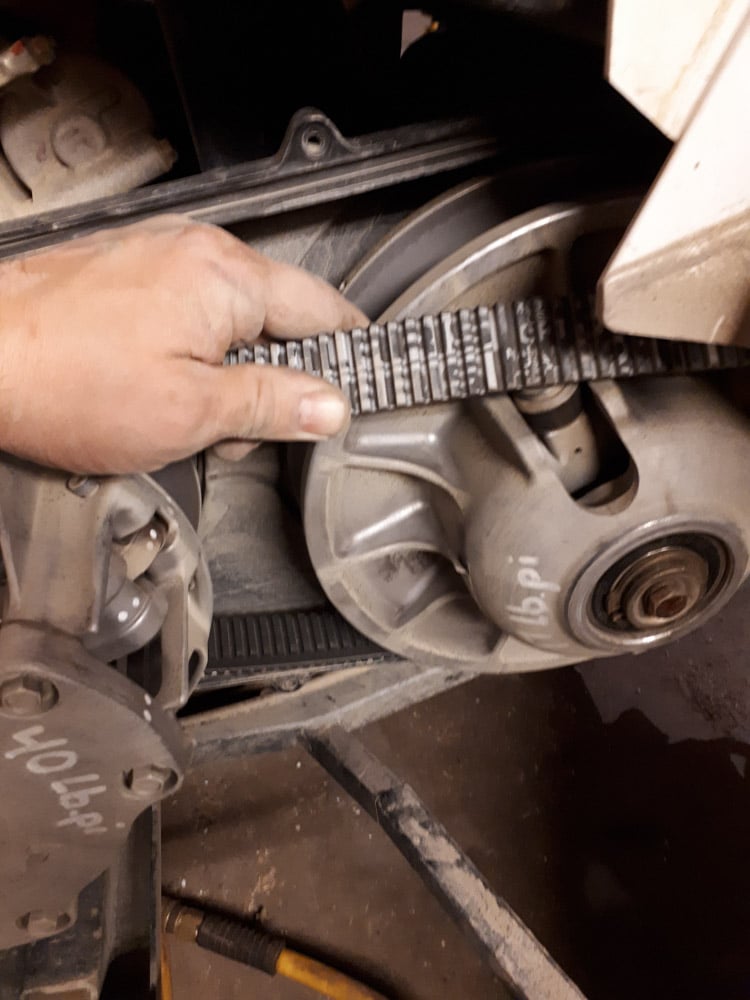
7. Check the belt
Of course, if you’ve got a Honda without a belt, or a Yamaha with their sealed belt, you can skip this step. For the rest of the machine, it is imperative that you check the belt condition before you ride. Damaged or loose belts need to be replaced immediately. The newer the machine, the less trouble you’ll likely find here, but it’s always a good idea to check. This actually goes for any belts or chains your machine might incorporate, so run through everything to make sure you’re not going to get stuck on the trail with a broken belt/chain.
8. Start it again
Once you’ve made sure all of your mechanical stuff is in order, and that your tires are ready to roll, you should start the machine back up and let it once again get to temperature. When it’s warmed up, put it in gear and slowly ease it out of the garage. Take it slow for a few moments, just to be sure you’re not missing something.
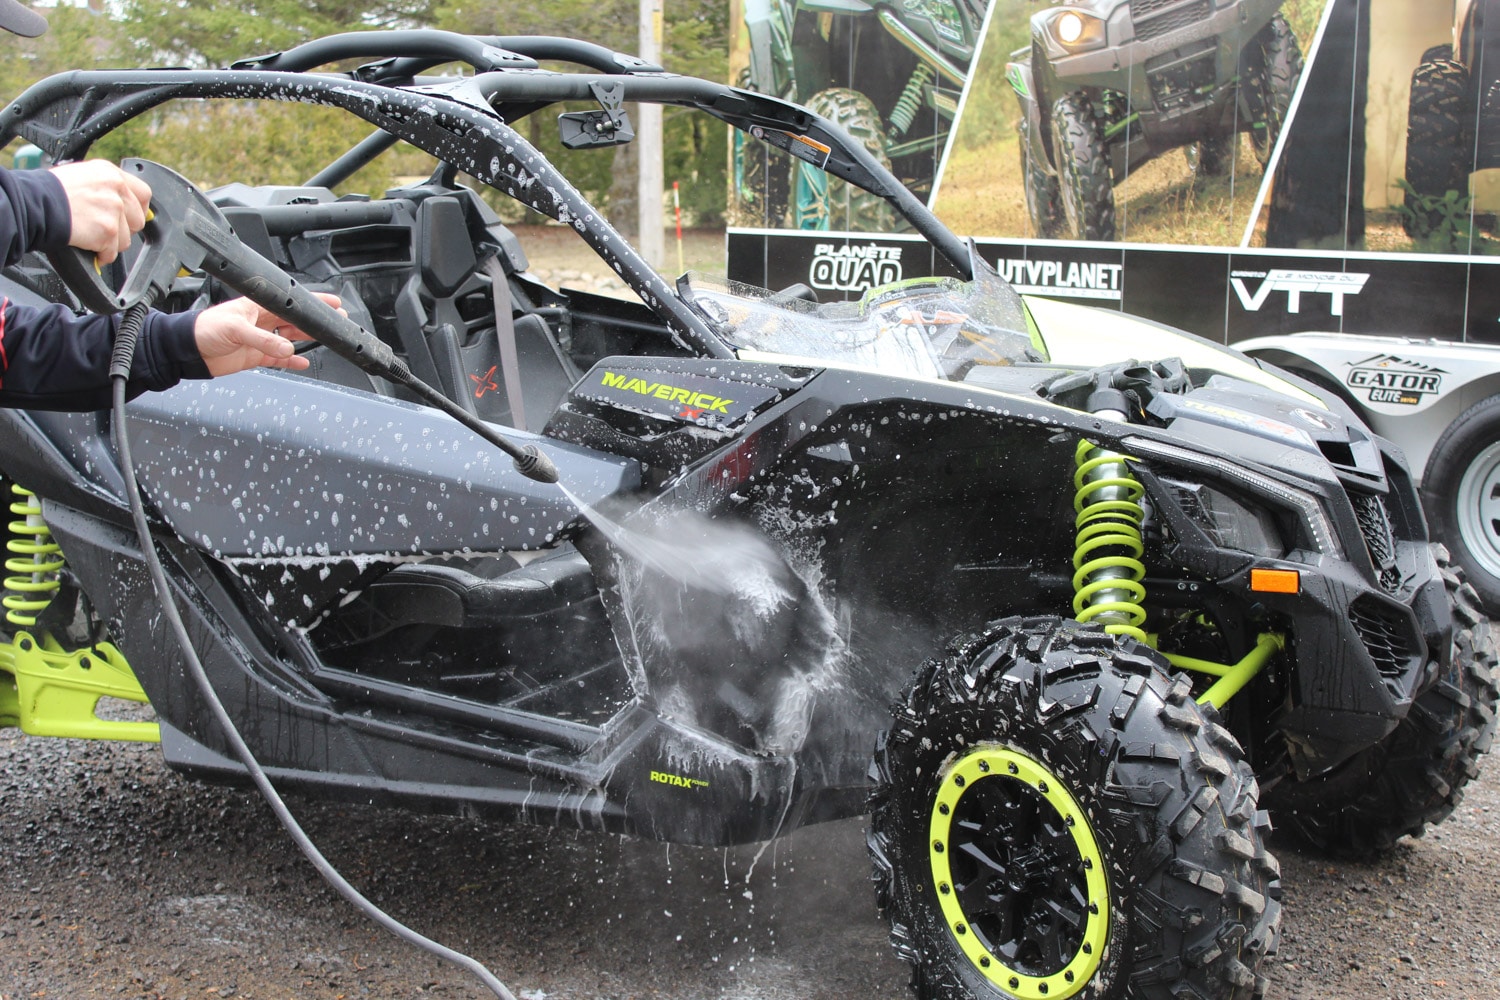
9. Wash?
I know you may be thinking, “Hey, are you going to wash your machine?” You know, your ATV or UTV can get a little dusty sitting for the few months of winter. To be honest, I usually don’t wash them before I start riding because what else do you find on the spring trail? MUD, and sometimes lots of it. I always try to wash the machine before I put it away for the season, so really there’s not much need to wash it again before you ride. It’s going to get really dirty anyways, so just wash it then. One side note to this, however. If you do wash it, it’s not a bad idea to wax it too, especially if you have one of the snazzy machines with the automotive-style paint. A good wax will help you clean off the mud and grime of the trail.
10. Get ready
The last step involves you more than the machine. The machine is pretty much ready to go, but are you? You’re an important part of the machine’s operation. Make sure your gear is all ready. Check your helmet for damage. Check your goggles. Check all of your gear, and then make sure you’re ready physically. You want to enjoy the ride, so stretch out. Get limbered up so you can have a good time, too.
Of course, if you’ve properly stored your ATV or UTV before the winter months, you’re already going to be steps ahead when it comes time for a spring pre-ride check. It may seem a little tedious to go through every step to getting your machine ready for Spring, but it pays off. Your season will be more enjoyable, and your machine will last longer. See you out on the trail!